



Dankbaarheid tonen naar beleefde automobilisten – LED-tekstscherm in auto
Onderdelen en benodigdheden
| Arduino MKR1000 | 1 |
| SparkFun Bluetooth Modem – BlueSMiRF Silver | 1 |
| Adafruit 4-kanaals I2C-logic level converter (BSS138) | 1 |
| Adafruit Flexibele DotStar Matrix 8×32 – 256 RGB LED's | 1 |
| Adafruit 4-pins JST SM Stekker + Kabelset | 1 |
| DC 2,1 mm barrel connector | 1 |
| AC/DC Adapter 5V @ 4A | 1 |
| Male Header 4-polig (0,1″) | 1 |
| Breadboard | 1 |
| Projectdoos | 1 (voldoende groot) |
| 1/4″ × 4,5″ × 15″ Baltisch berk multiplex | 1 |
| Dubbelzijdig tape 1″ × 50′ | 1 |
Benodigde tools
- Solderbout
- Lijmpistool
- Forstner-boortjes (voor schone gaten in hout/kunststof)
- Boormachine
- Schuurpapier (korrel 120)
Apps en online services
- Arduino IDE
- Virtual Shield for Arduino (Windows-app)
- Adafruit DotStar-bibliotheek
Over dit project
Al jaren wilde ik op een duidelijke manier communiceren met andere weggebruikers. Knipperen, winken of claxonneren is onduidelijk. Geïnspireerd door een James Bond-film (tekst in de achterruit) bouwde ik een LED-matrix die boodschappen als "Dank u", "Linksaf", "Remmen" of "Bel 112" toont.
Stap 1: MKR1000 aan de praat krijgen
De MKR1000 was toen een pre-release bord zonder volledige documentatie. Via het privé-forum op arduino.cc en de Getting Started-gids kreeg ik het werkend met Arduino IDE 1.6.9 (hourly build) en de benodigde bibliotheken: Adafruit DotStar, DotStarMatrix, GFX, ArduinoJson, Virtual Shields.
Let op: De MKR1000 is 3,3V-logica. Gebruik de **logic level converter** voor de 5V-componenten (Bluetooth, DotStar). Laat nooit de "magic smoke" uit de componenten komen!
Componenten testen
- DotStar Matrix: Solder header-pins vast voor betrouwbare contacten. Data/Clock op SPI-pins (SDA/SCL op MKR1000). Test met
matrixtest-voorbeeld. - Virtual Shield over Bluetooth: Volg GitHub-instructies. TX/RX op pinnen 14/13. Uploaden werkt nu zonder loskoppelen.
Code-walkthrough
Includes & Initialisatie
#include <SPI.h>
#include <Adafruit_GFX.h>
#include <Adafruit_DotStarMatrix.h>
#include <Adafruit_DotStar.h>
#include <ArduinoJson.h>
#include <VirtualShield.h>
#include <Text.h>
#include <Graphics.h>
#include <Recognition.h>
#include <Colors.h>

Adafruit_DotStarMatrix matrix = Adafruit_DotStarMatrix(
  32, 8, DATAPIN, CLOCKPIN,
  DS_MATRIX_TOP + DS_MATRIX_LEFT + DS_MATRIX_COLUMNS + DS_MATRIX_ZIGZAG,
  DOTSTAR_GBR
);

const uint16_t colors[] = {
  matrix.Color(255, 0, 0),   // Rood
  matrix.Color(0, 255, 0),   // Groen
  matrix.Color(0, 0, 255),   // Blauw
  matrix.Color(255, 0, 255), // Magenta
  matrix.Color(255, 0, 106), // Oranje
  matrix.Color(255, 255, 255)// Wit
};

VirtualShield shield;
Graphics screen = Graphics(shield);
Recognition speech = Recognition(shield);
Setup
void setup() {
  matrix.begin();
  matrix.setTextWrap(false);
  matrix.setBrightness(40);
  matrix.setTextColor(colors[0]);
  DisplayText("Initializing...", 4, 10);

  shield.setOnRefresh(refresh);
  speech.setOnEvent(onSpeech);
  screen.setOnEvent(screenEvent);
  shield.begin(); // 115200 baud Bluetooth
  DisplayText("Initializing...finished", 3, 10);
}
Hoofdloop
void loop() {
  shield.checkSensors(); // Verwerk Bluetooth-events
}
Scherm verversen (bij Bluetooth-connectie)
void refresh(ShieldEvent* shieldEvent) {
  screen.clear(ARGB(123,86,204)); // Lichte paarse achtergrond
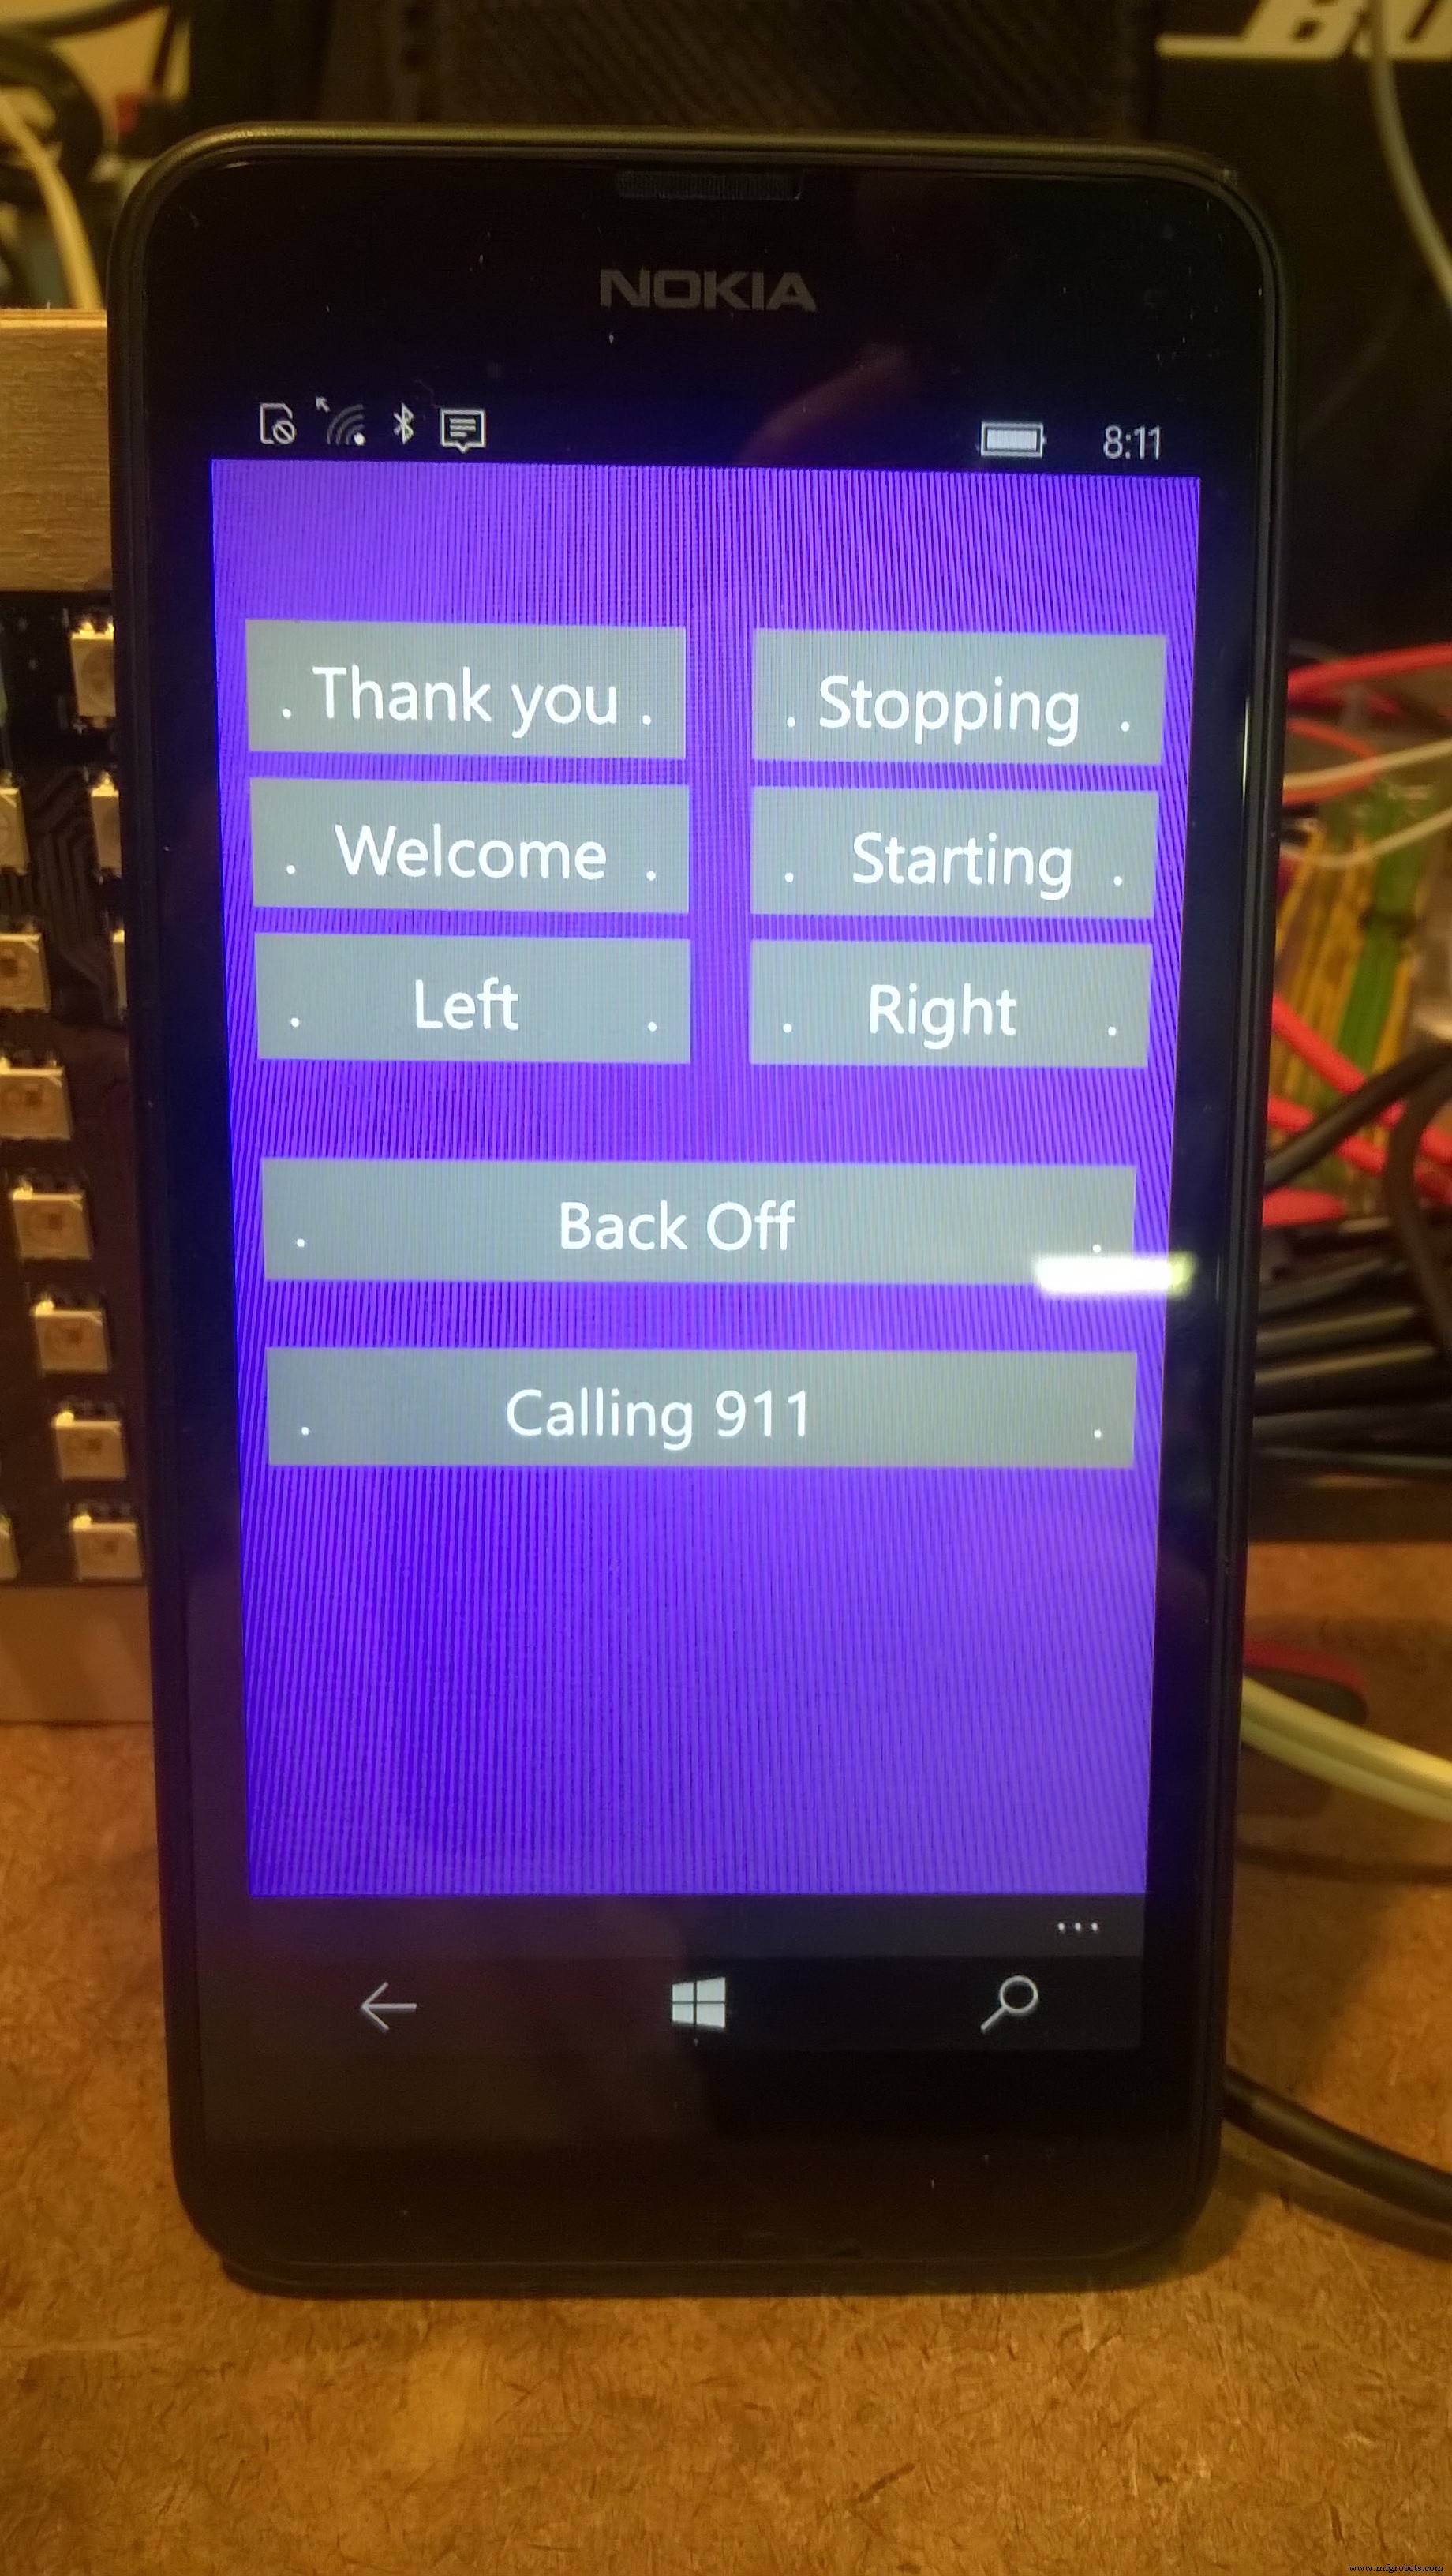
  thanksId    = screen.addButton(10, 50,  ". Thank you .");
  welcomeId   = screen.addButton(10, 100, ". Welcome .");
  turnLeftId  = screen.addButton(10, 150, ". Left .");
  stoppingId  = screen.addButton(175, 50, ". Stopping .");
  startingId  = screen.addButton(175, 100,". Starting .");
  turnRightId = screen.addButton(175, 150,". Right .");
  backoffId   = screen.addButton(10, 225, ". Back Off .");
  calling911Id= screen.addButton(10, 290, ". Calling 911 .");
}
Knop-drukken afhandelen
void screenEvent(ShieldEvent* shieldEvent) {
  if(screen.isPressed(thanksId))    DisplayText("Thank You", 5, 100);
  if(screen.isPressed(welcomeId))   DisplayText("You're welcome", 2, 100);
  if(screen.isPressed(backoffId))   DisplayText("Please back off", 4, 100);
  if(screen.isPressed(stoppingId))  DisplayText("...stopping...", 0, 100);
  if(screen.isPressed(startingId))  DisplayText("...starting...", 1, 100);
  if(screen.isPressed(turnLeftId))  DisplayText("Turning LEFT", 3, 100);
  if(screen.isPressed(turnRightId)) DisplayText("Turning RIGHT", 3, 100);
  if(screen.isPressed(calling911Id))DisplayText("Calling 911", 0, 100);
}
Scrollende tekst op matrix
void DisplayText(String message, int colorIndex, int currDelay) {
  int x = matrix.width();
  int maxX = -1 * (message.length() * 6); // 5px letter + 1px spatie
  matrix.setTextColor(colors[colorIndex]);
  while (x > maxX) {
    matrix.fillScreen(0);
    matrix.setCursor(x, 0);
    matrix.print(message);
    --x;
    matrix.show();
    delay(currDelay);
  }
}
Behuizing bouwen
- Kijk een doos die groter is dan de matrix-footprint.
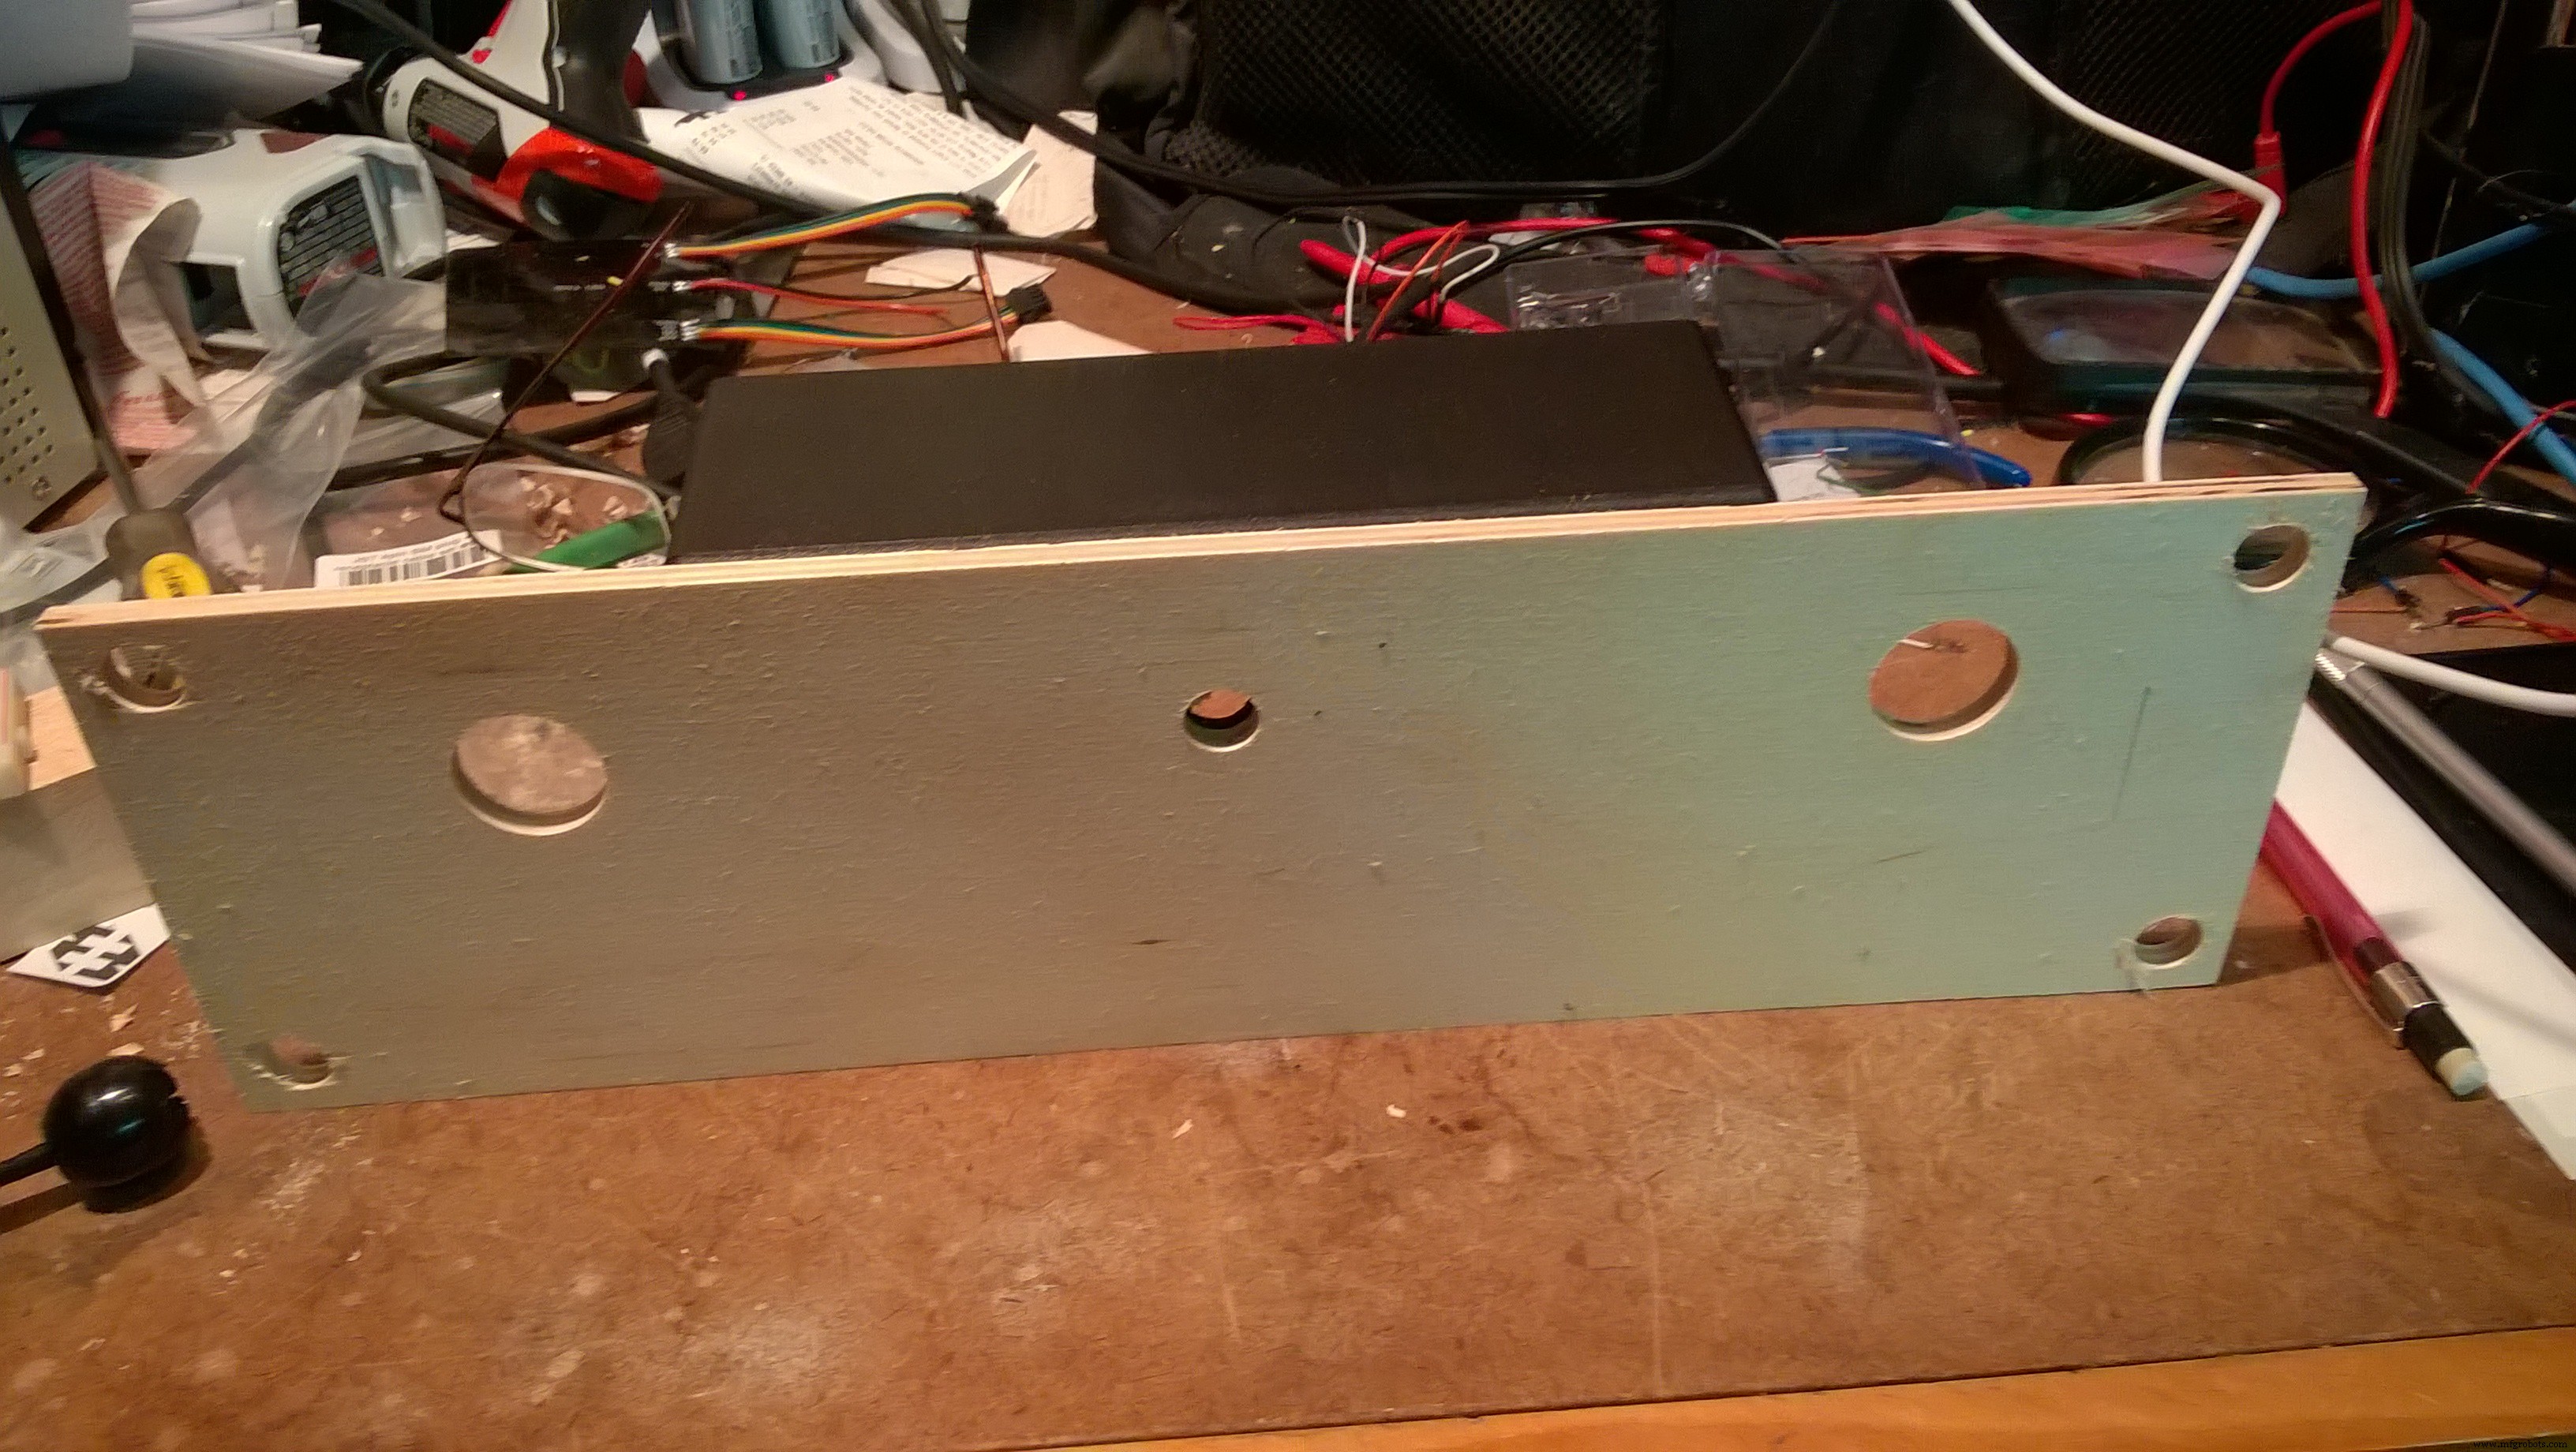
- Zaag multiplex op maat. Markeer gatposities door de matrix erop te leggen.
- Gebruik **Forstner-boortjes** voor schone gaten (geen scheuren in plastic/hout).
- Schuur alle randen glad (korrel 120).
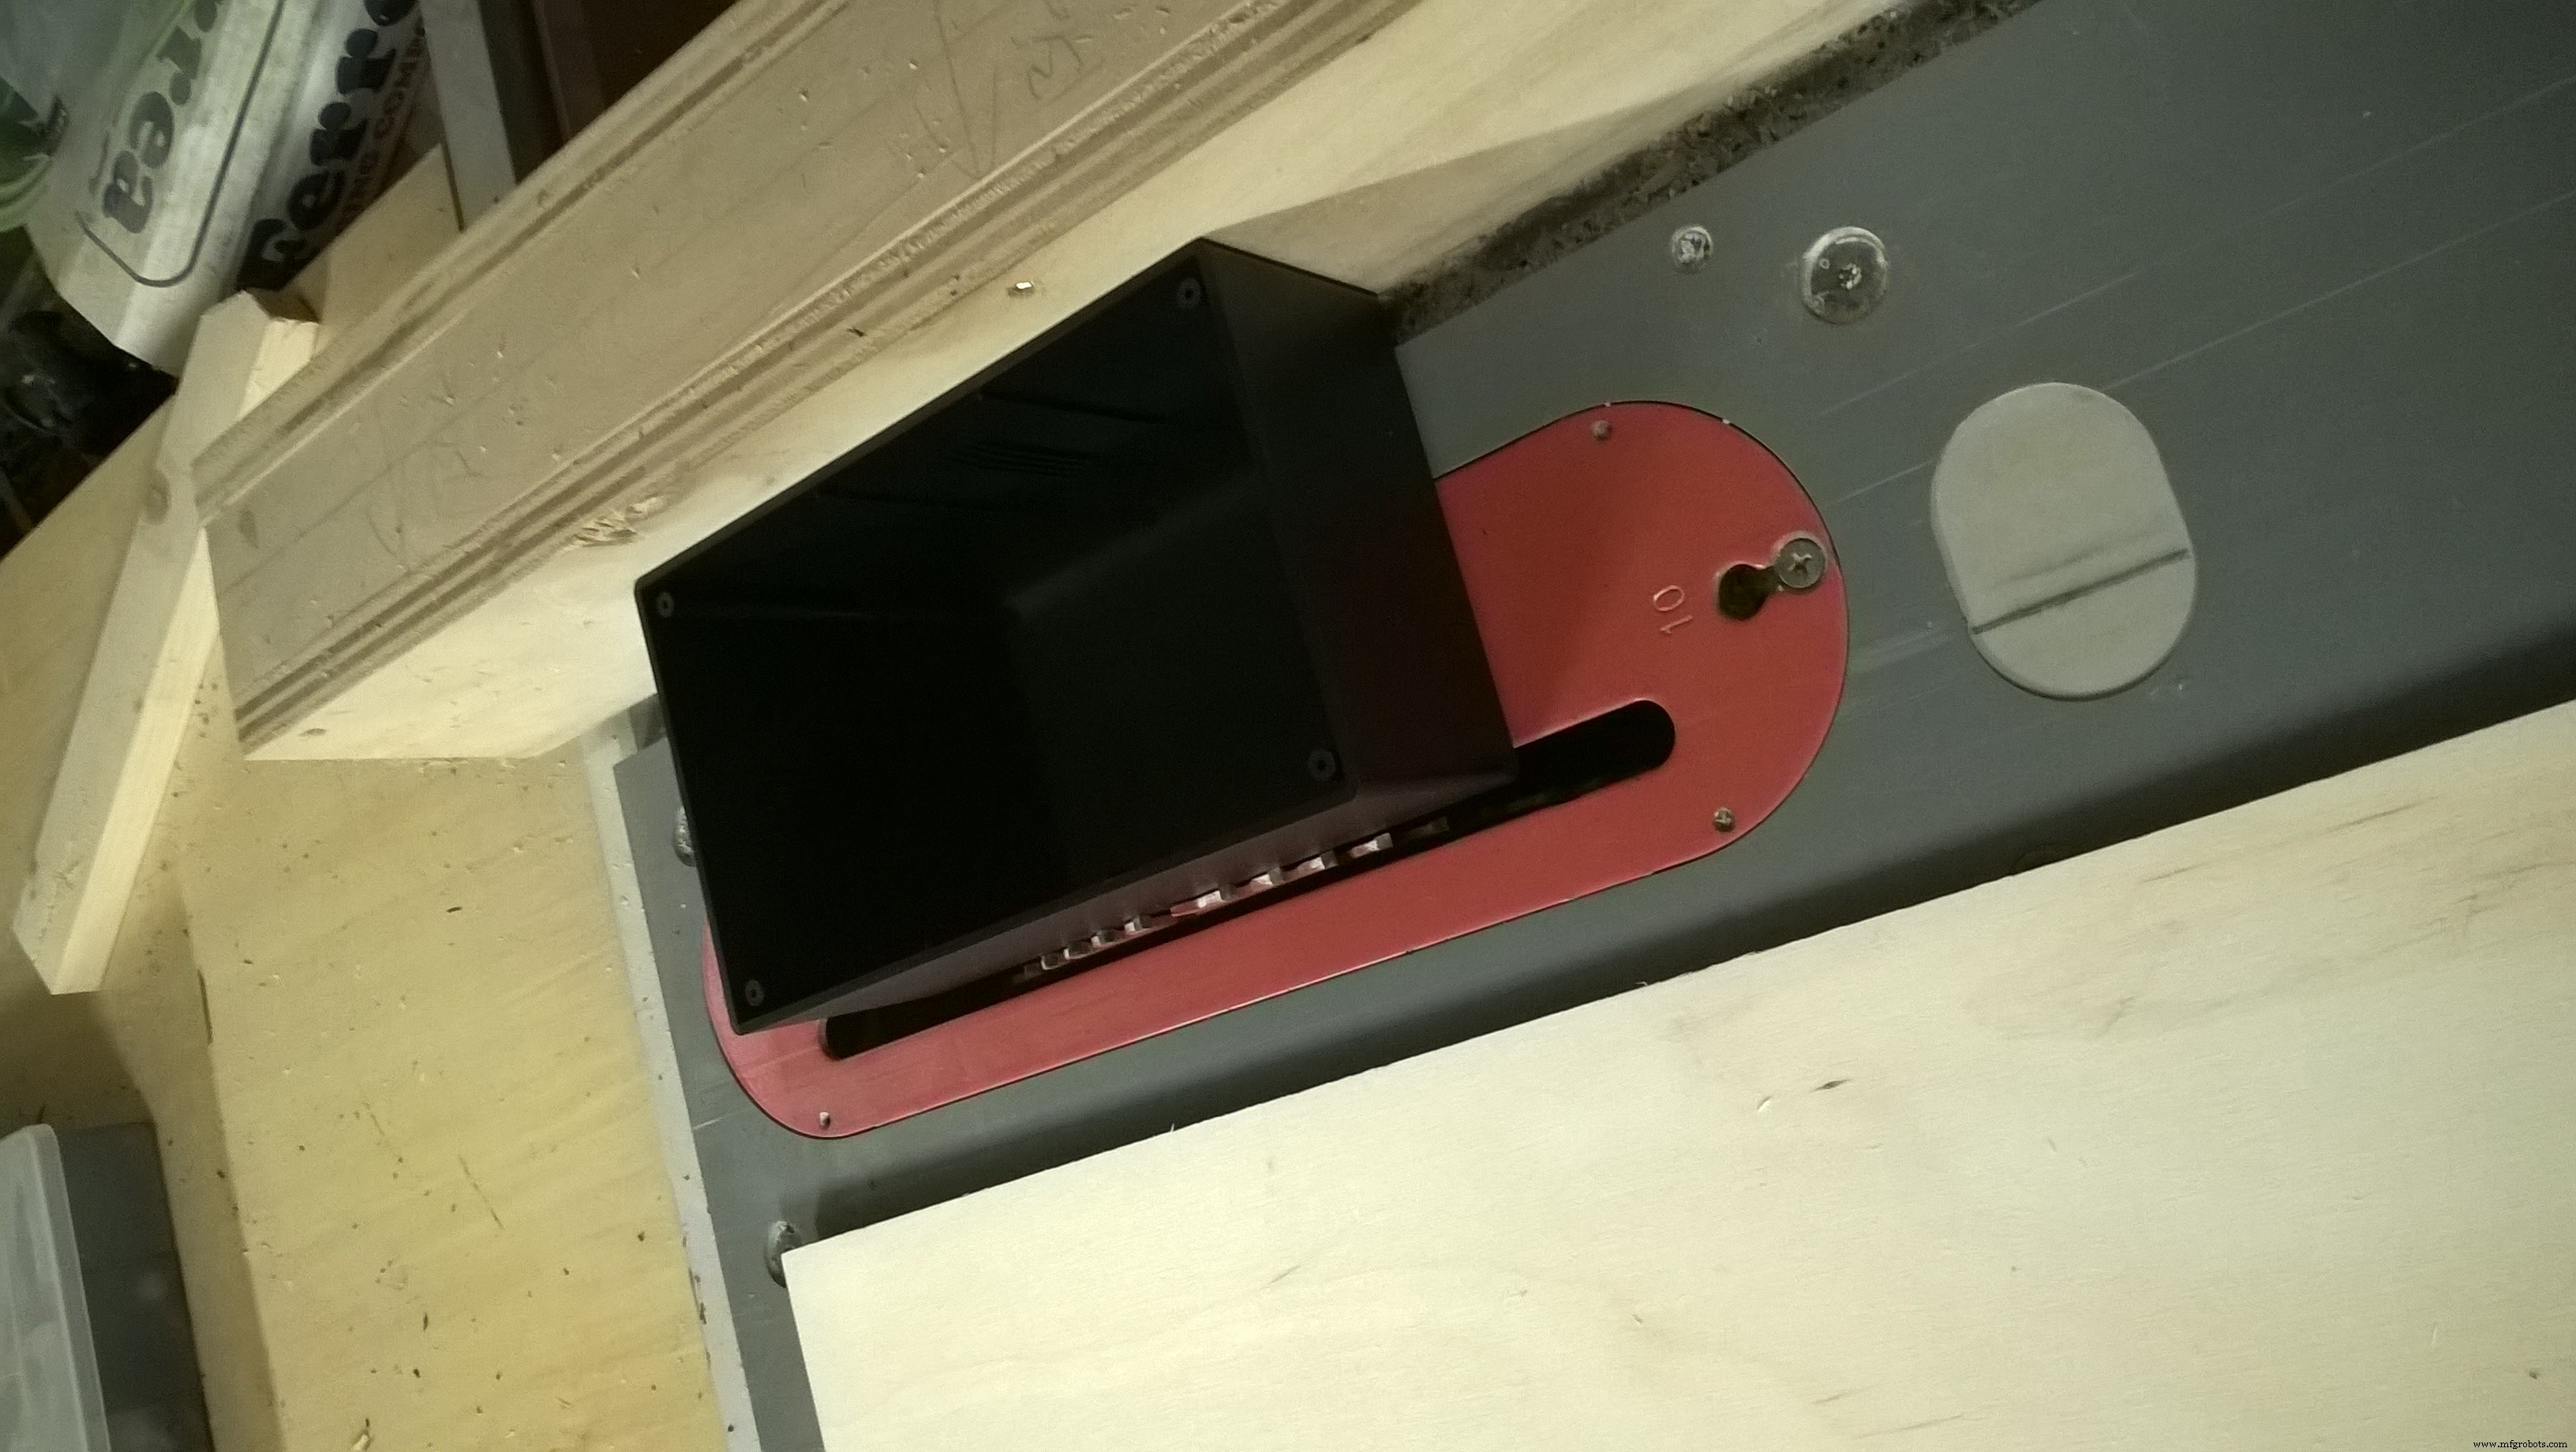
- Boor gaten in de projectdoos voor voeding en matrix-kabels.
- Plak doos op multiplex met dubbelzijdig tape (24 uur laten uitharden onder gewicht).
- Monteer matrix op de voorzijde met lijmpistool.
Elektronica in de doos
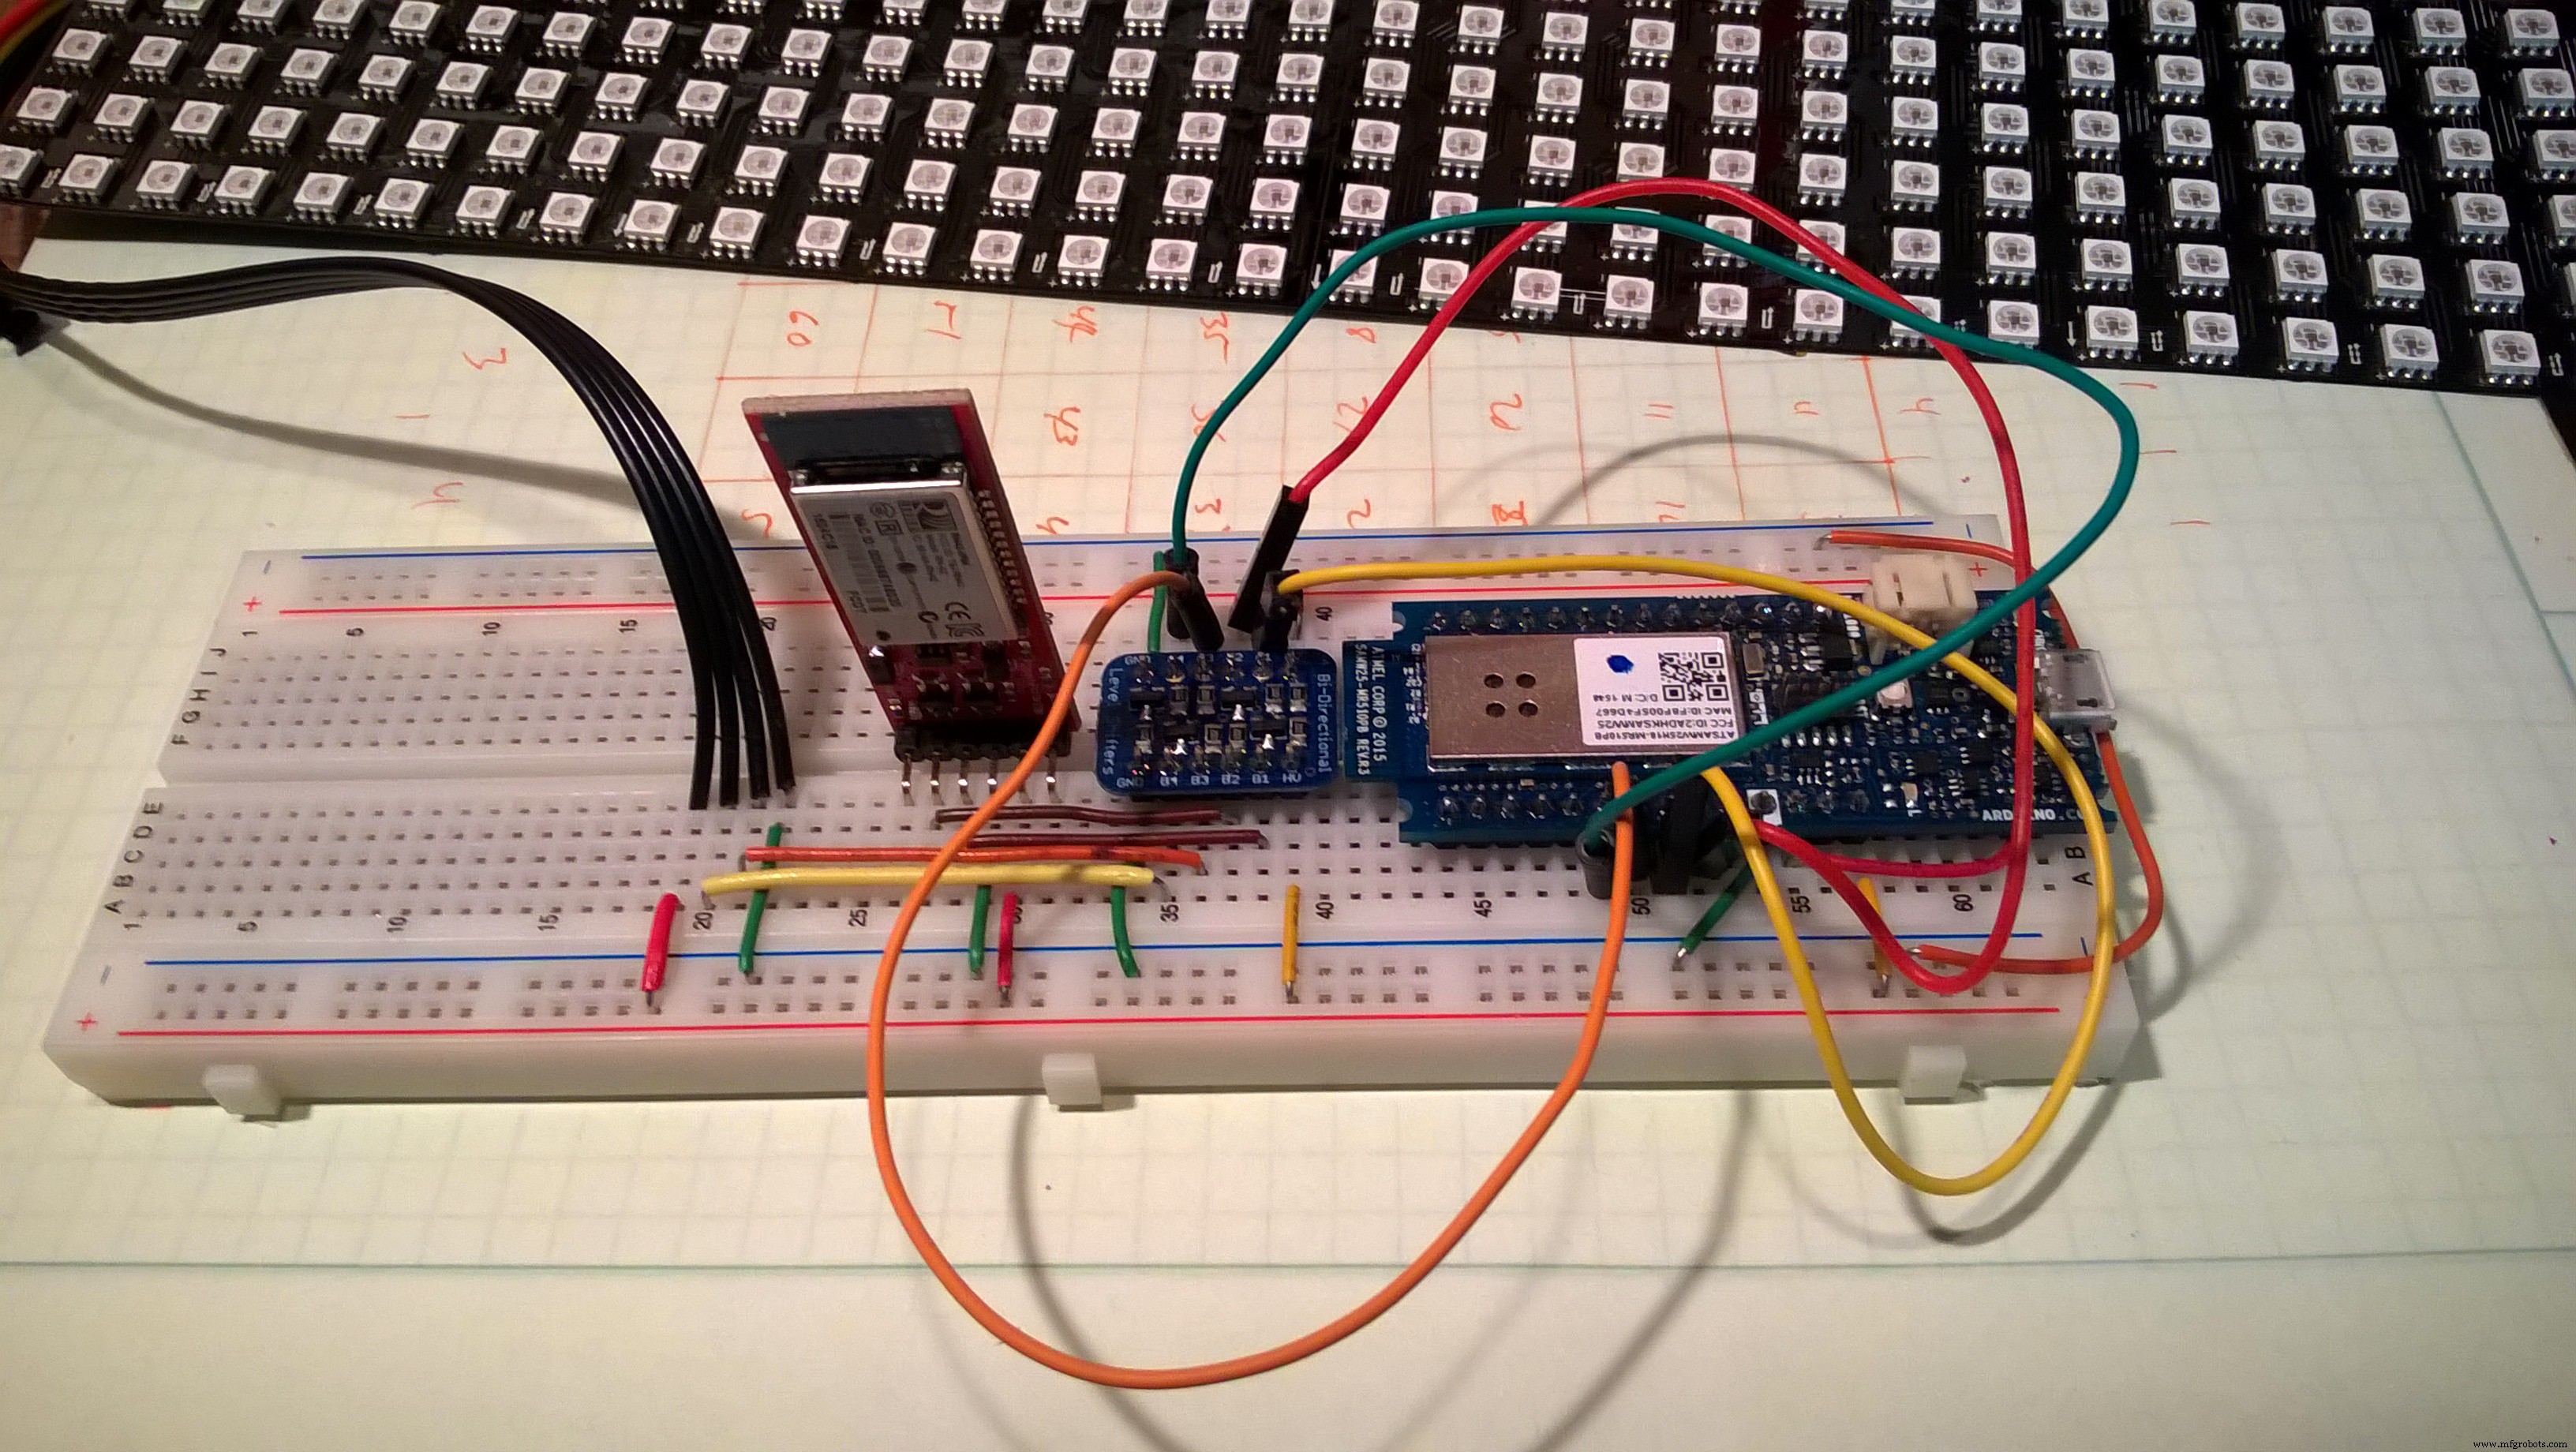
Breadboard inkorten voor USB-toegang. Componenten vastsolderen, level converter tussen MKR1000 (3,3V) en Bluetooth/DotStar (5V).
Voeding
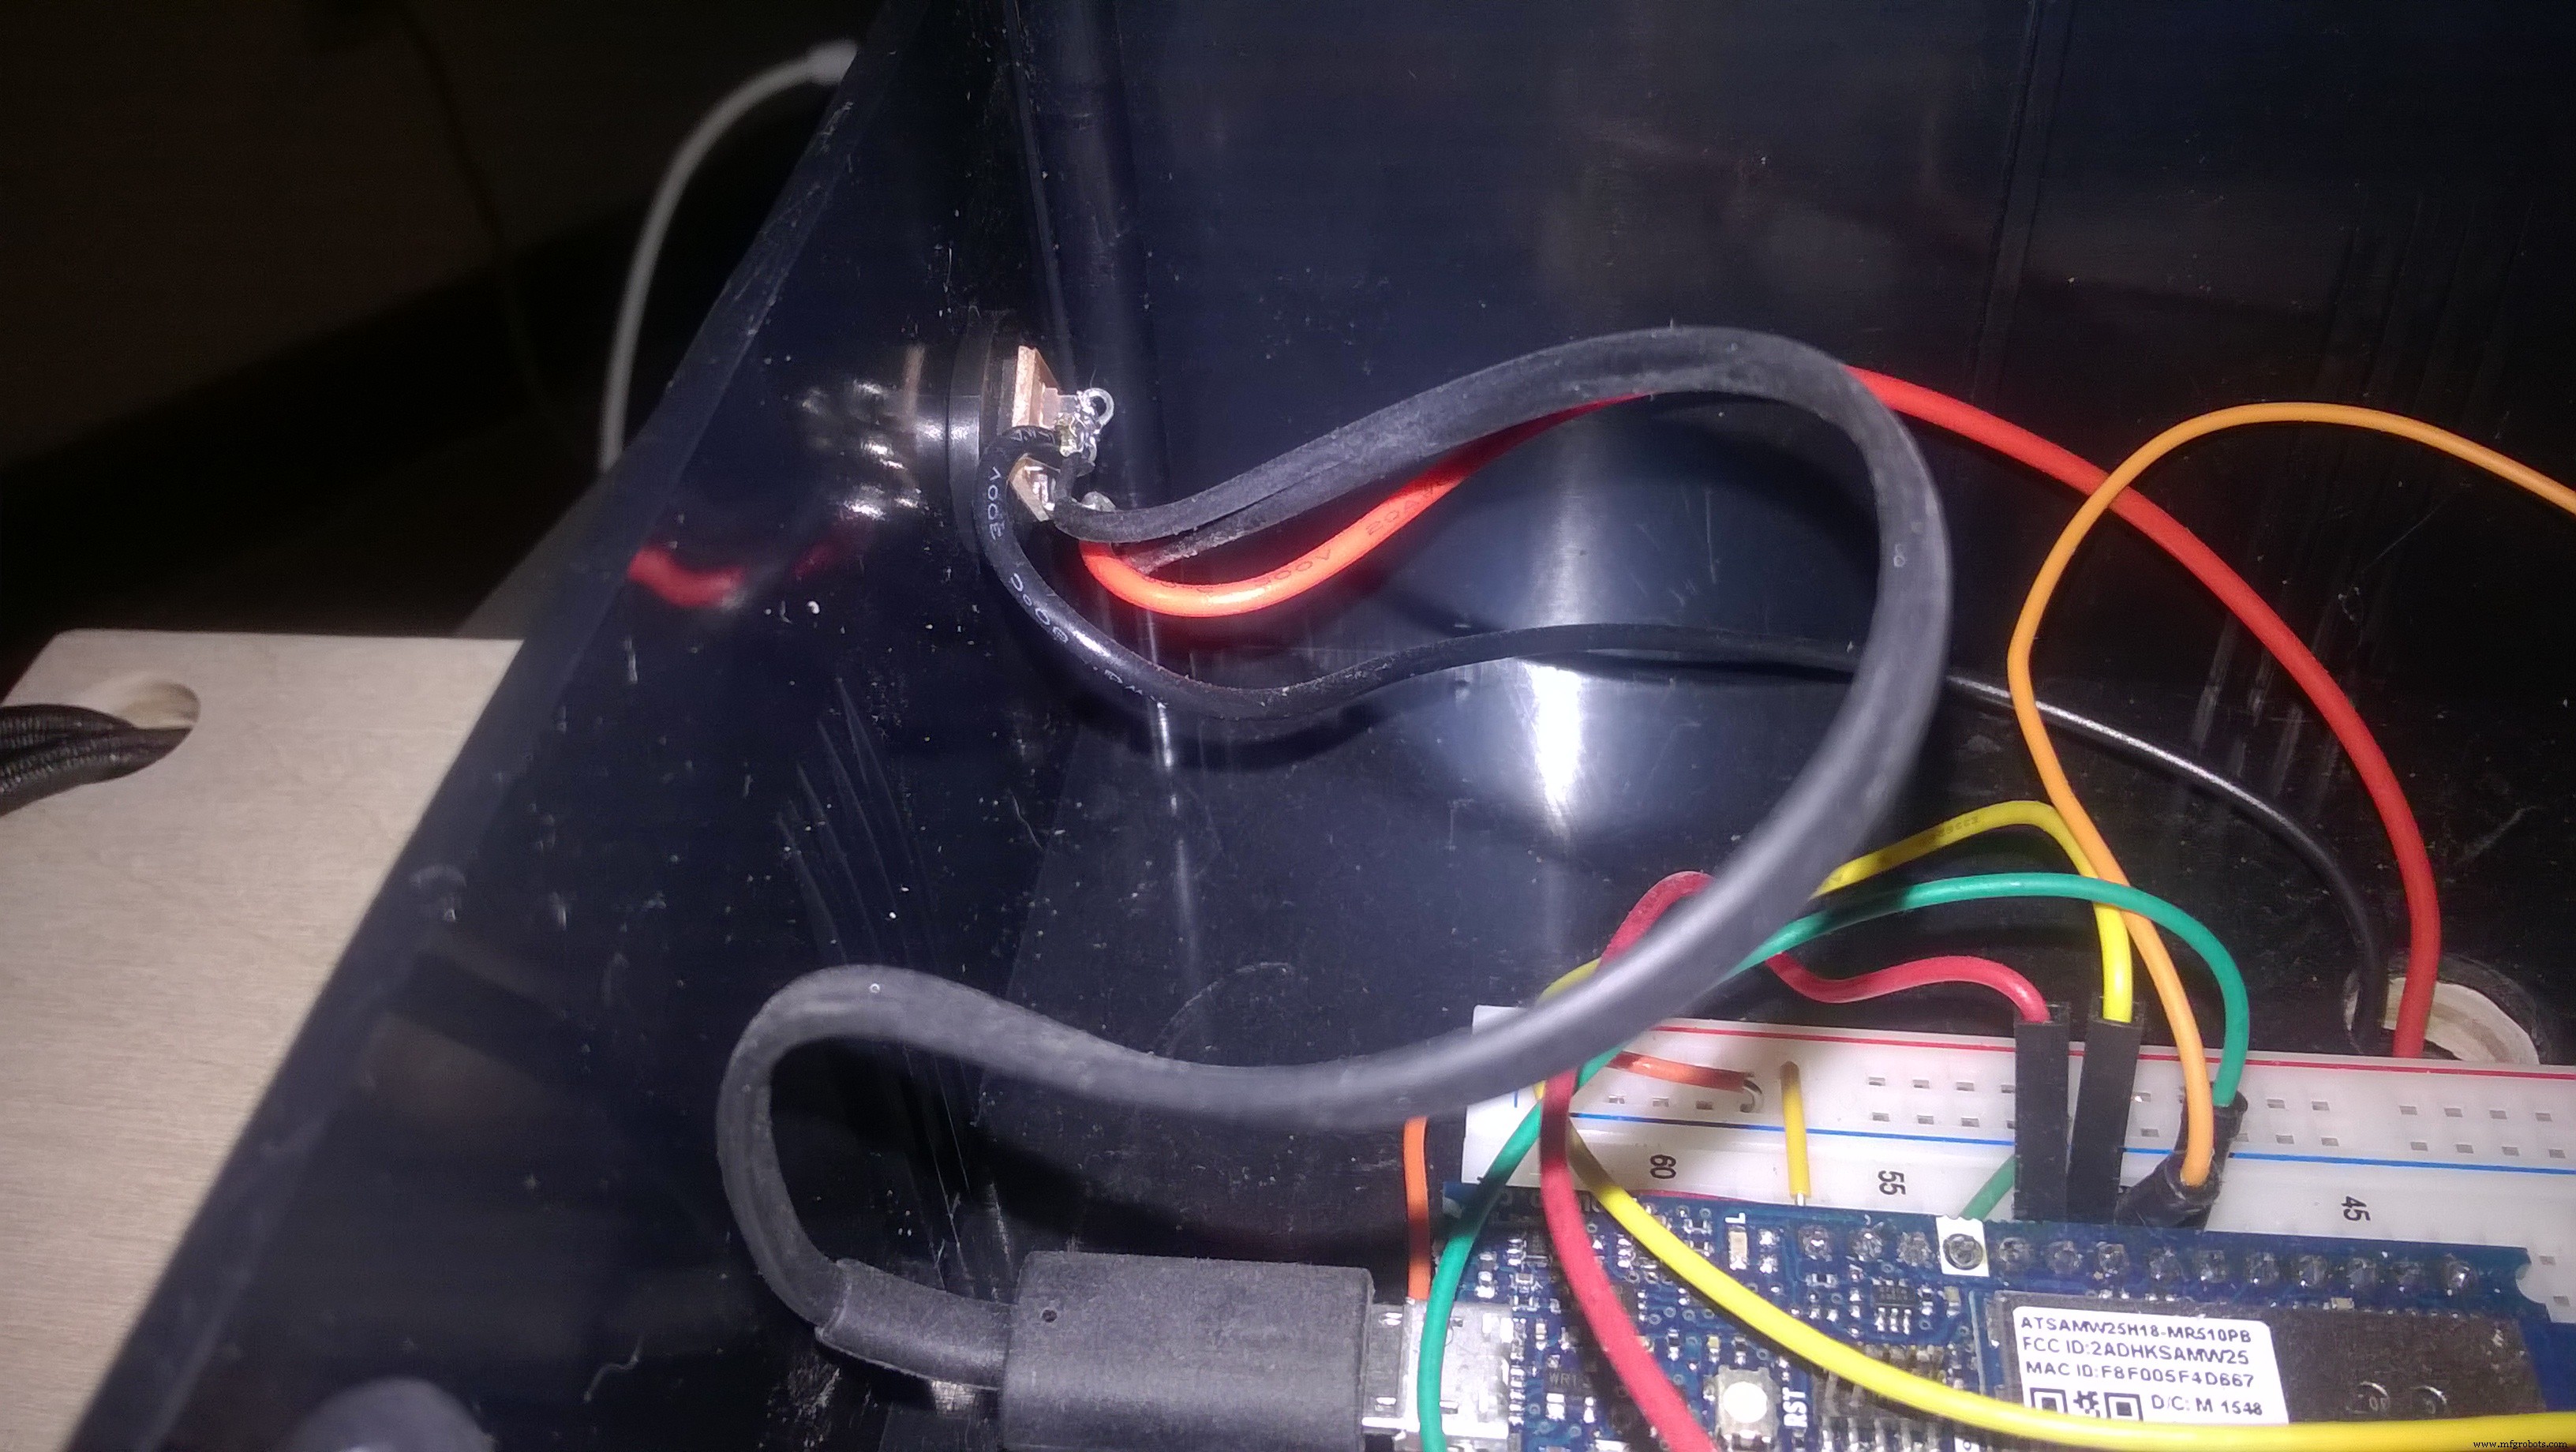
- DotStar: max ~7,5A bij volle helderheid (256 LEDs). In praktijk ~1-2A door scrollende tekst.
- Arduino MKR1000 via 5V/4A adapter (muurstopcontact + omvormer in auto). Simpeler dan een 12V→5V-converter zelf bouwen.
Montage in auto
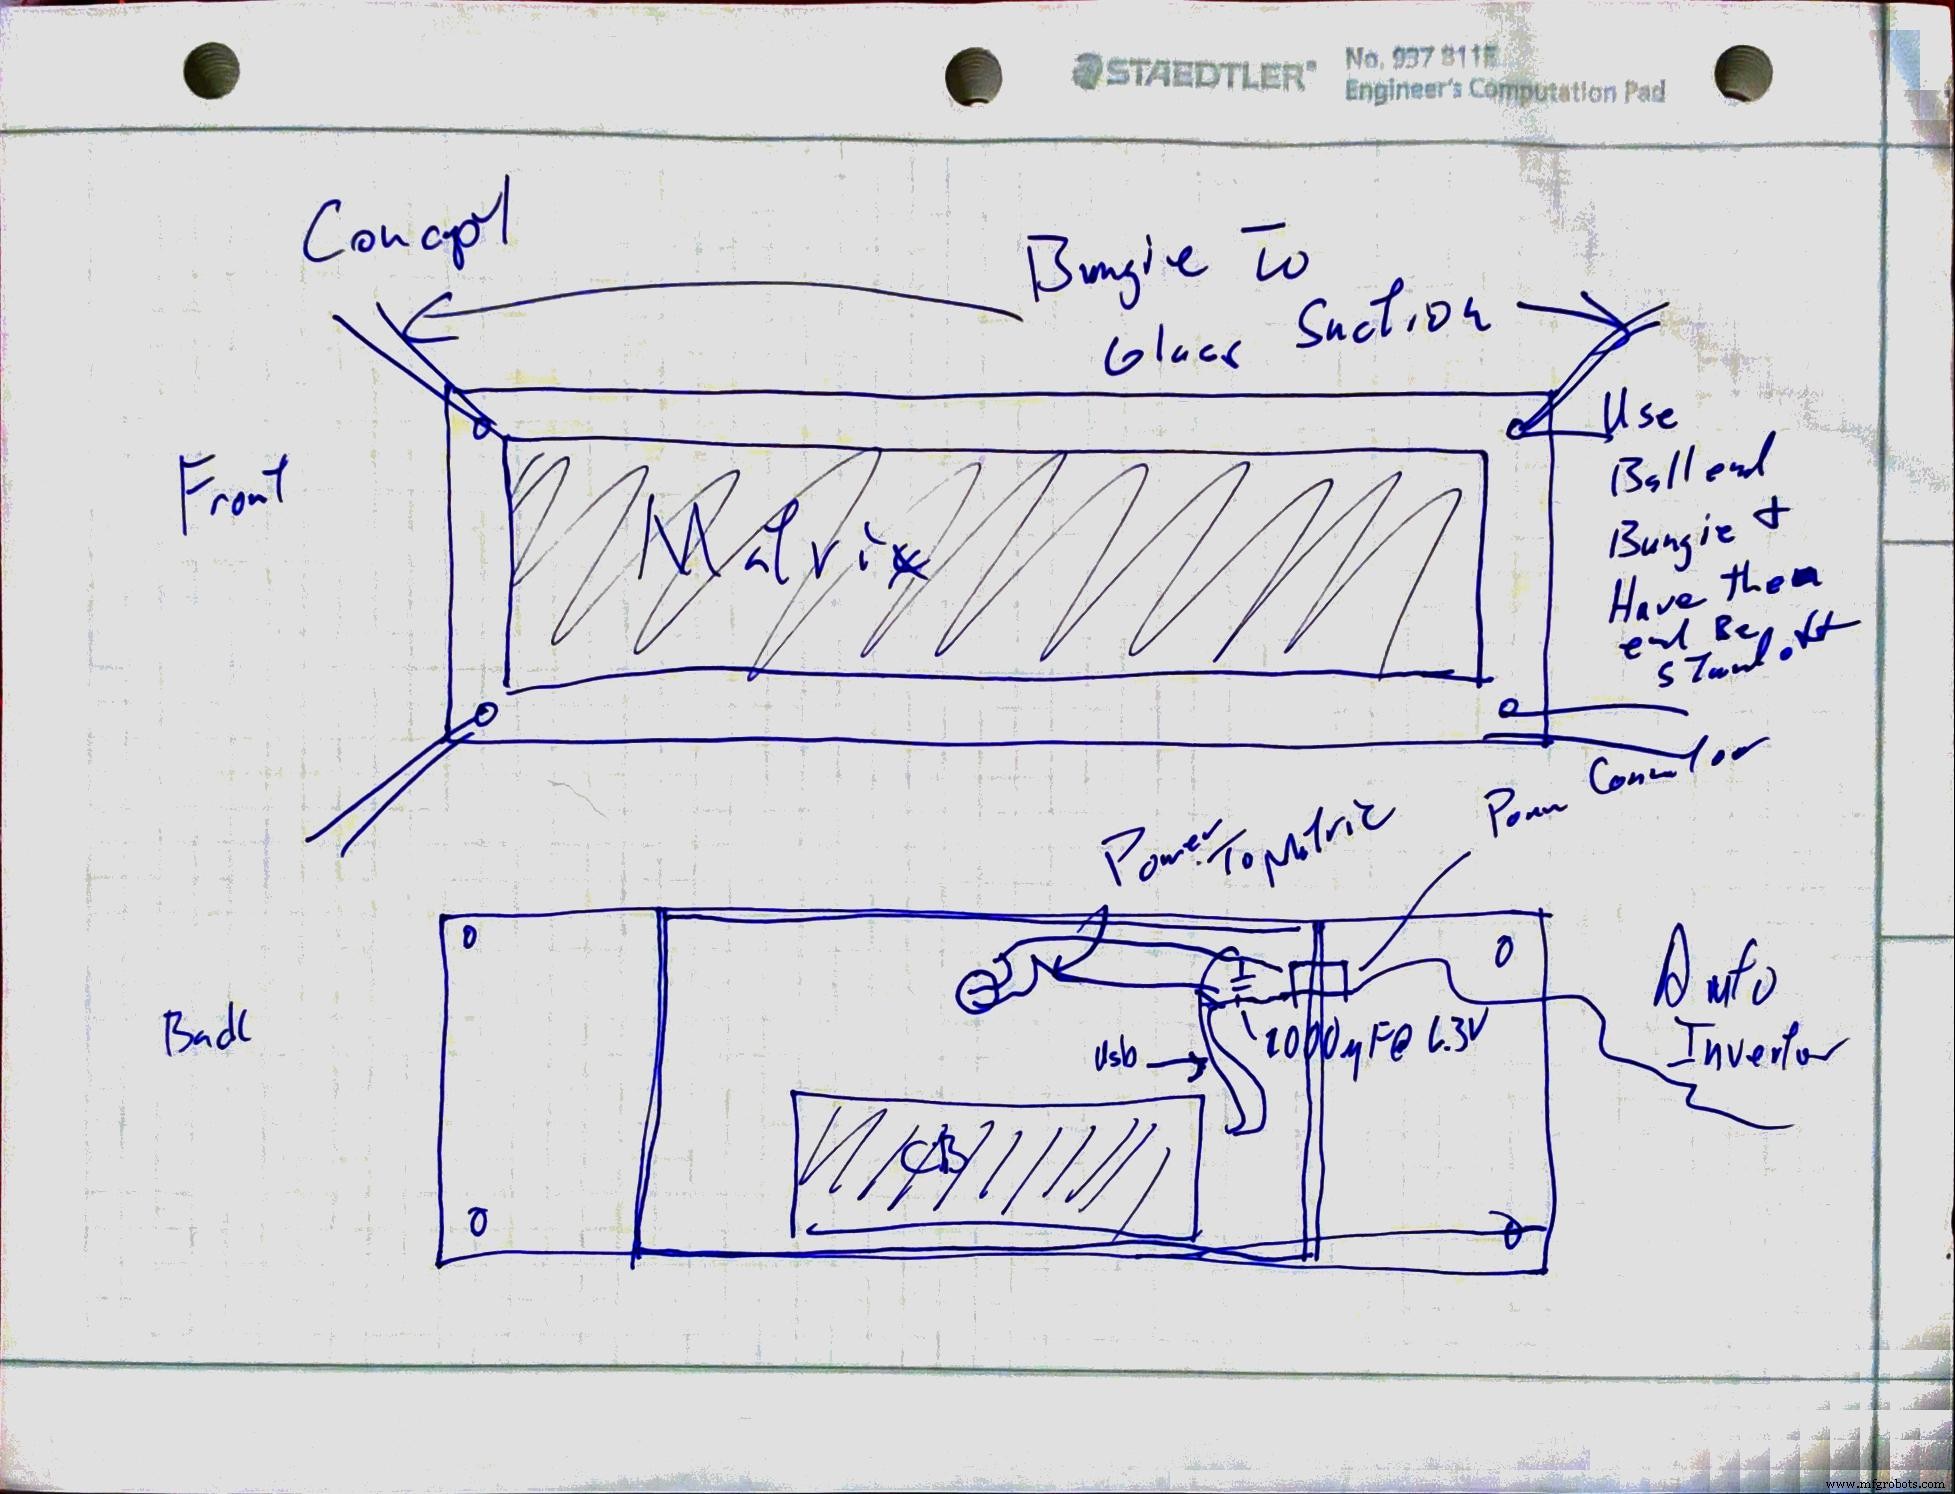
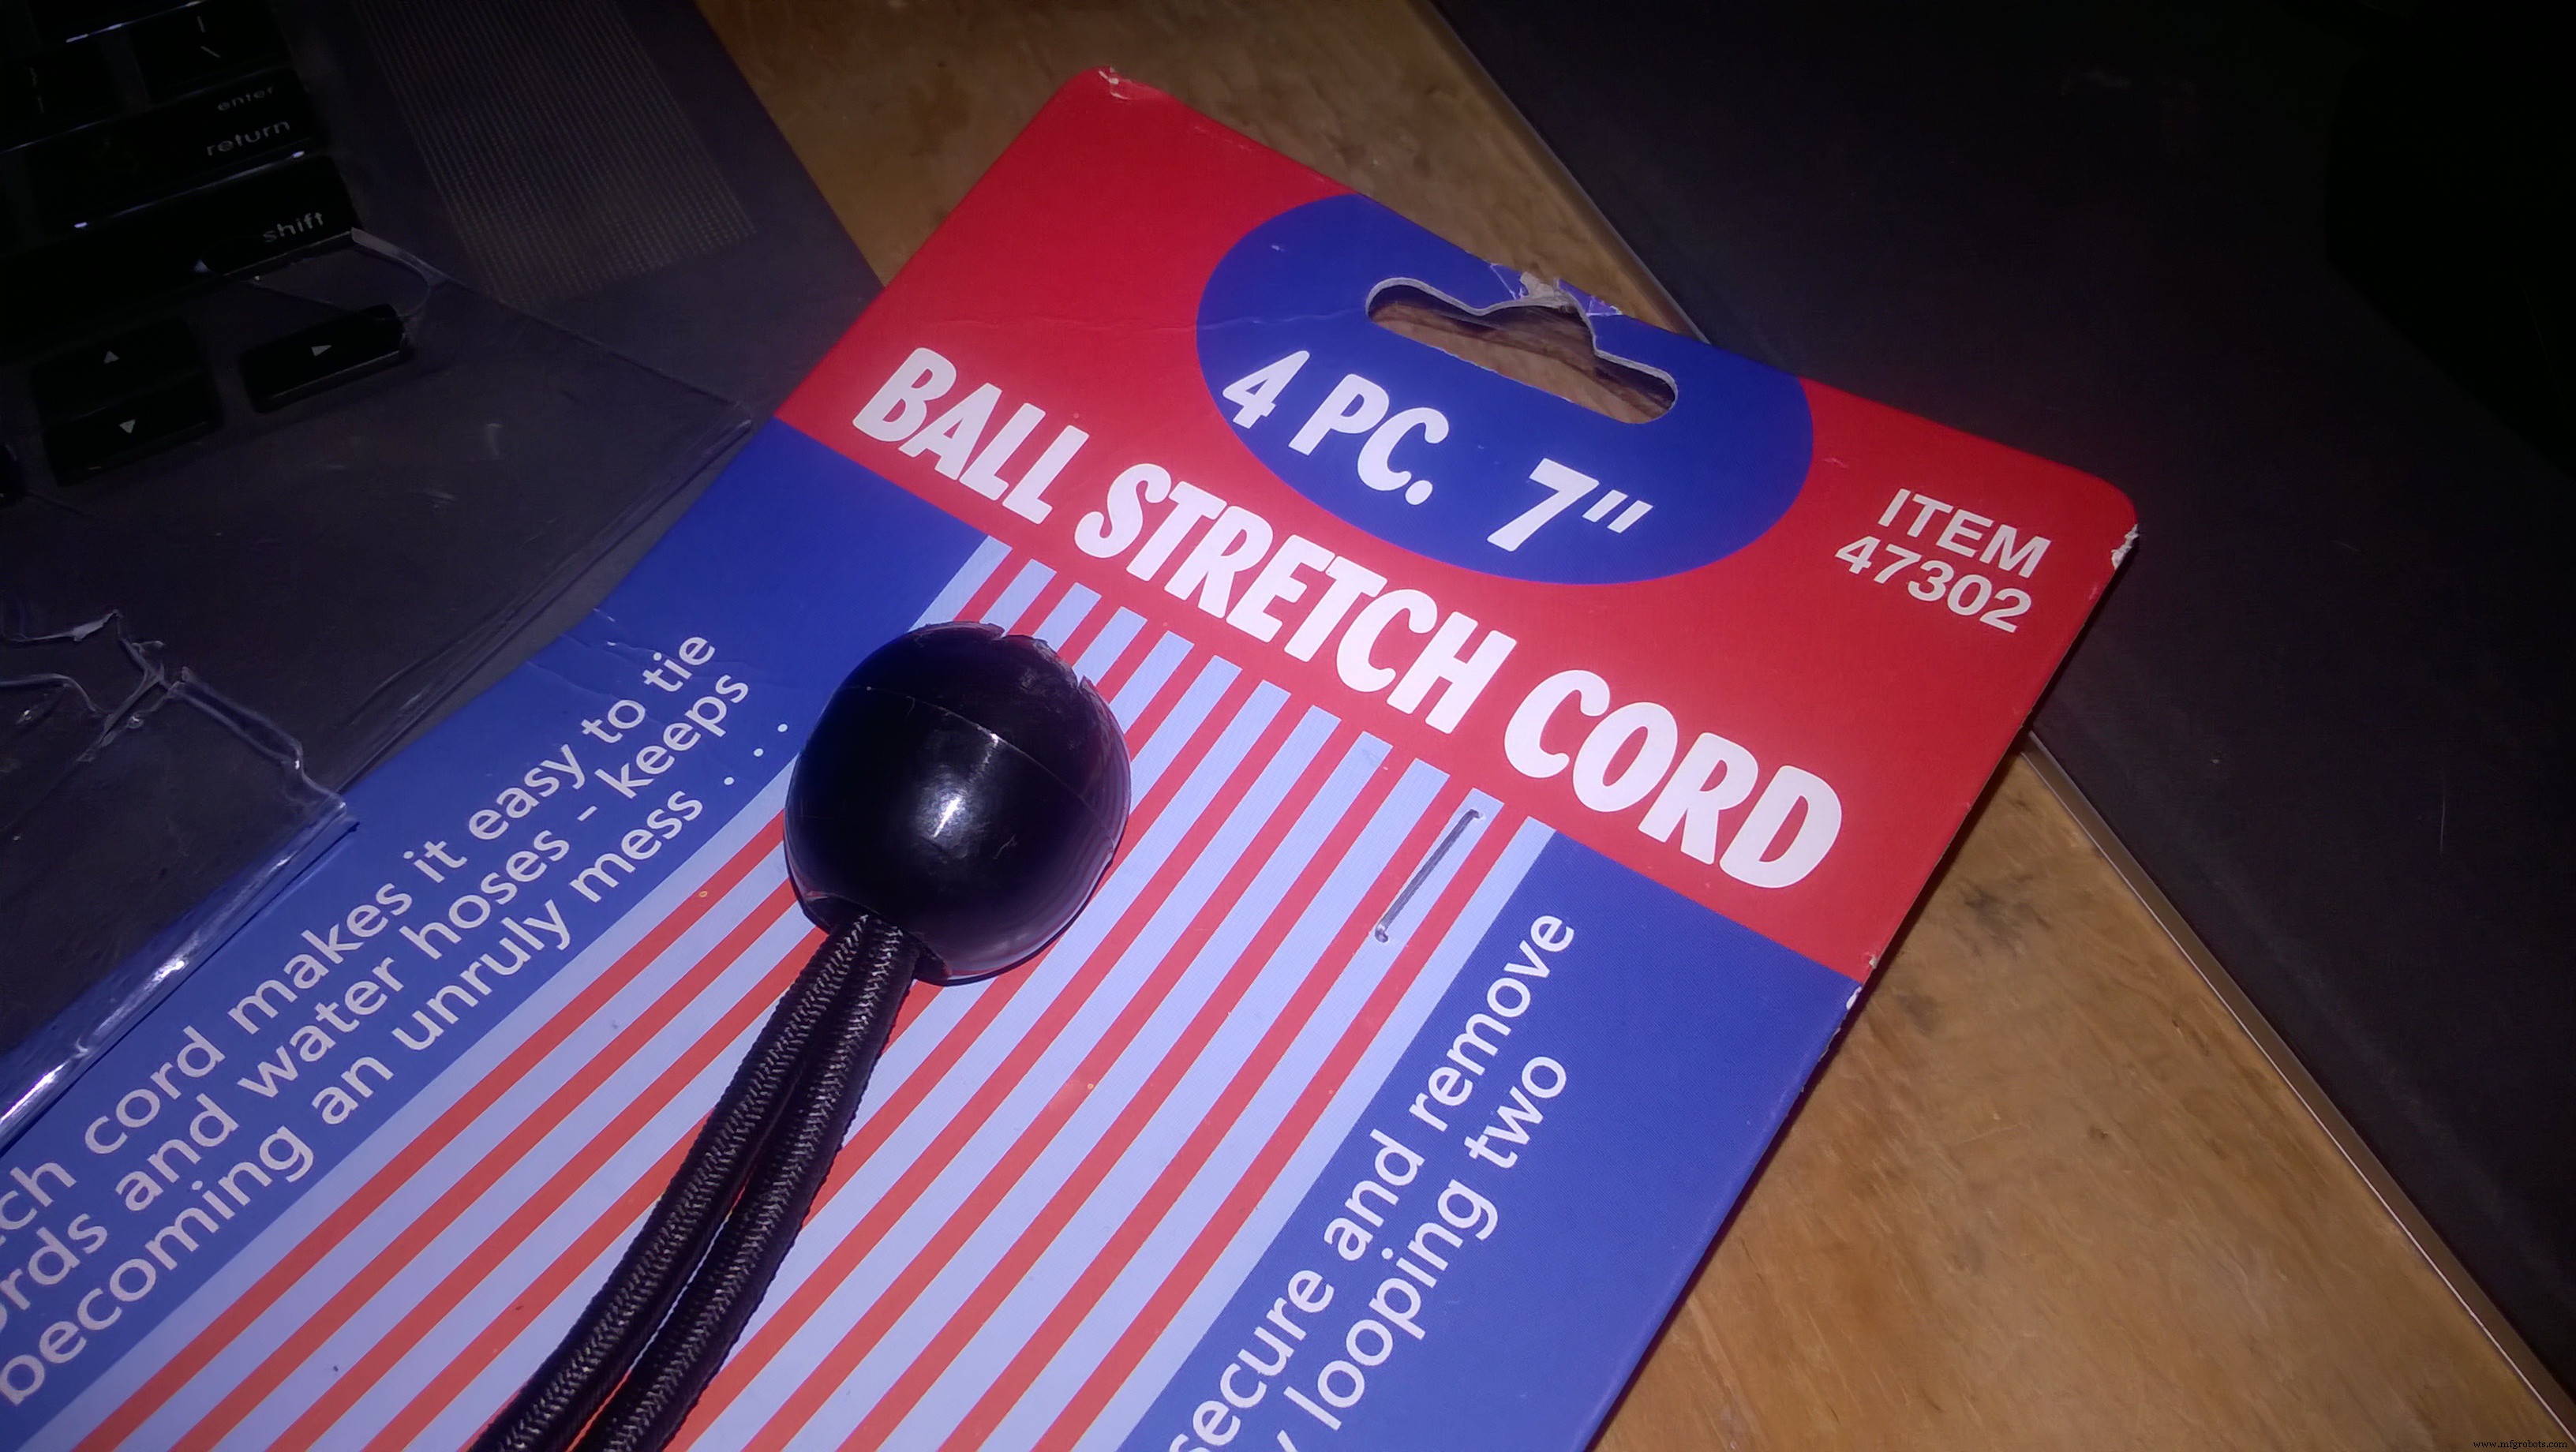
Gepland: spanbanden en zuignappen aan achterruit. Nog verder te verbeteren.
Code
Volledige code op GitHub: https://github.com/pulcher/mkr1000_challenge
Schema
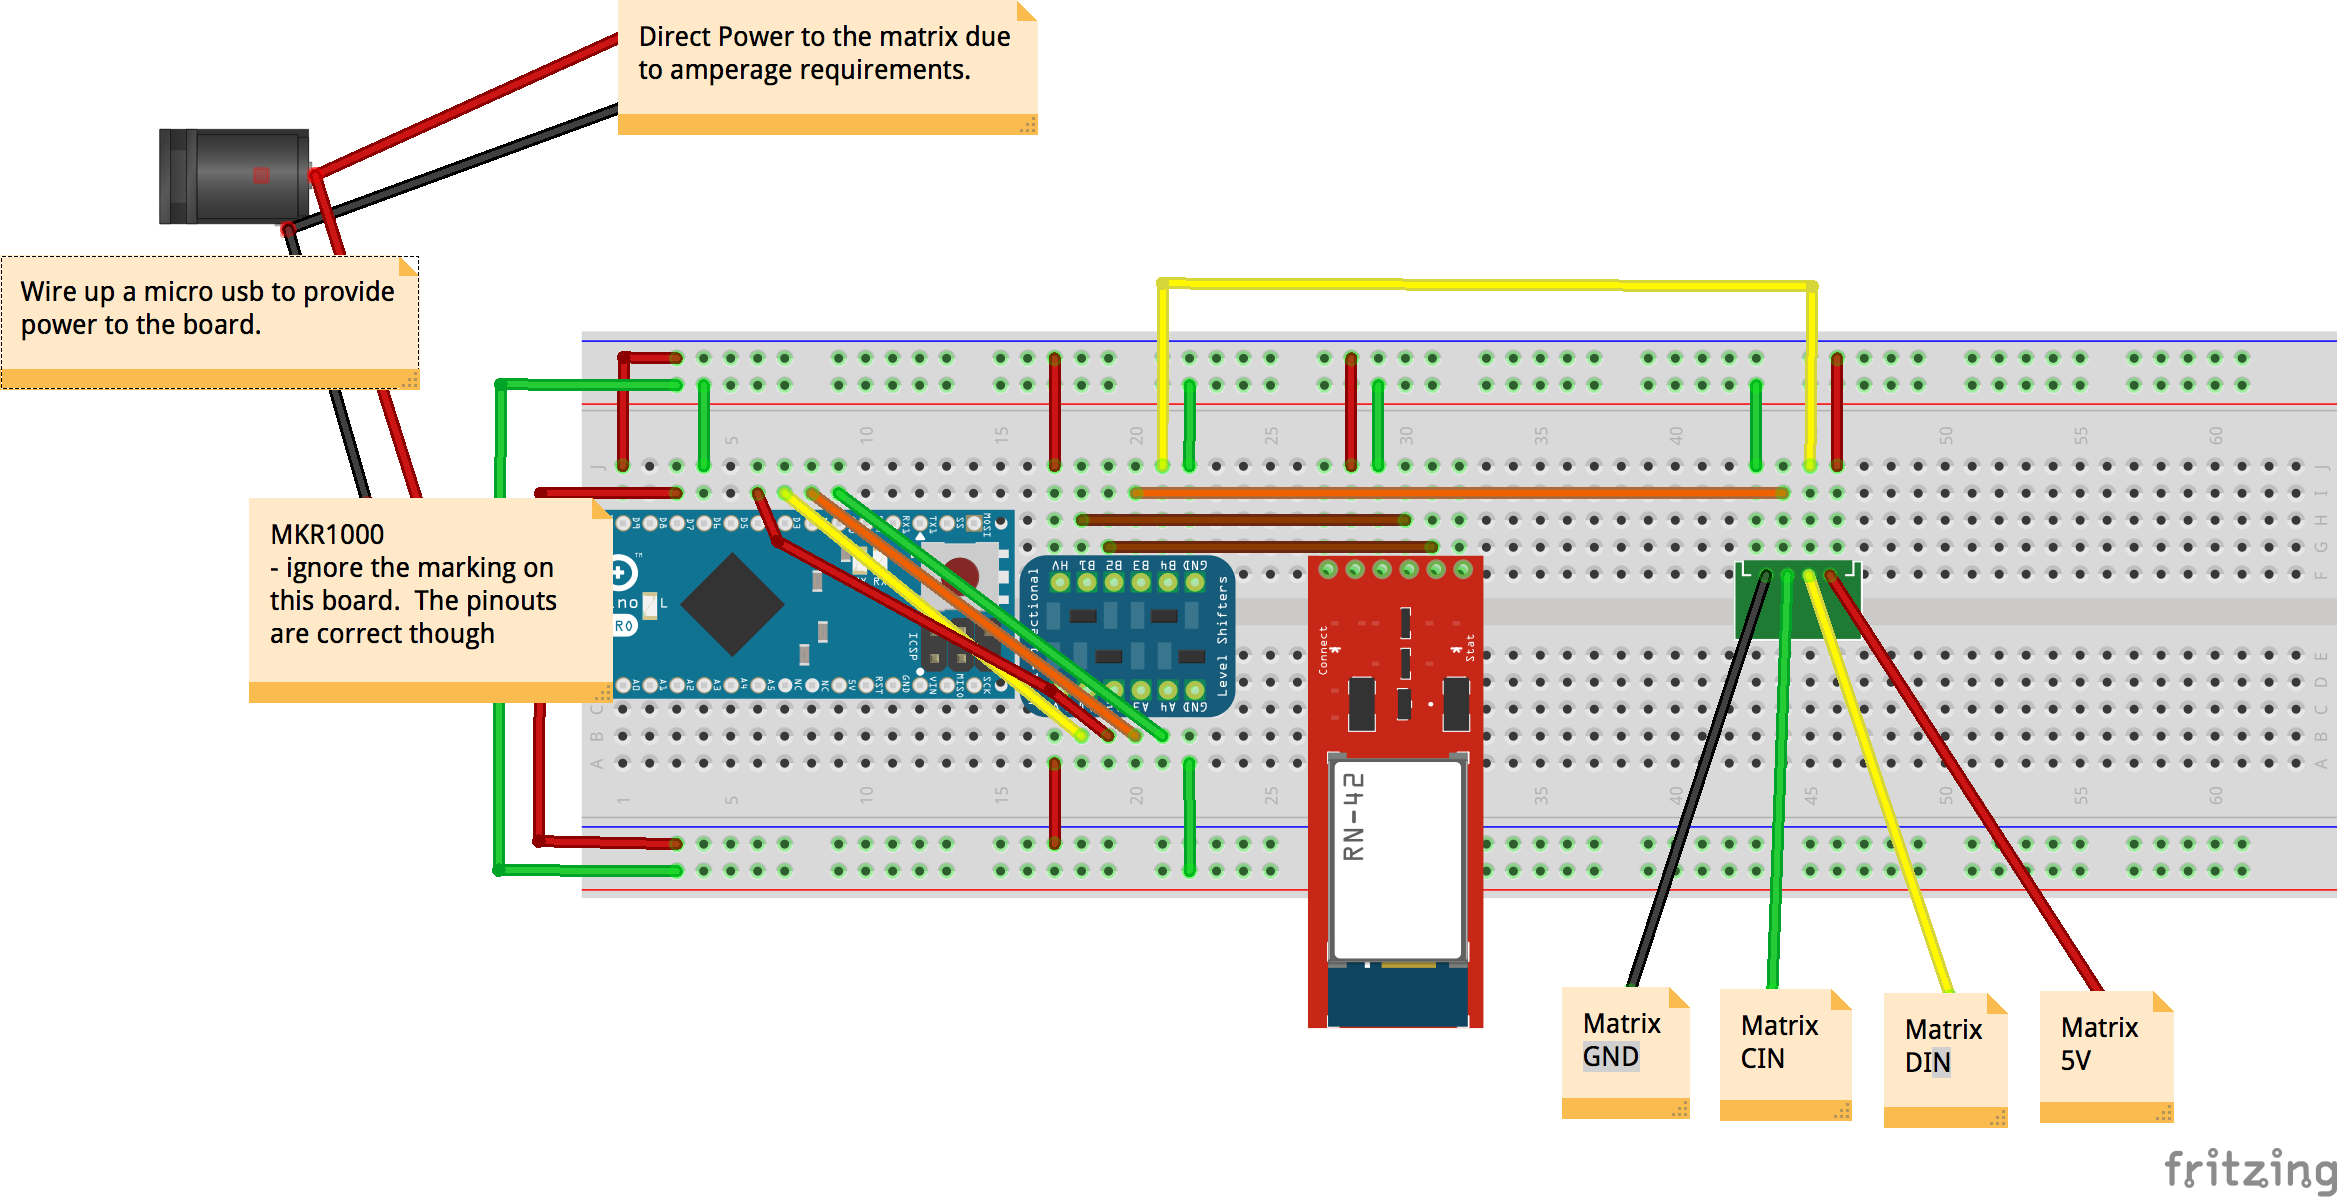
Het schema toont de MKR1000 als microcontroller (het echte bord was nog niet uit).
Productieproces
- UnifiedWater v1 – Complete Arduino Waterkwaliteit Sensor Kit
- Draagbaar stemstysteem met GSM-connectiviteit
- Slimme Match-Making Zonnebril Maken met Arduino 101 en tinyTILE BLE
- DIY Whac-A-Mole Arcade Spel (Knoppen Editie) – Arduino Project
- Moderne Jukebox: Raspberry Pi & Arduino LED Muziekspeler
- DIY Arduino Smartwatch: Bouw Je Eigen Apple Watch-stijl Tijdwijzer
- DIY All-Band Arduino Radio met Si4730 (LW, MW, SW, FM) – Laagbudget, Stap-voor-Stap
- Wi-Fi IR-replicator: apparaten op afstand besturen
- Uitgebreide gids tot PCB-afwerkingen: types, toepassingen en best practices
- EDM Ontladingserosie Uitgelegd: Technologie, Methodes en Toepassingen
- Uitgebreide gids voor flenslagers: Typen, kenmerken en toepassingen