



u-blox LEA‑6H GPS Module: Arduino & Python Integratie Handleiding
Onderdelen en benodigdheden
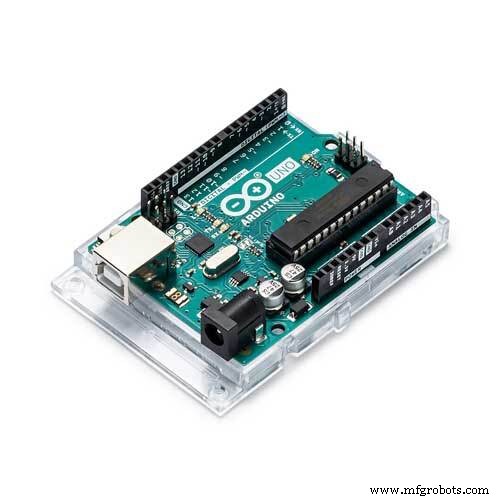 |
Arduino UNO (of elk Arduino bord met UART-ondersteuning) | × | 1 |
| GPS-ontvanger (u-blox LEA-6H 02 of gelijkwaardig met UART) | × | 1 | |
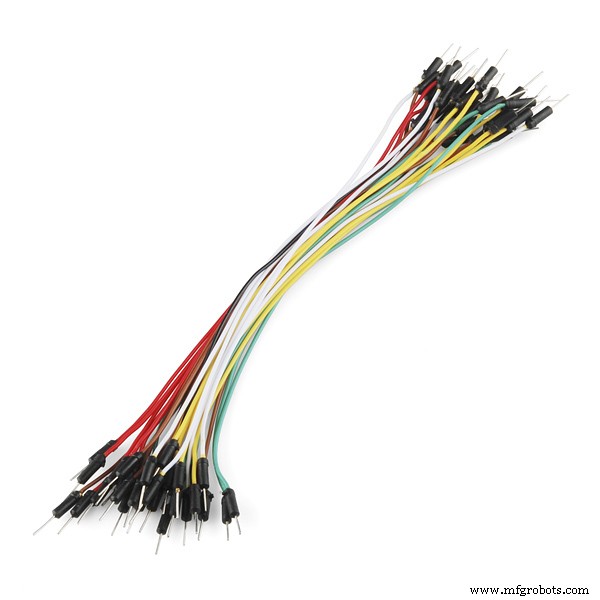 |
Jumper wires (standaard) | × | 1 |
 |
USB-A naar B kabel | × | 1 |
Apps en online diensten
 |
Arduino IDE |
Over dit project
Interfacing van een GPS-module (u-blox LEA-6H 02) met een Arduino UNO (of ander Arduino-apparaat) en berekening van breedte- en lengtegraad voor weergave in een Python-applicatievenster.
Stap 1: GPS-module voorbereiden
- Lees de u-blox LEA-6 datasheet zorgvuldig en controleer of je module klopt.
- De meeste modules werken op ~2.7 tot 3.6V – gebruik de Arduino 3.3V pin.
- Alle modules ondersteunen UART-communicatie; dit gebruiken we voor de interface met Arduino.
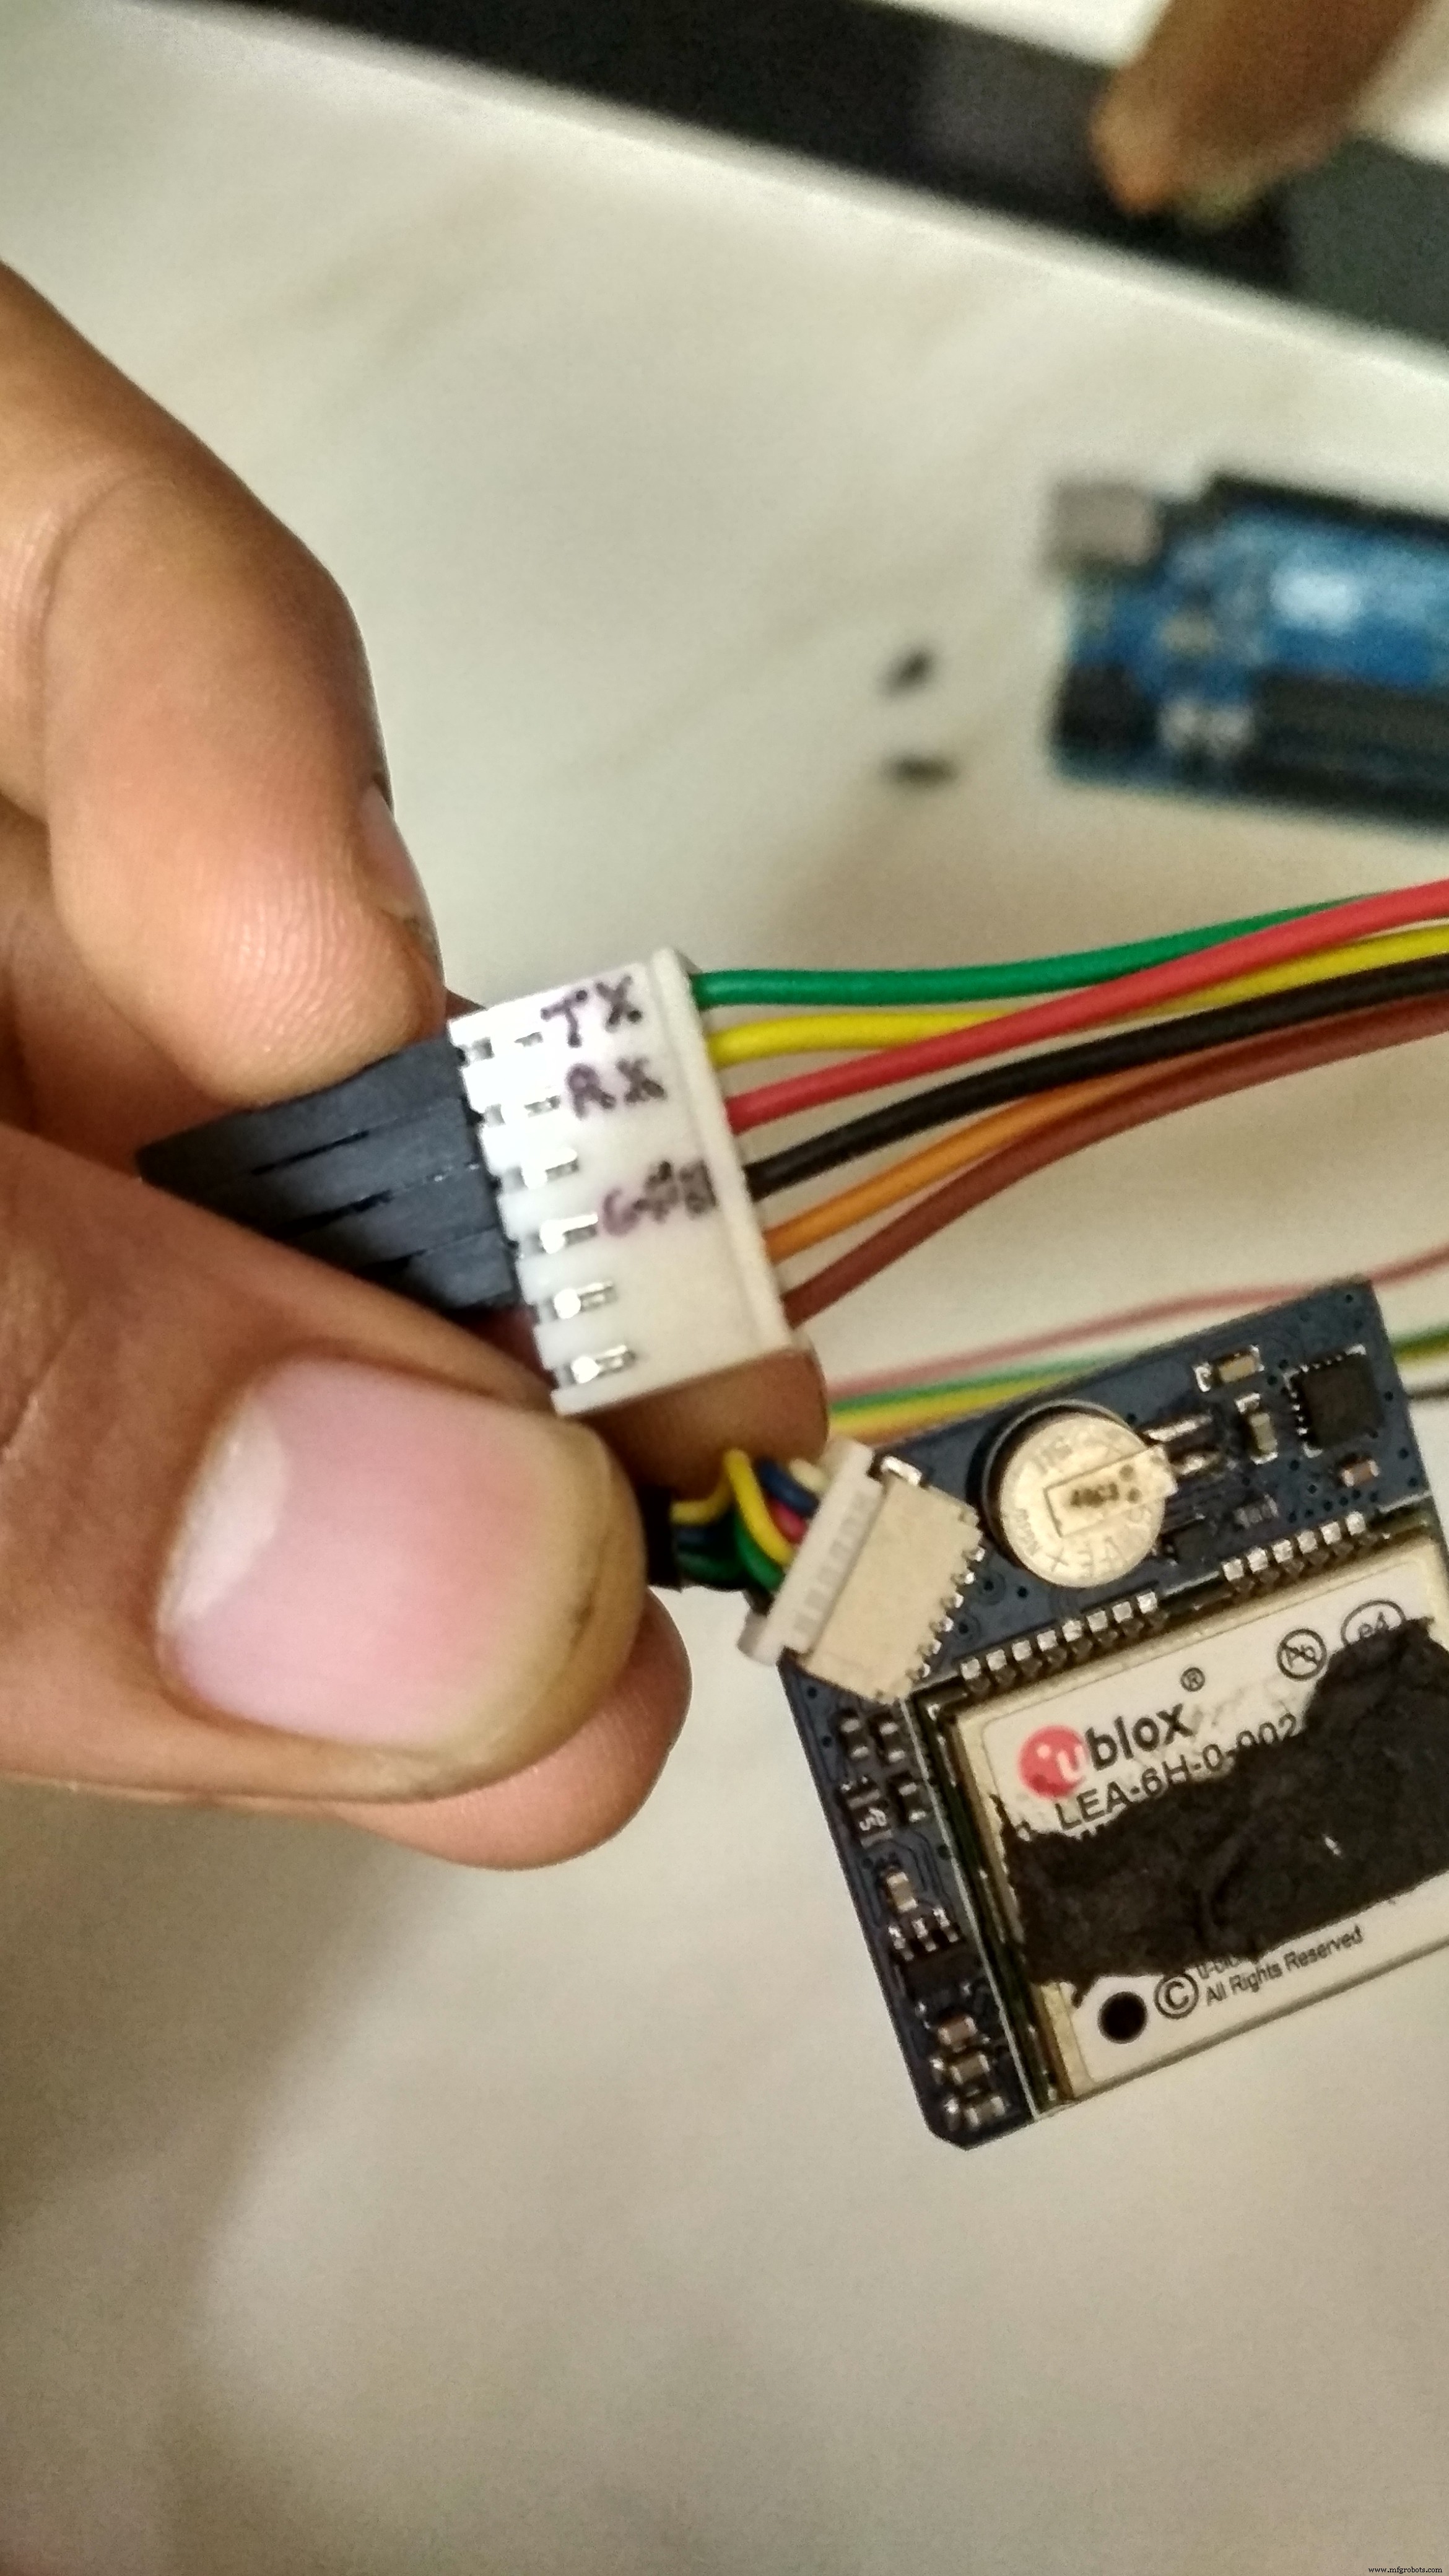
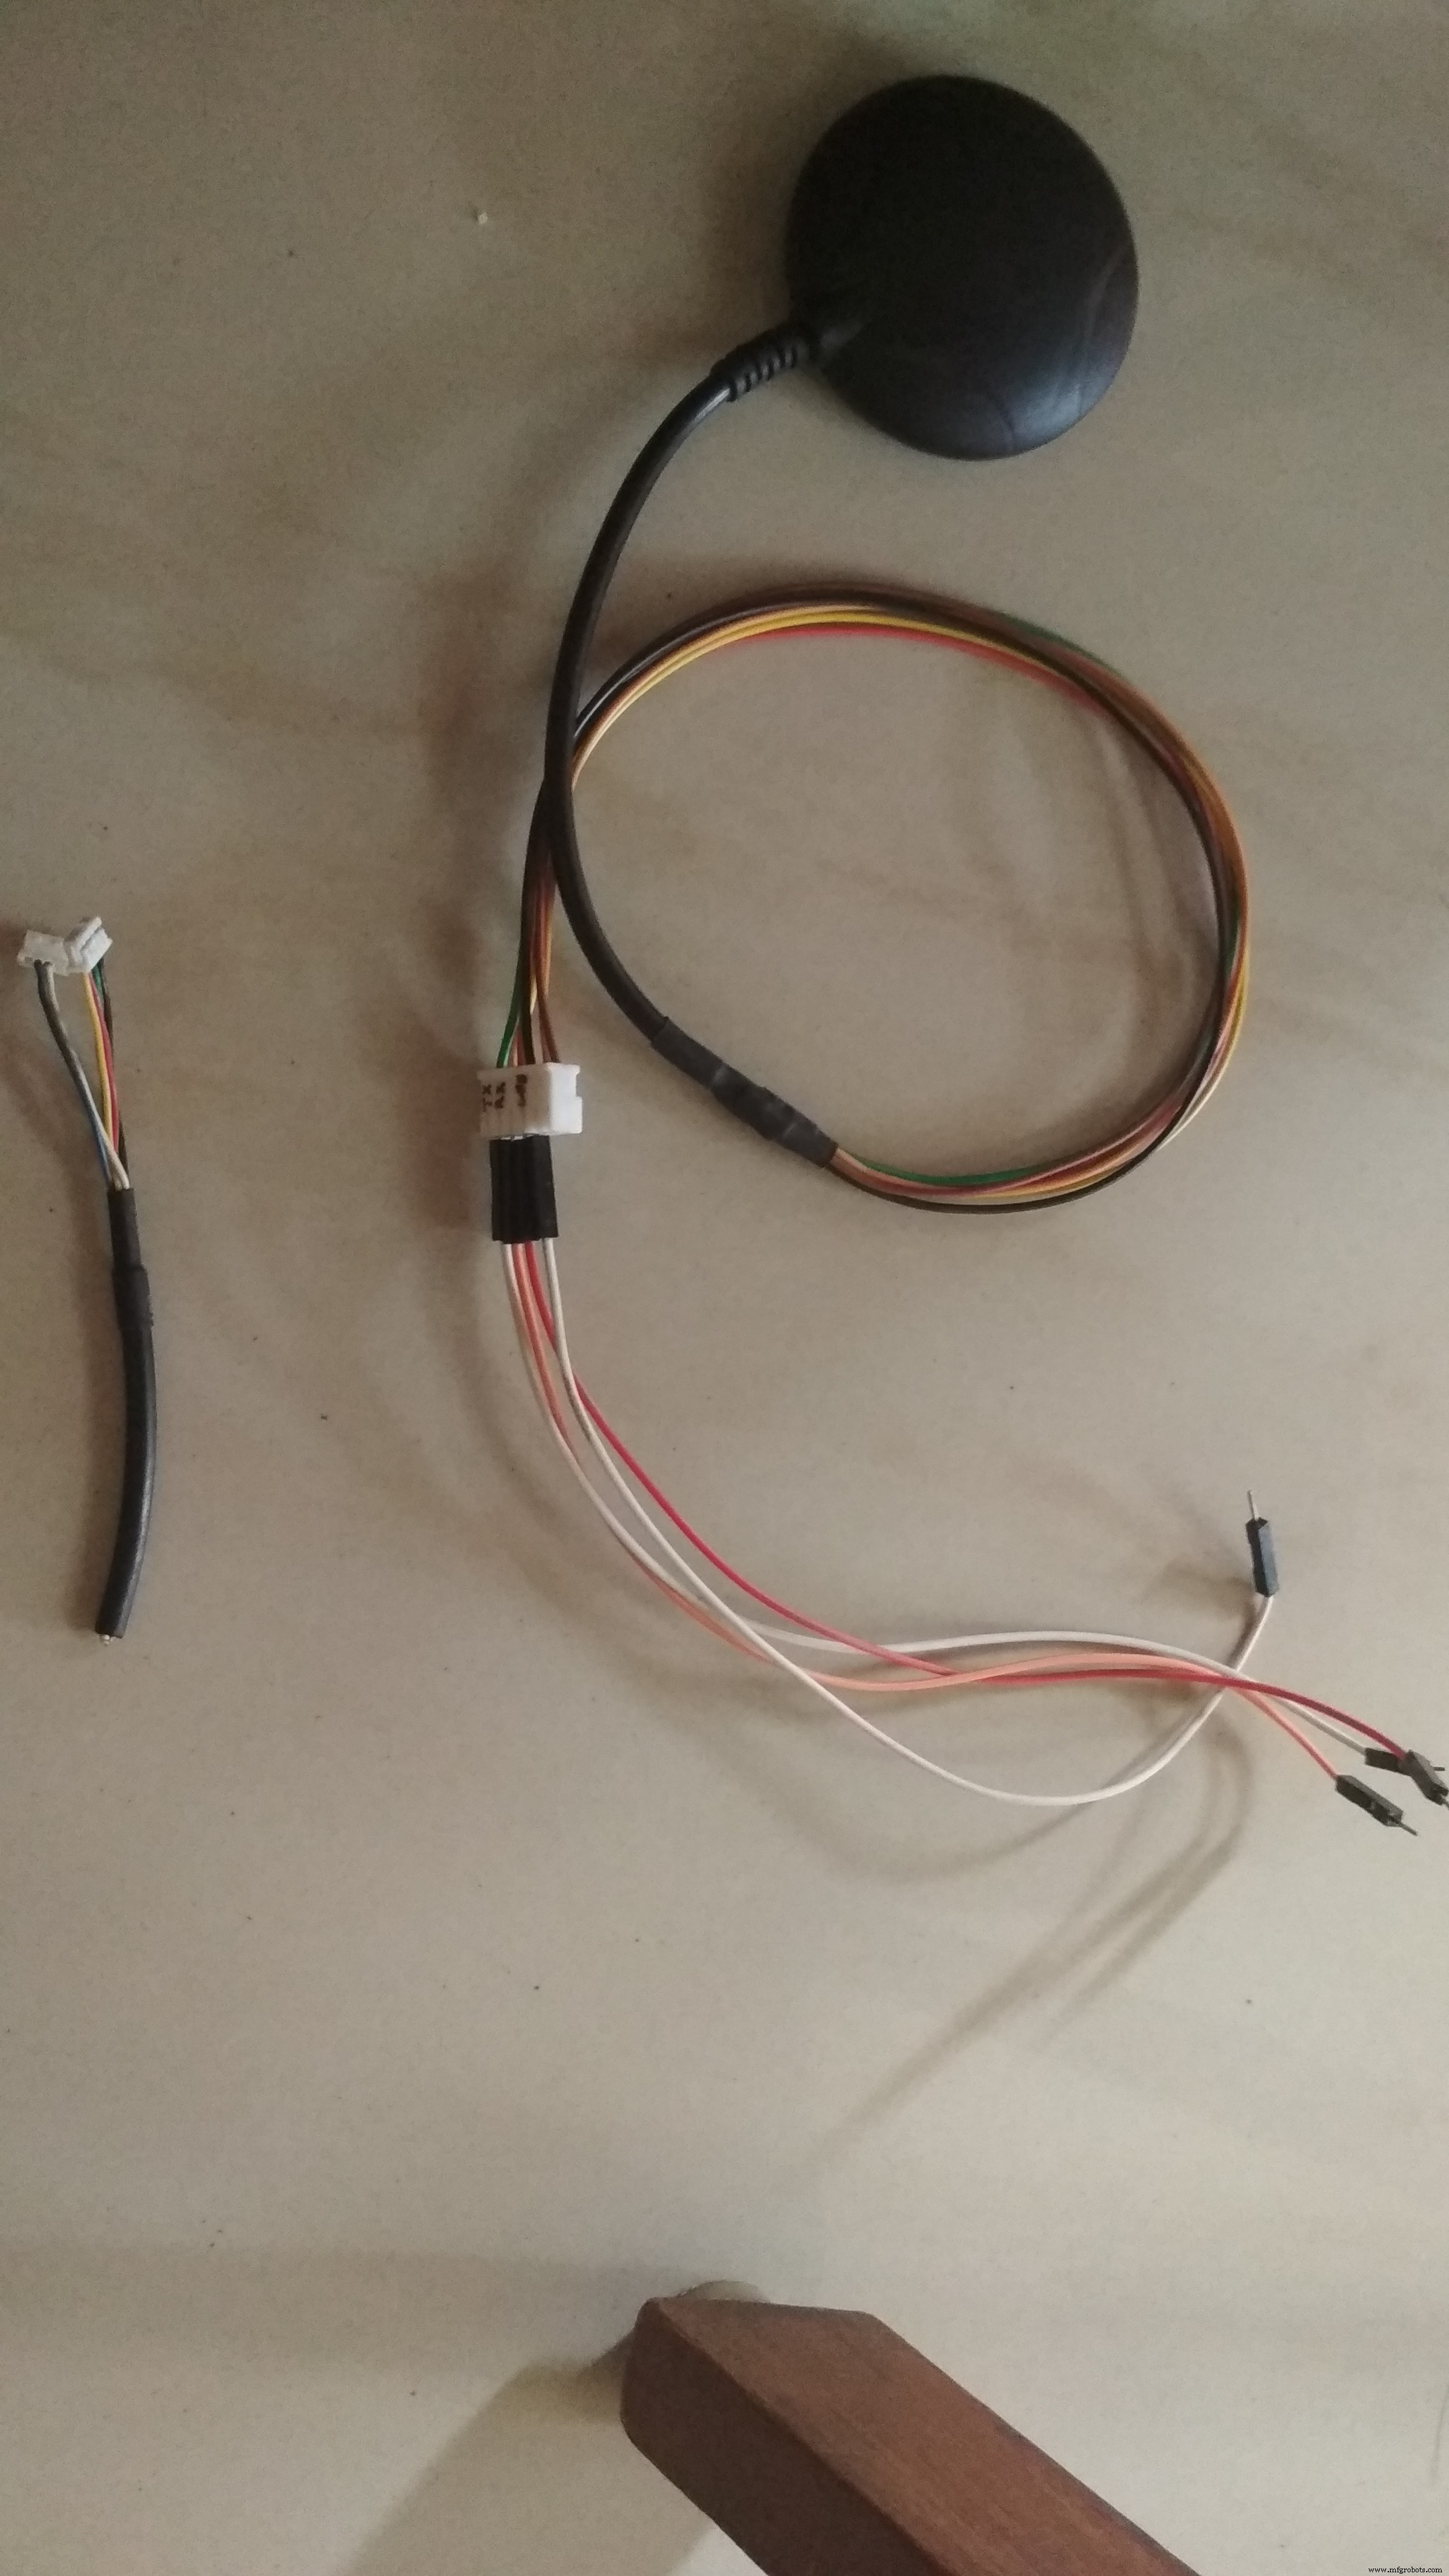
- Modules hebben standaard micro-female sockets; ik verving deze door 2.54mm jumper wire female sockets (maak eerst een pin-diagram!).
- Nu is de module klaar voor verbinding met Arduino.
LEA-6_DataSheet_(UBX-14044797).pdf
Stap 2: GPS-module met Arduino verbinden
- Tx van GPS (groene draad) → Rx van Arduino
- Rx van GPS (gele draad) → Tx van Arduino
- Identificeer Tx (zender) en Rx (ontvanger) op beide modules (Arduino UNO: Tx pin 0, Rx pin 1).
Let op: Voer maximaal 3.3V (max 3.6V) aan de GPS-module. Lees de handleiding zorgvuldig.
Stap 3: Arduino-programma uploaden voor seriële communicatie
- Code vind je in de GitHub repository: github.com/harshgosar/LEA-6h-GPS-Arduino-Python
- Lees het
README.mdbestand. - Upload de Arduino-code.
- Sluit GPS-pins aan op Arduino.
- Open Serial Monitor in Arduino IDE en observeer de GPS-output (duurt even voor geldige data – houd GPS-module in open ruimte of bij raam).
- Installeer u-center software (zie README).
- Sluit Serial Monitor, open u-center, selecteer de Arduino seriële poort.
Stap 4: Python-code uitvoeren
- Download en configureer Python lokaal.
- Download Python-code om GPS-data via seriële poort te lezen.
- Sluit GPS aan op Arduino en voed.
- Bepaal COM-poort waaraan Arduino verbonden is.
- Draai Python-code, voer COM-poort in.
- Controleer latitude/longitude data.
Code
GitHub Repository: https://github.com/harshgosar/LEA-6h-GPS-Arduino-Python
Bevat Arduino-code voor microcontroller en Python-code voor interface.
Schema's
GPS en Arduino verbinding afbeeldingen:
Geavanceerde Remote-gecontrolleerde Gripper Robot voor Precisiehantering
Arduino-gestuurde Residentiële Luchtstroommeter: Bouwen & Monitoren
Productieproces
- Een Robot Bouwen met Raspberry Pi en Python: Een Complete Gids
- Waterdruppels vastleggen met Arduino Nano – DIY High-Speed Fotografie
- Betrouwbaar Arduino RFID Aanwezigheidssysteem Aangedreven door Python
- DHT11 Temperatuur- & Vochtigheidsensor Project met LED-indicatoren en Piezo-luidspreker
- Arduino Temperatuurbewaking & Realtime Klok met 3.2" TFT-display
- Arduino Mega koppelen aan een NEO‑6M GPS-module: stapsgewijze handleiding
- Arduino & MPU6050: Precieze Servomotor Besturing met SG90 & MG996R
- Spraakherkenning & Synthese Meesteren op Arduino Due
- Arduino GPS en TFT Touchscreen Shield Project: Real-Time Locatieweergave
- Bouw een GPS-bestemmingsnotificator met Arduino UNO en NEO‑6M-module
- Python Module Importeren – Praktische Gids met Voorbeelden