


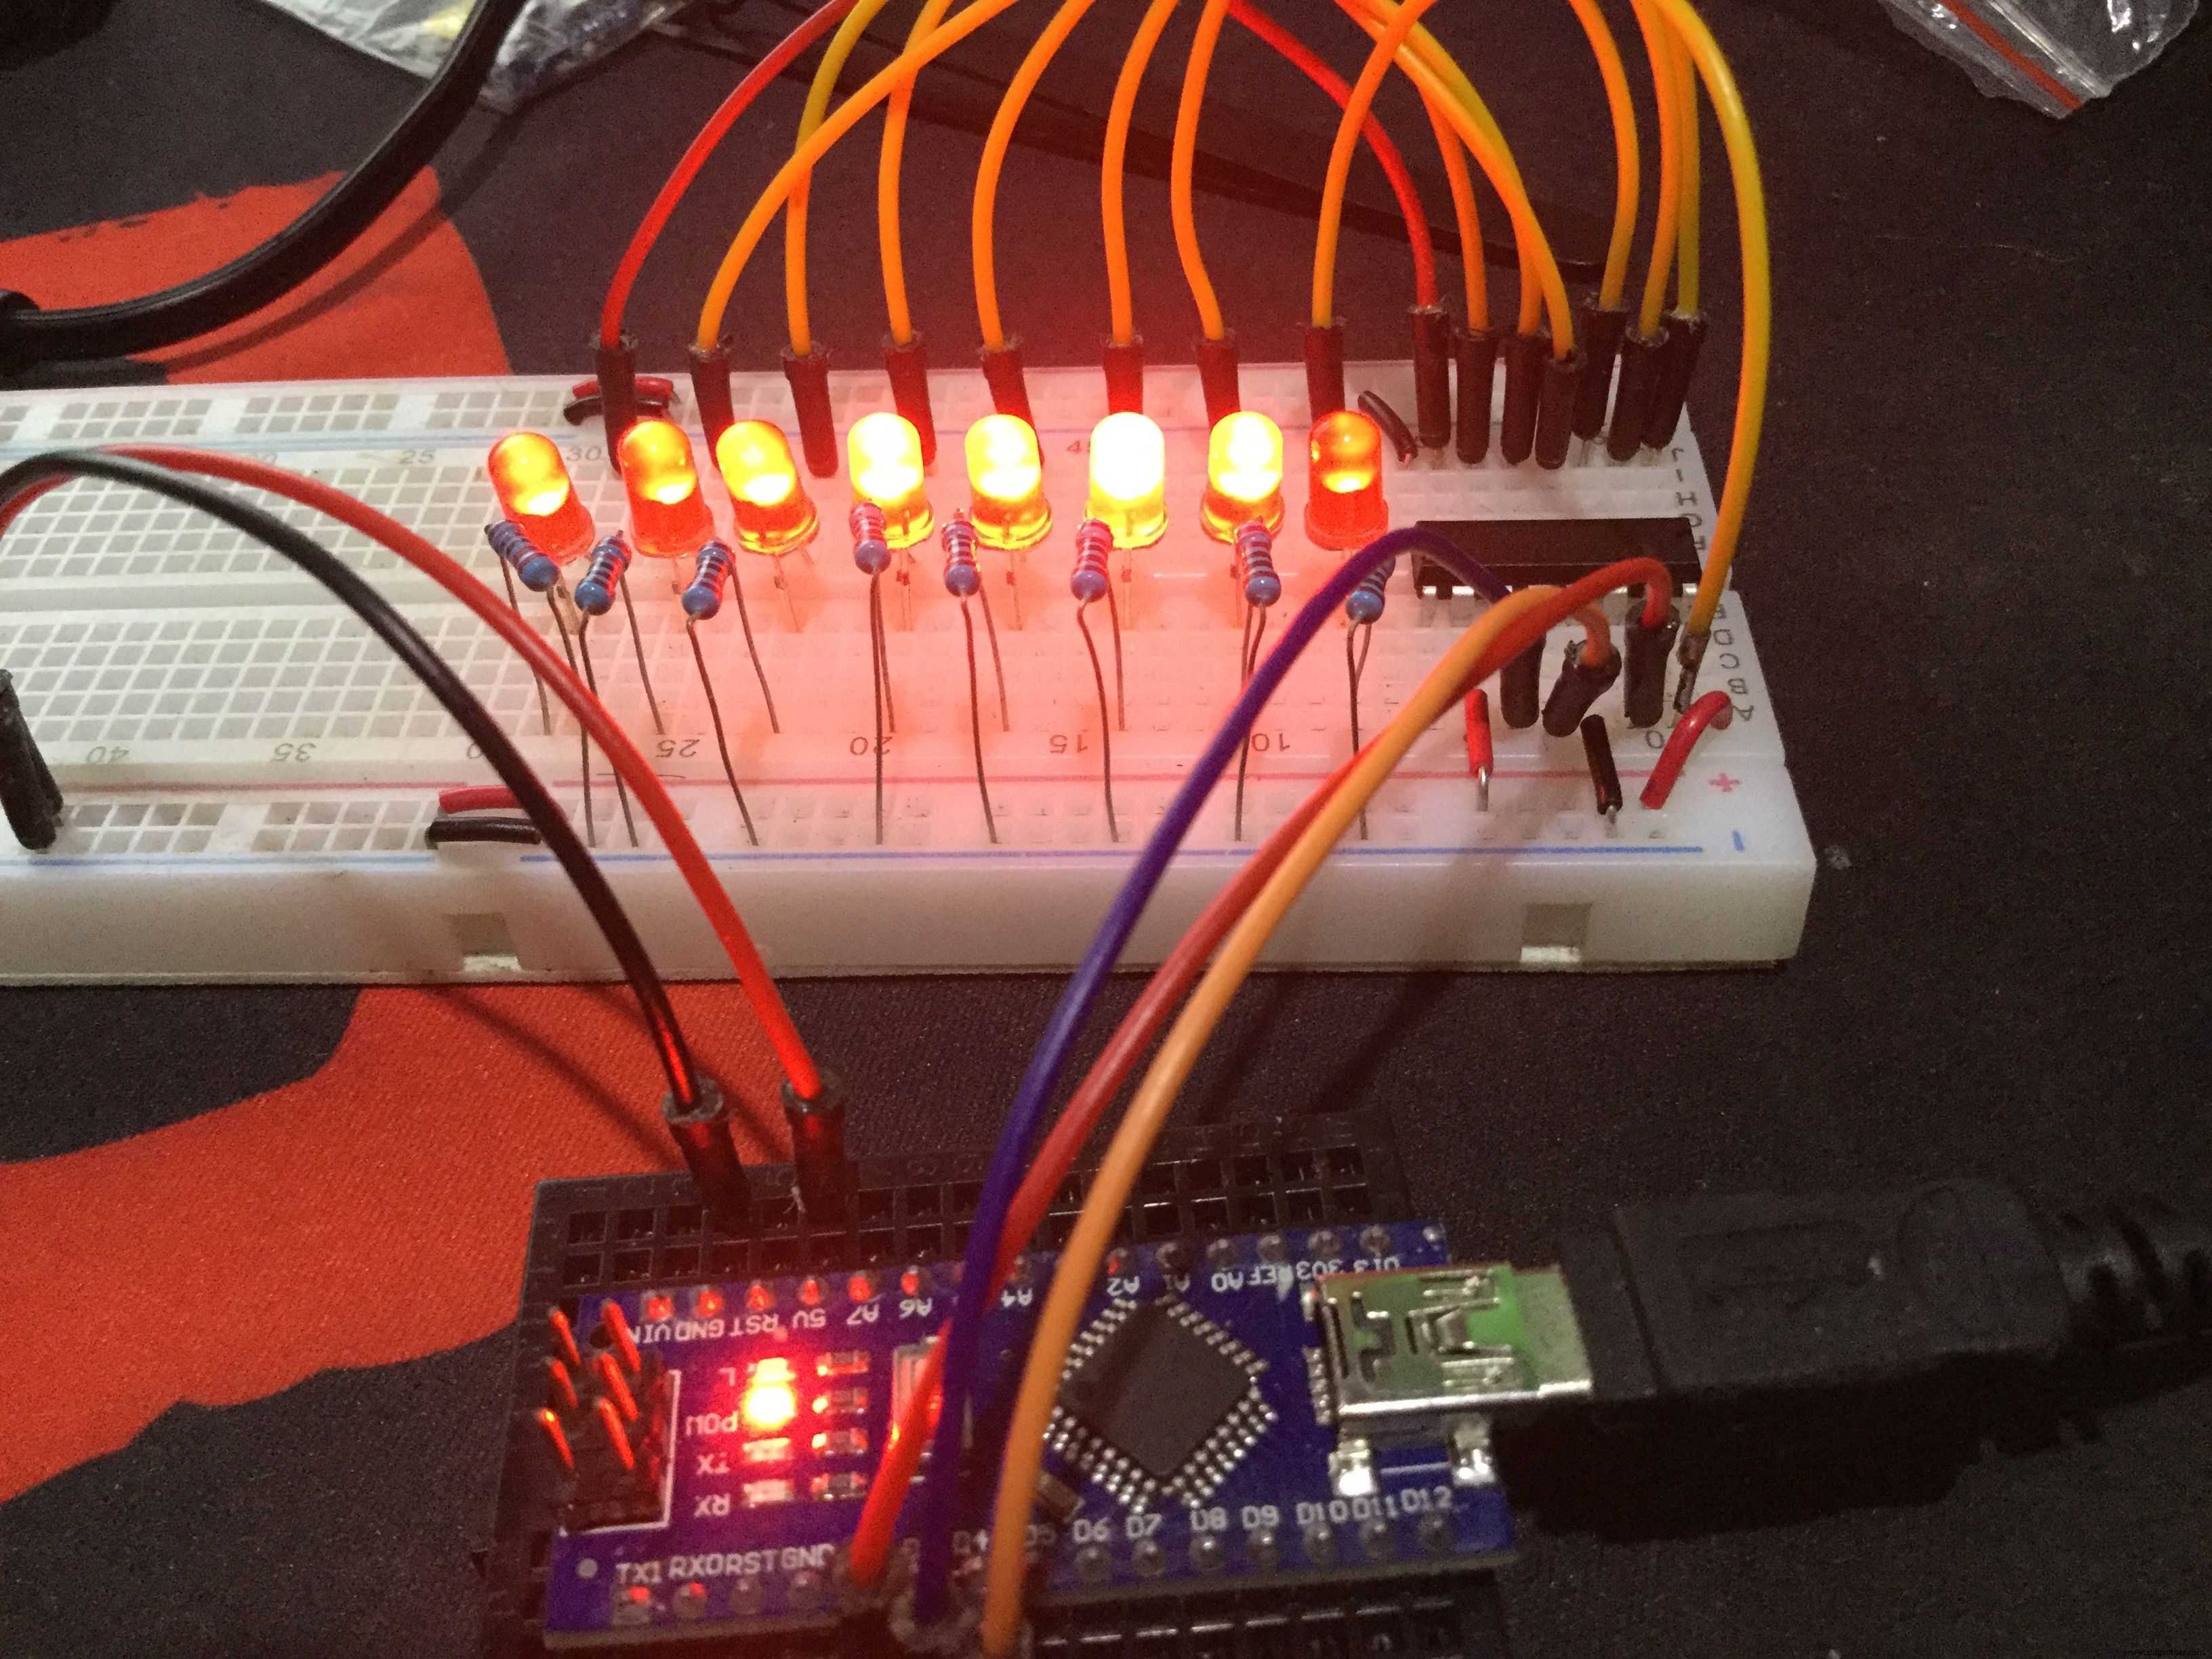
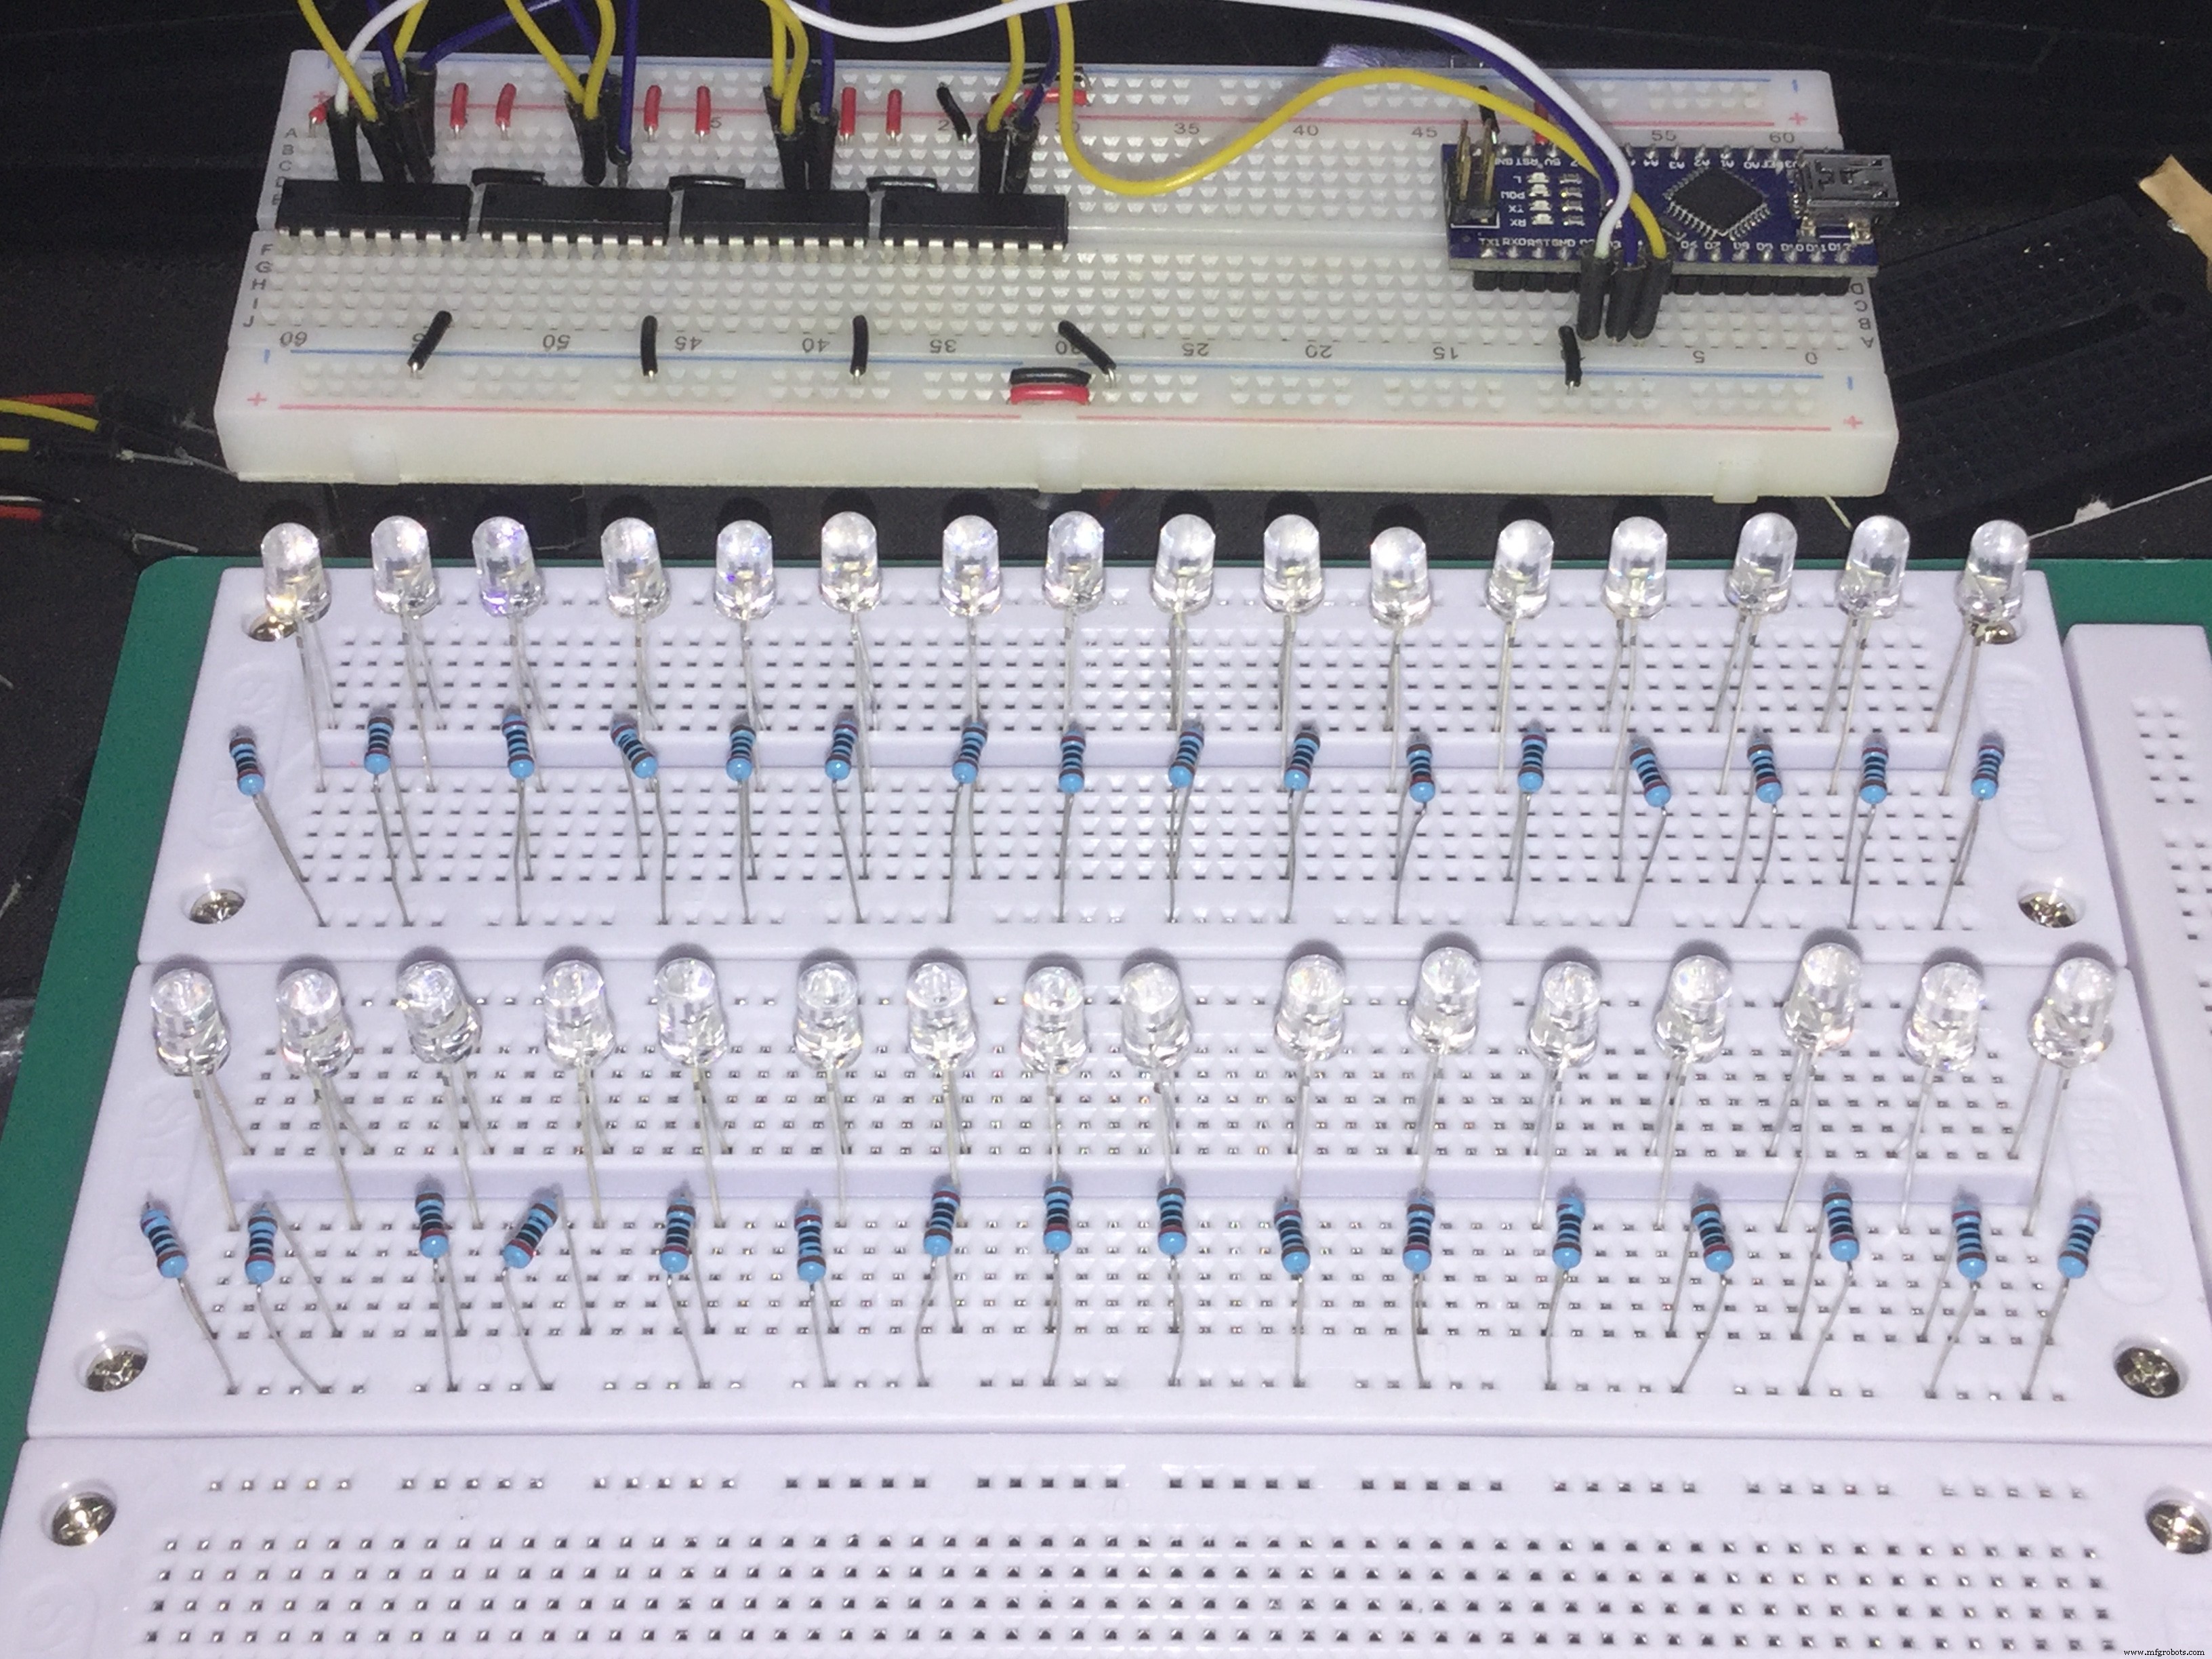
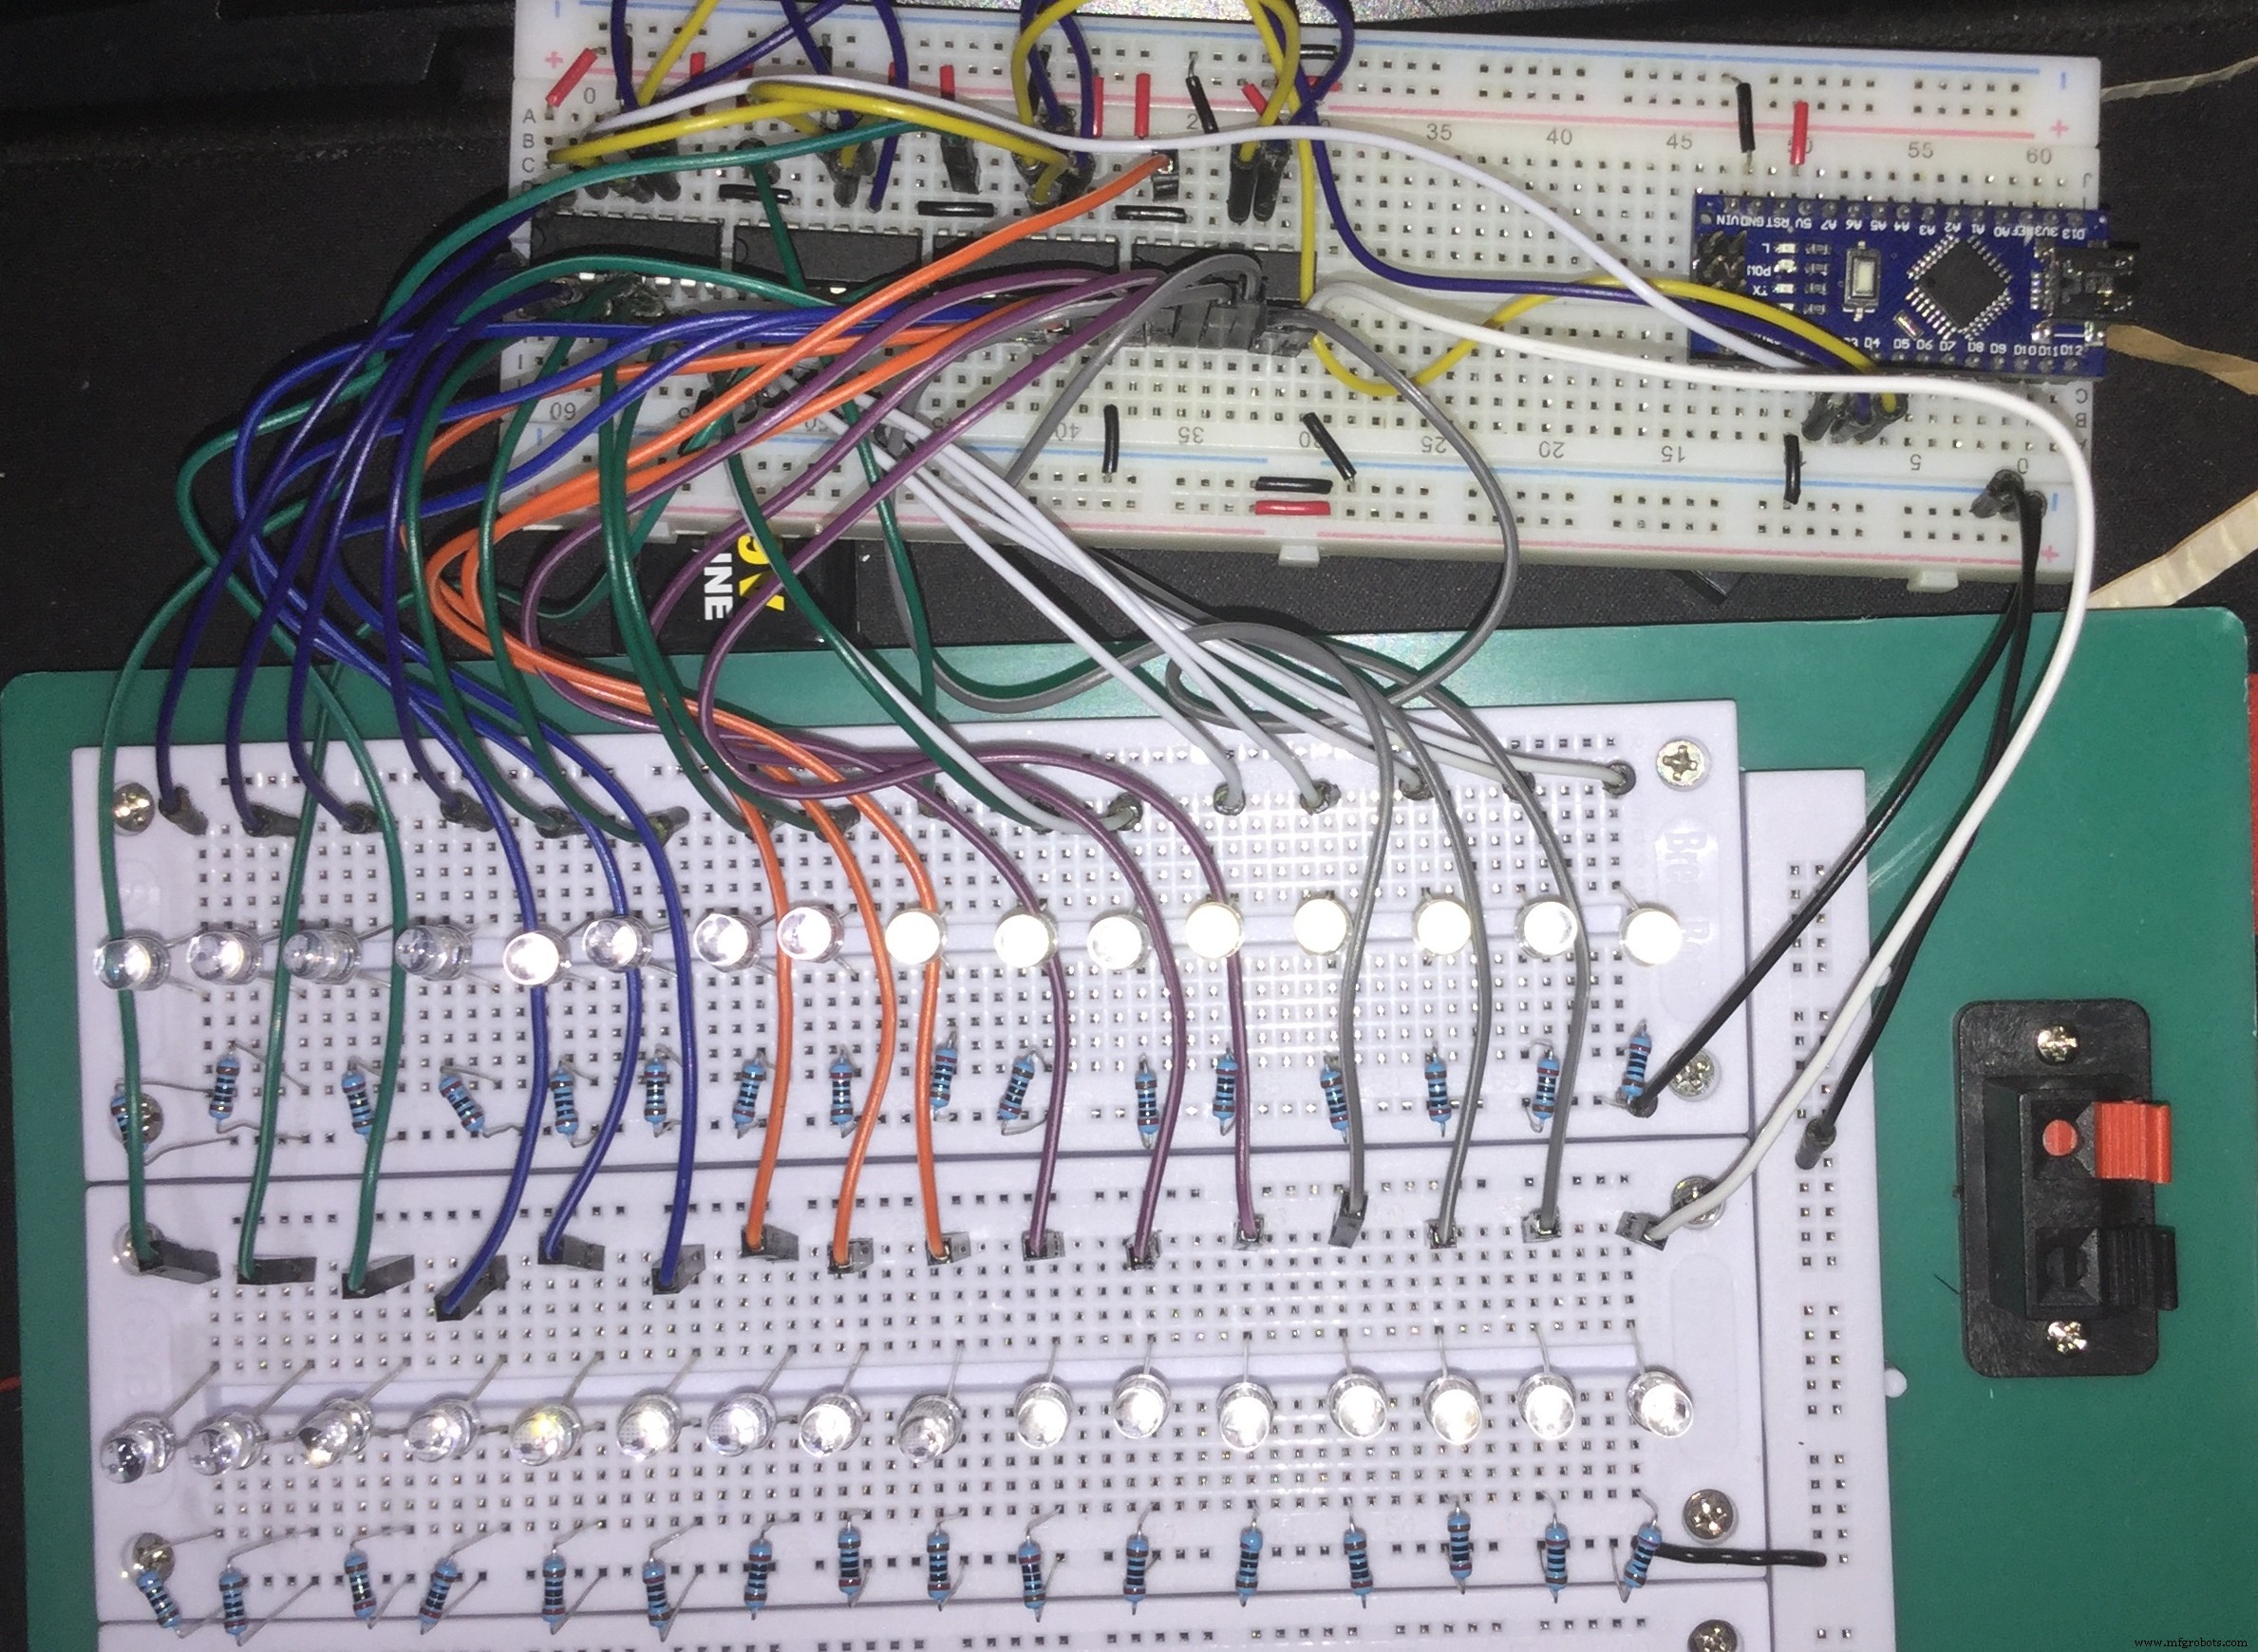
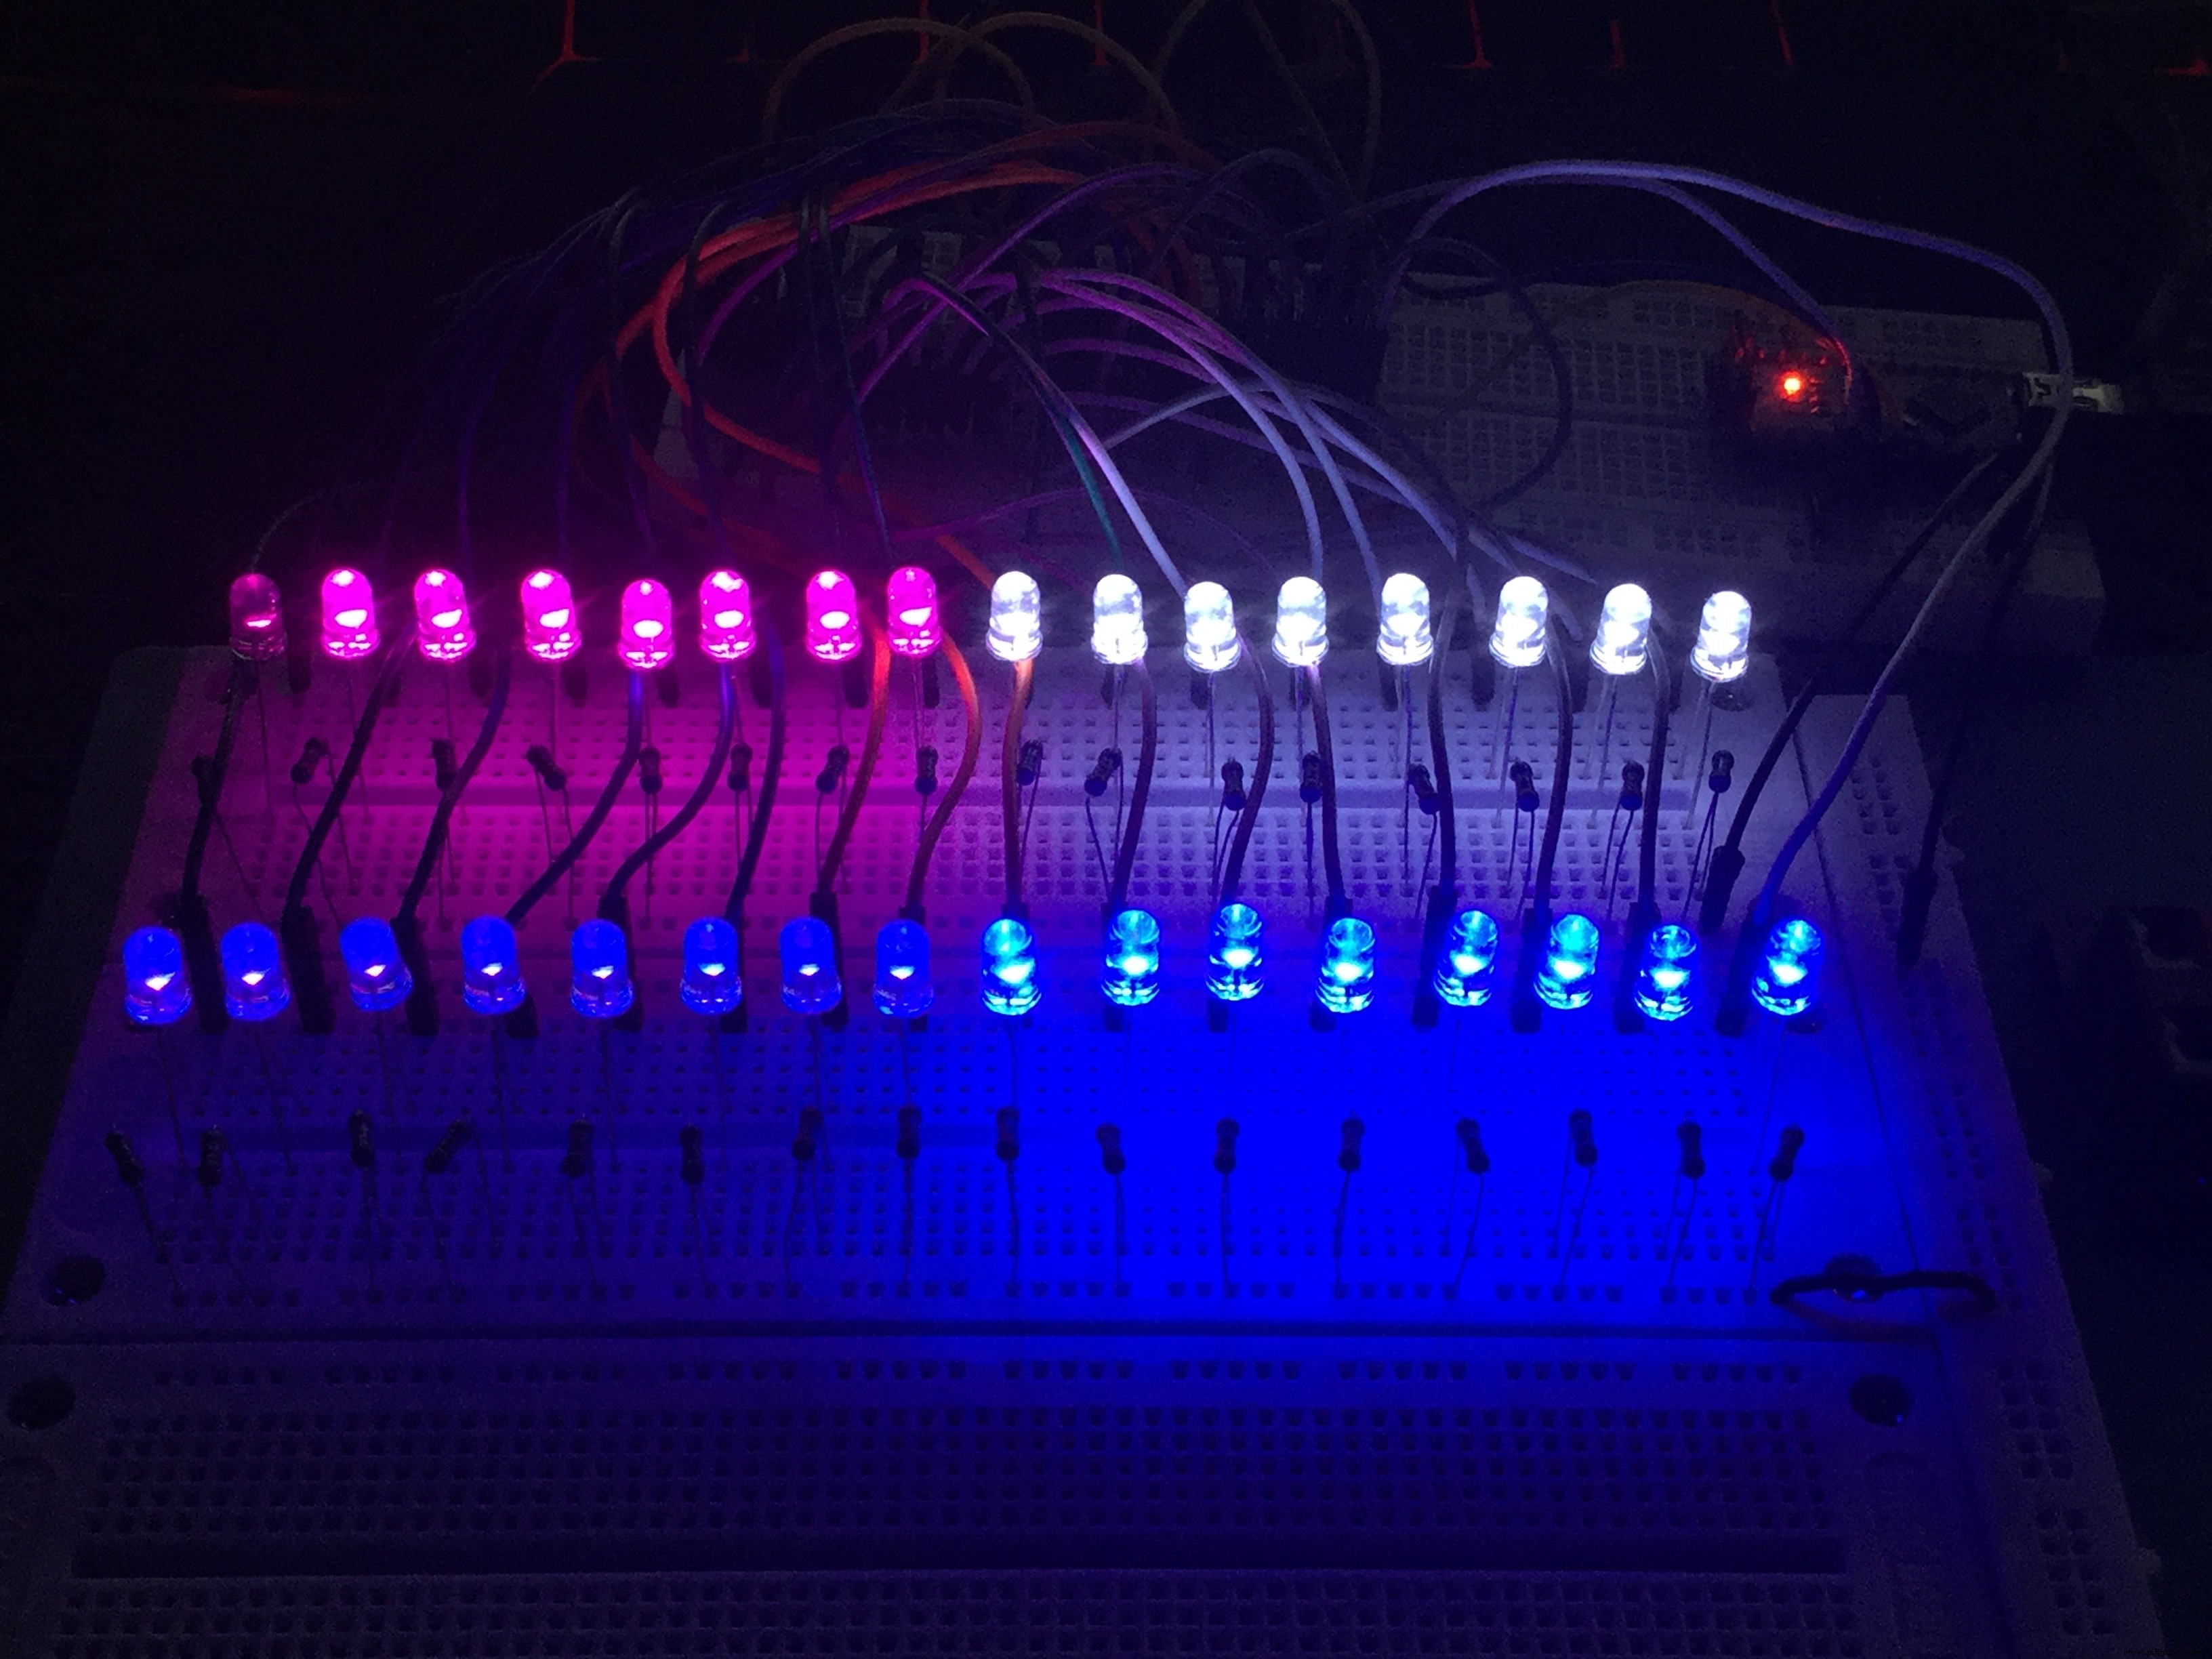
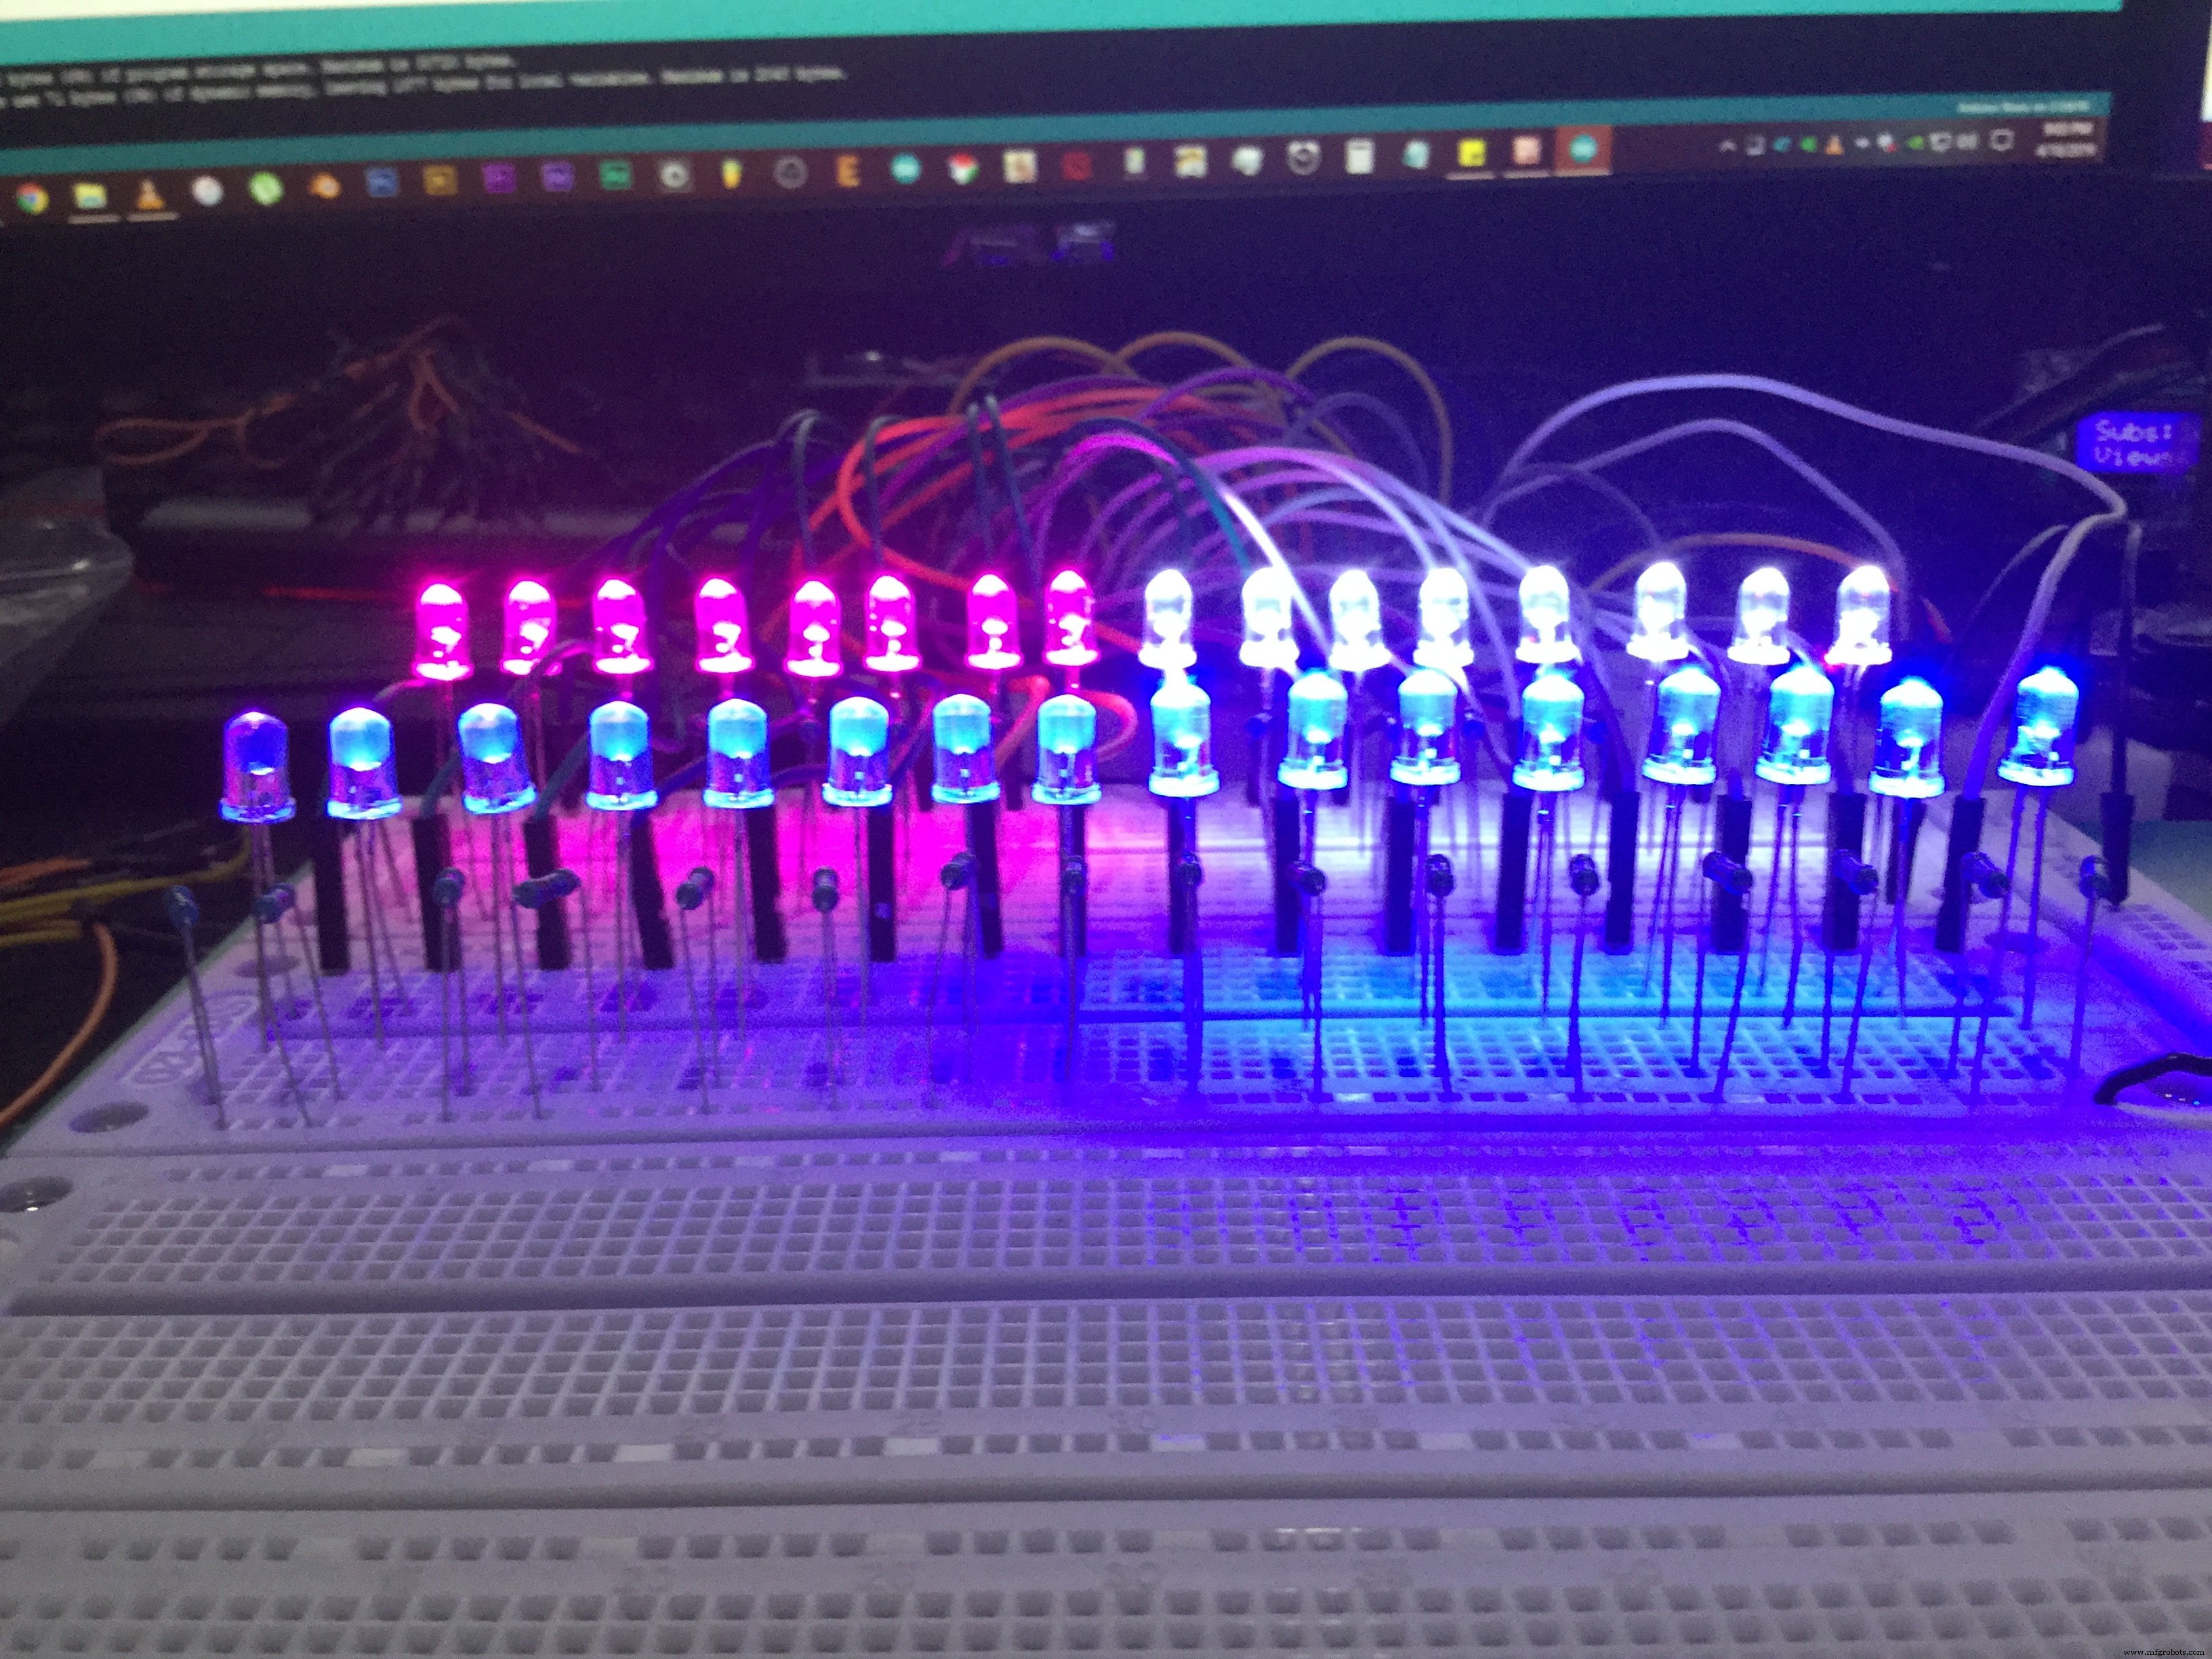
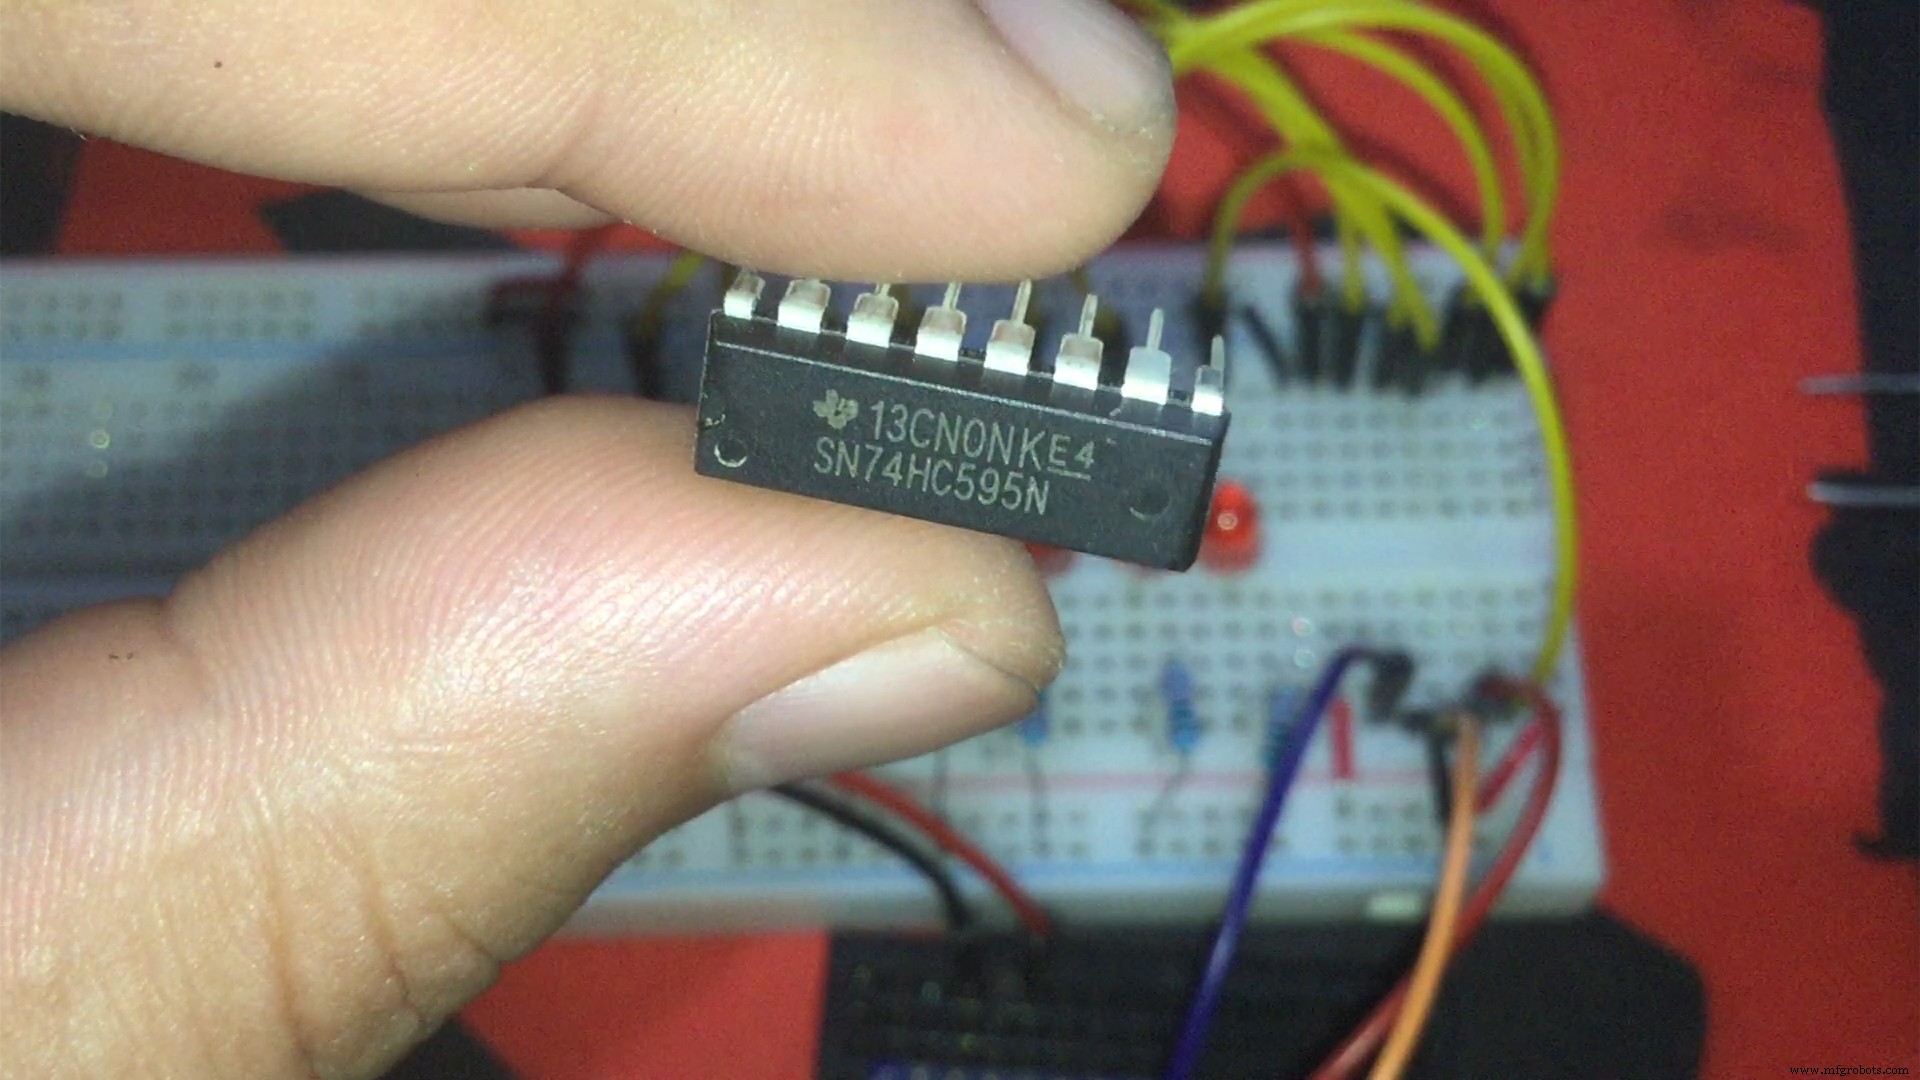
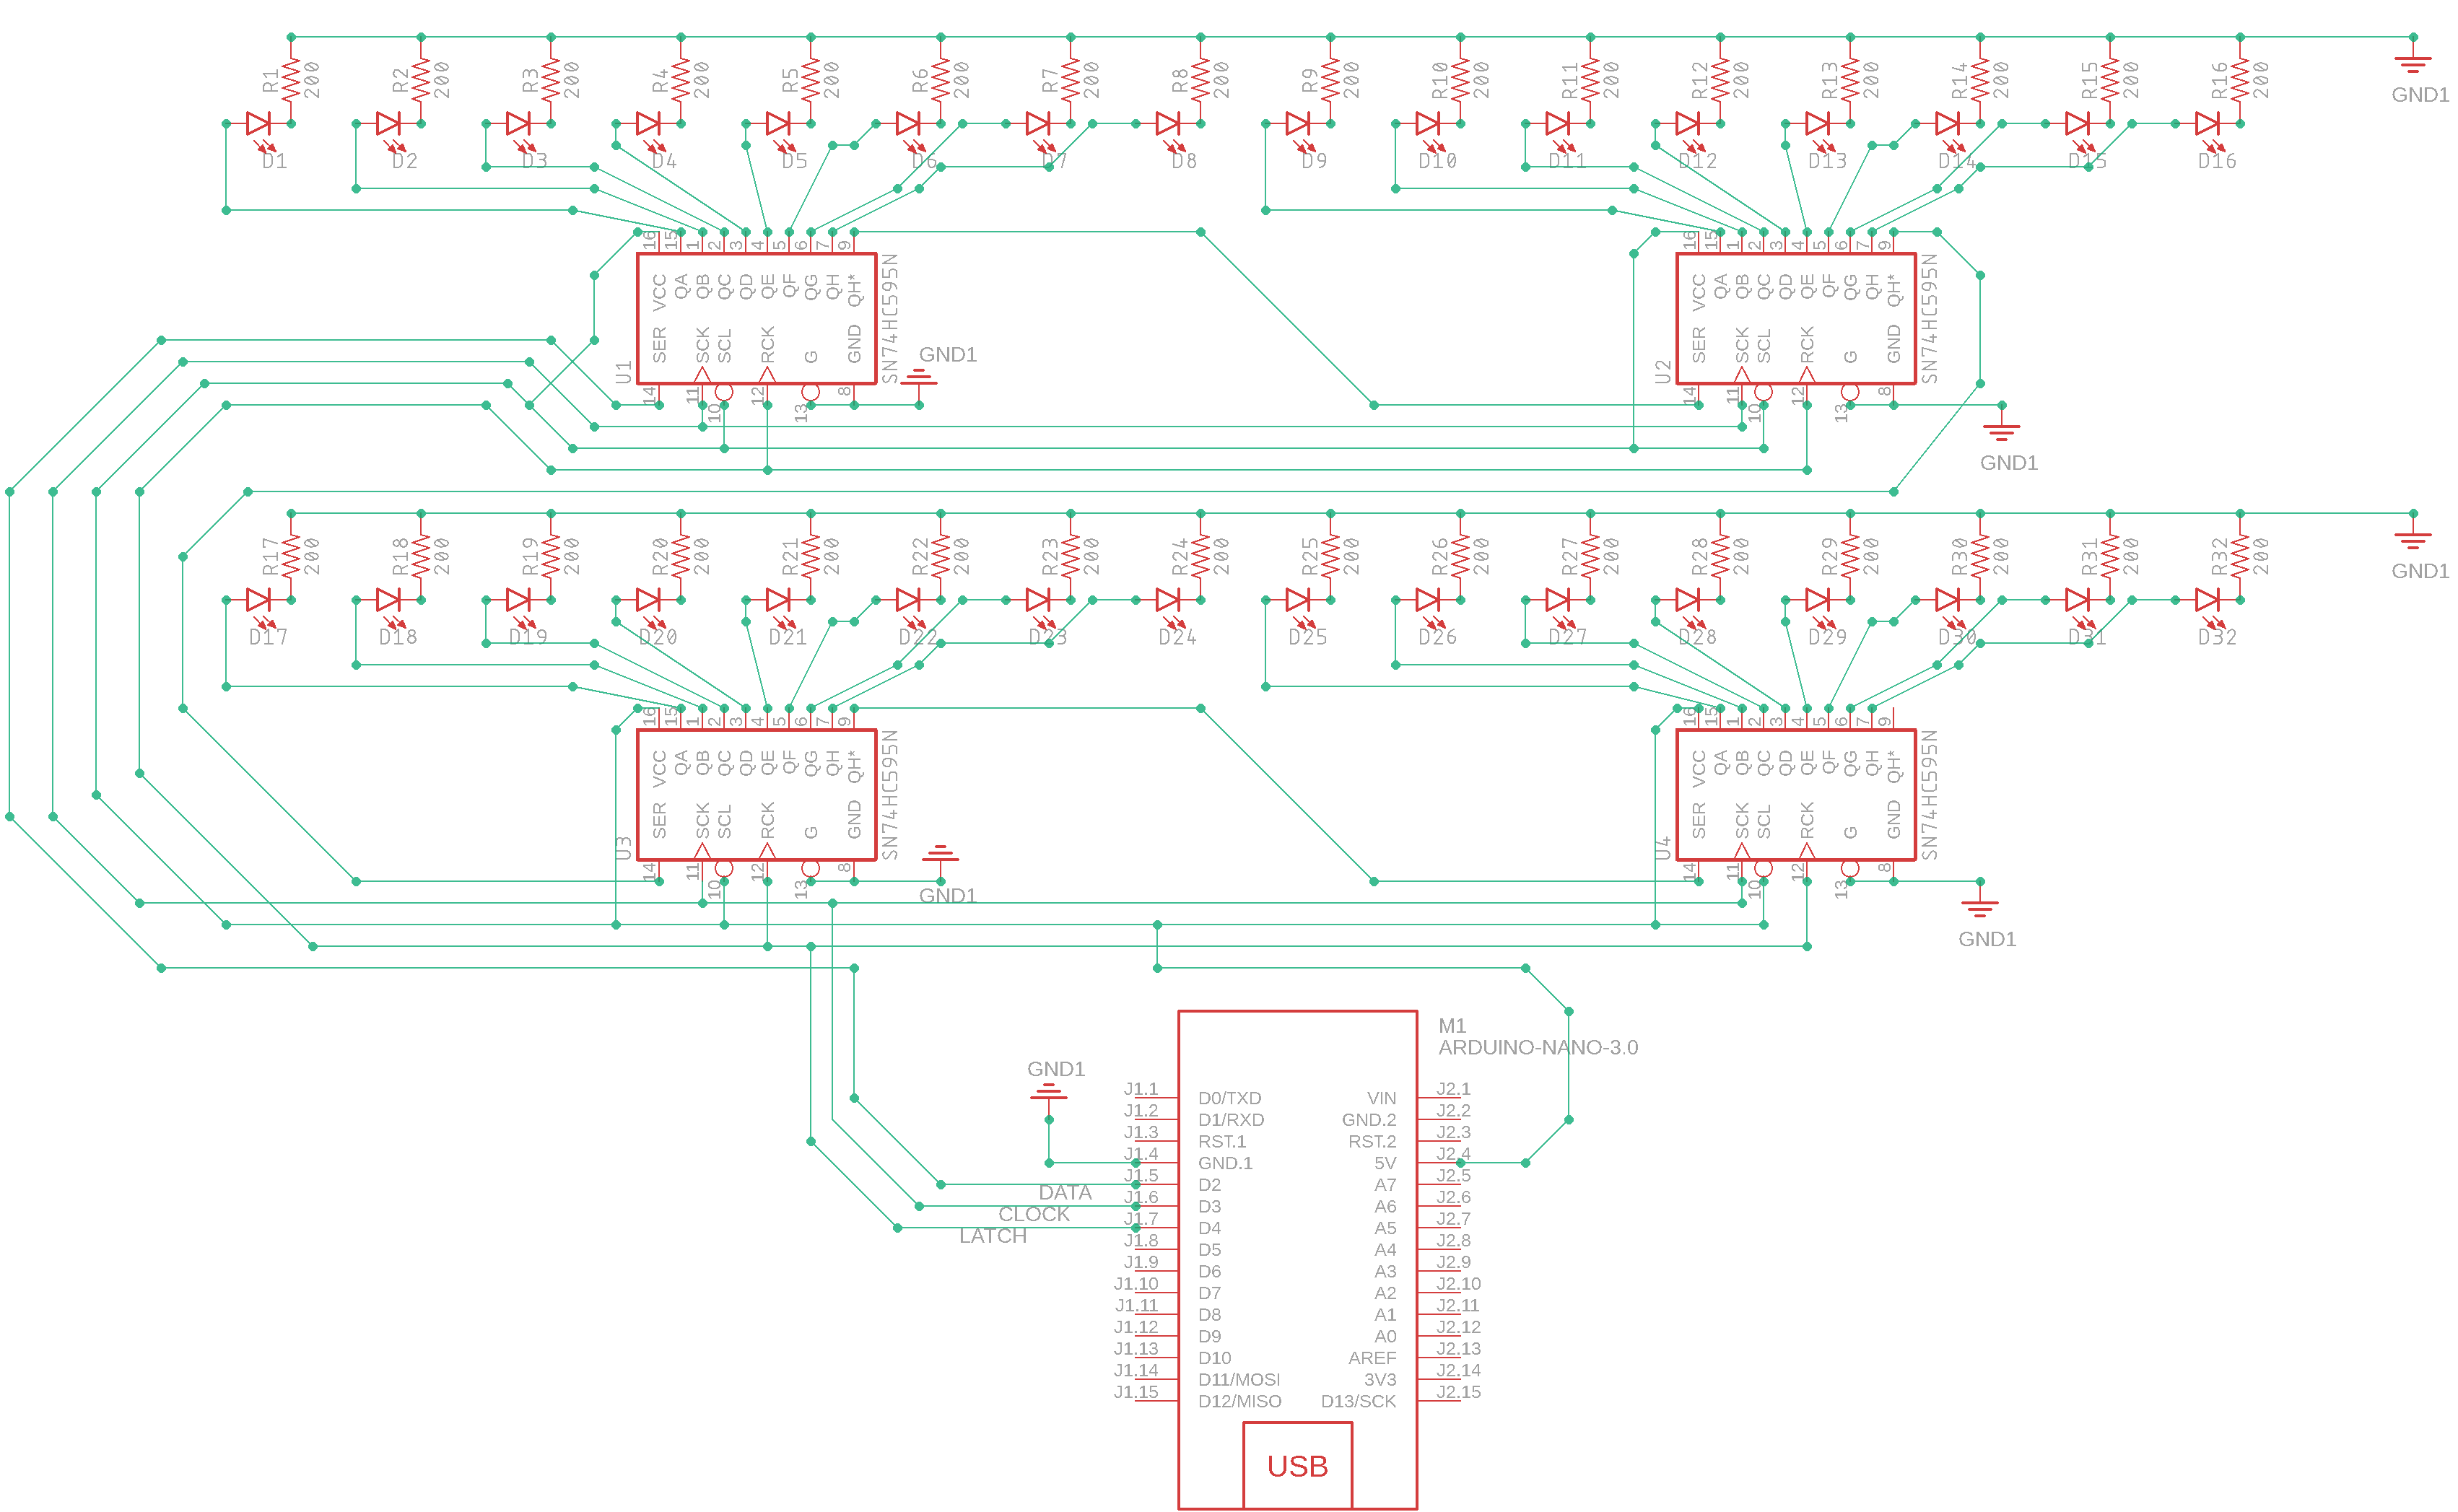
3 pinnen, 32 LED's, 4 schuifregisters [74HC595]
Componenten en benodigdheden
 |
| × | 1 | |||
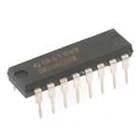 |
| × | 4 | |||
 |
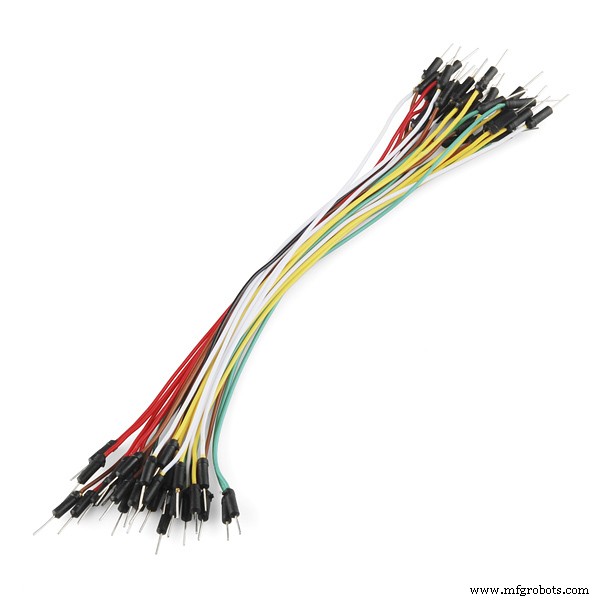
| × | 1 | |||
 |
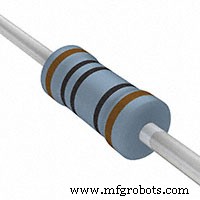
| × | 1 | |||
 |
| × | 1 | |||
| |
| × | 1 |
Apps en online services
| |
|
Over dit project
Dit is een stapsgewijze handleiding die ik heb gemaakt voor beginners en arduNOOBS zoals ik.
In deze zelfstudie bespreken we een aantal behoorlijk basiskennis over het 8-bits schuifregister genaamd 74HC595.
Leer hoe u ze in serie kunt schakelen en gebruik enkele codes uit een HC595-bibliotheek.
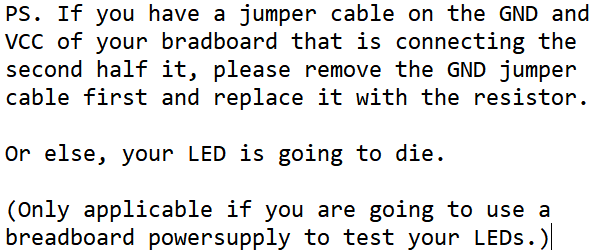
Ook kwam ik een probleem tegen met enkele van de schuifregisters. Ik weet niet waarom. Kwam het door gebrek aan vermogen?
********************************************** **************************
NOODZAKELIJKE LINKS:
HC595-bibliotheek - https://github.com/j-bellavance/HC595
Gegevensblad - http://www.ti.com/document-viewer/SN74HC595/datasheet/specifications#SCLS0419845
Meer informatie:https://rastating.github.io/using-a-74hc595-shift-register-with-an-arduino-uno/
Voor Loop Iteratie:https://www.arduino.cc/en/Tutorial/ForLoopIteration
********************************************** **************************
Links naar sociale media om te volgen (ik bedoel, als je dat wilt):
Facebook - https://fb.me/HeathenHacks
Twitter - https://twitter.com/HeathenHacks
Instagram - https://instagr.am/HeathenHacks
********************************************** **************************


Code
- Bewerkte voorbeeldcode uit de HC595-bibliotheek.
Bewerkte voorbeeldcode uit de HC595-bibliotheek.Arduino
#includeconst int chipCount =2; // Aantal serieel aangesloten 74HC595 (8 maximum) const int latchPin =4; // Pin ST_CP (12) van de 74HC595const int clockPin =3; // Pin SH_CP (11) van de 74HC595const int dataPin =2; // Pin DS (14) van de 74HC595//ConstructorHC595 ledArray(chipCount,latchPin,clockPin,dataPin);int delayMs =30;int lastPin =ledArray.lastPin();void setup() {ledArray.reset();} void loop() { for (int i =0; i <=lastPin; i++) { ledArray.setPin(i, ON); vertraging (vertragingMs); } for (int i =lastPin; i>=0; i--) { ledArray.setPin(i, OFF); vertraging (vertragingMs); } for (int i =lastPin; i>=0; i--) { ledArray.setPin(i, TOGGLE); vertraging (vertragingMs); } for (int i =0; i <=lastPin; i++) { ledArray.setPin(i, TOGGLE); vertraging (vertragingMs); }}
HC595-bibliotheek door de heer J. Bellavance
https://github.com/j-bellavance/HC595Schema's
Productieproces
- DHT11-sensor met LED's en een piëzo-luidspreker
- Arduino digitale dobbelstenen
- Alexa gestuurde LED's via Raspberry Pi
- Iron Man
- Vind mij
- Arduino 3D-geprinte robotarm
- Arduino-luchtbevochtigerbediening
- NeoMatrix Arduino Pong
- Arduino-joystick
- Arduino TEA5767 FM-radio-ontvanger
- Stappenteller (Arduino 101)