



Hoogwaardige 2,8″ TFT Shield voor Arduino Nano – 320×240 SPI Display
Onderdelen en benodigdheden
| Onderdeel | Aantal |
|---|---|
| Arduino Nano R3 | 1 |
| 2,8″ TFT SPI 320×240 | 1 |
| TFT shield voor Arduino Nano | 1 |
Over dit project
Het verhaal
Kleurdisplays zijn overal en tegenwoordig goedkoop en veelzijdig. Er zijn veel typen met verschillende resoluties, schermformaten en interfaces. Hier richten we ons op een display met SPI-interface, 320×240 pixels resolutie en een schermdiagonaal van 2,8″ (ook 2,4″ en 3,2″ zijn mogelijk).
SPI is handig: weinig signaallijnen en hoge snelheid voor snelle schermvernieuwing. Een nadeel: bij 5V Arduino's moet je logica-niveaus aanpassen. Voor snelle en makkelijke verbinding met een Arduino Nano gebruiken we een TFT shield.
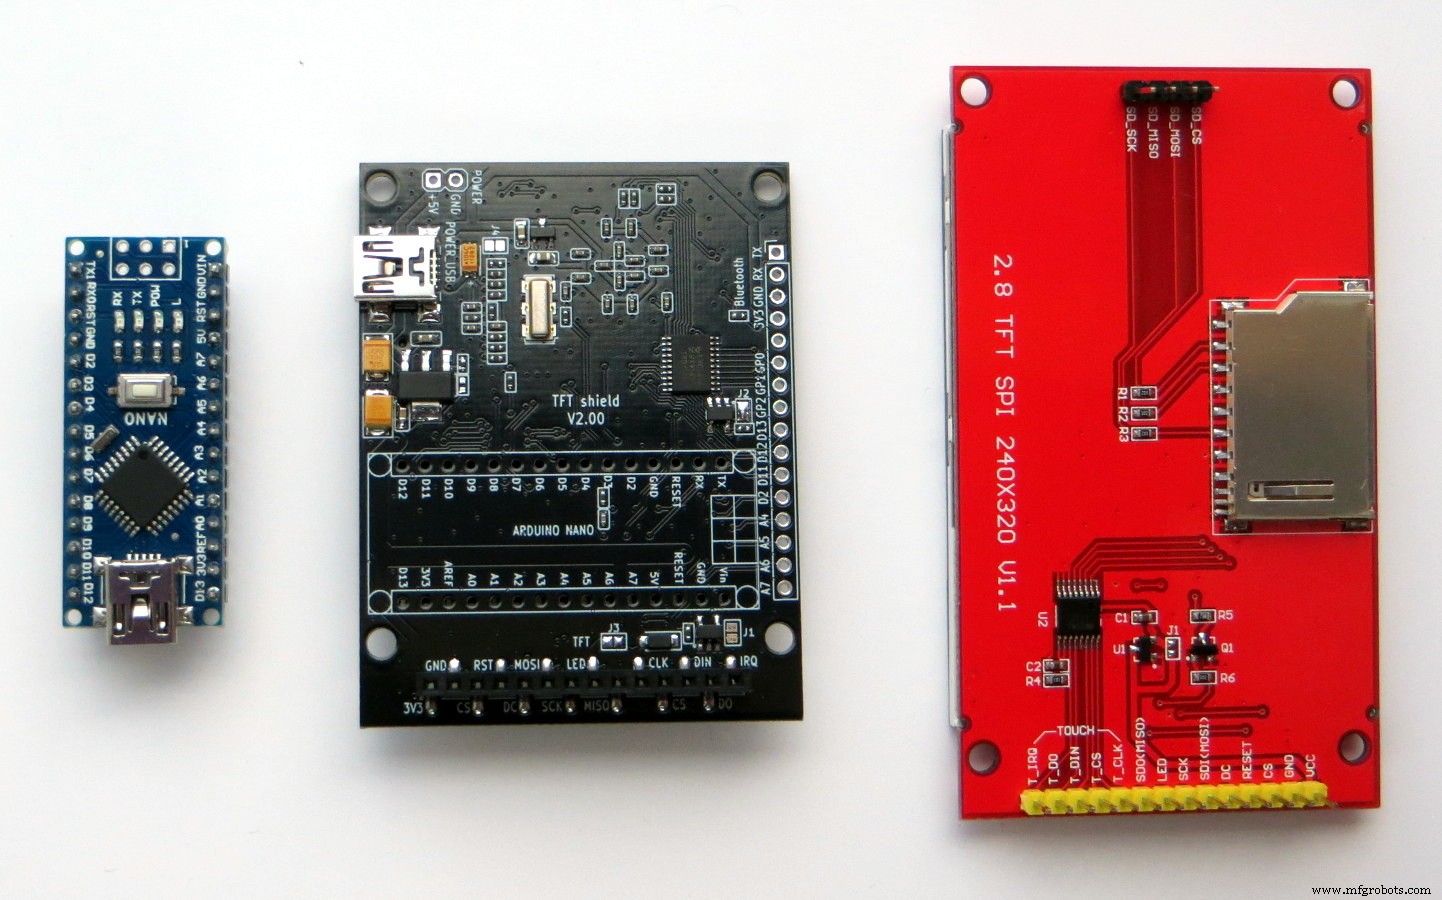
Korte specificaties TFT Shield
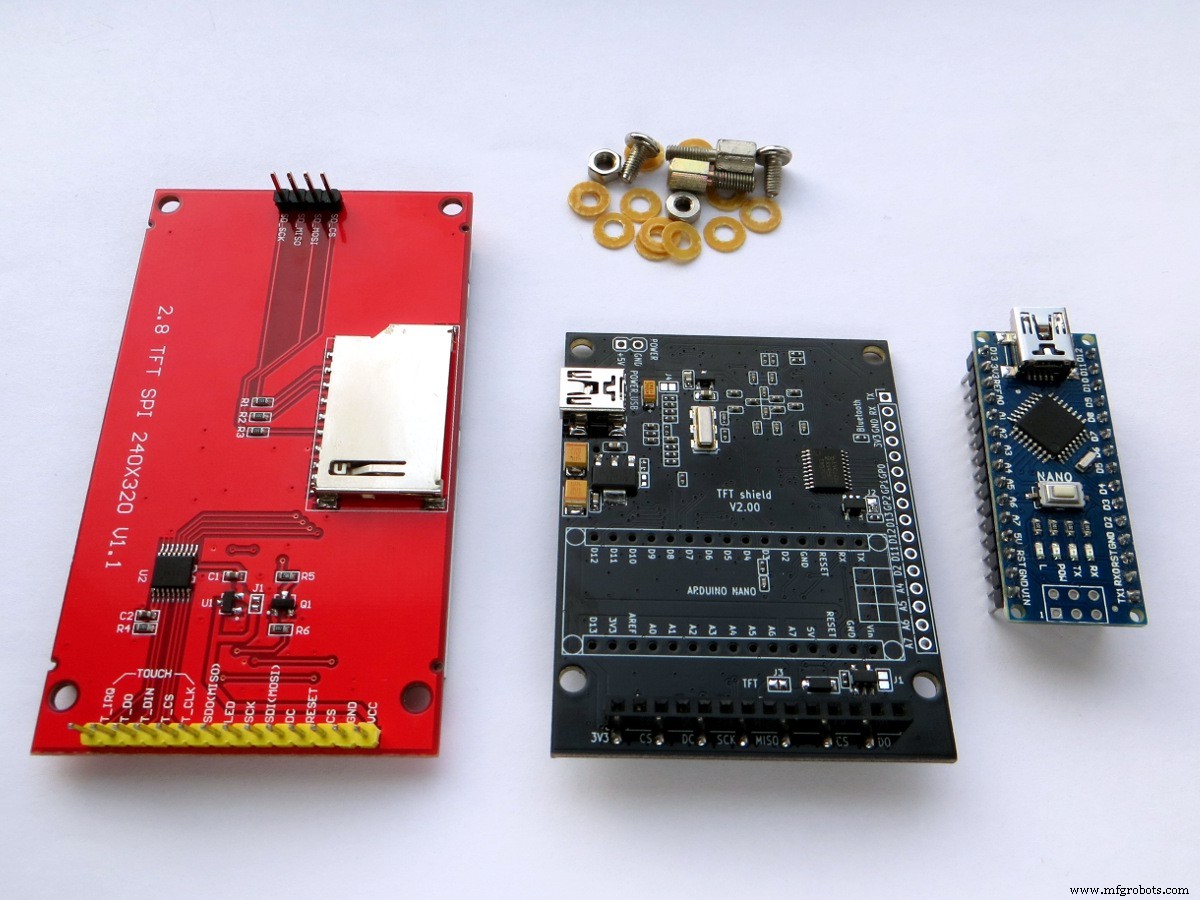
- Printplaat: 64 × 49 mm
- 30-pins connector voor Arduino Nano
- 14-pins connector voor TFT display 320×240 met SPI (inclusief touchscreen)
- MicroSD-kaart connector
- Bluetooth-module connector (HC-06)
- 20-pins connector voor camera OV7670 (en andere)
- Mini-USB connector + losse 2-pins voedingsconnector (5V)
Deze shield is de lichte versie (voor Nano) van de TFT Shield voor Arduino Uno.
Montage
Montage is eenvoudig, let wel op de pin-nummers voordat je componenten plaatst.
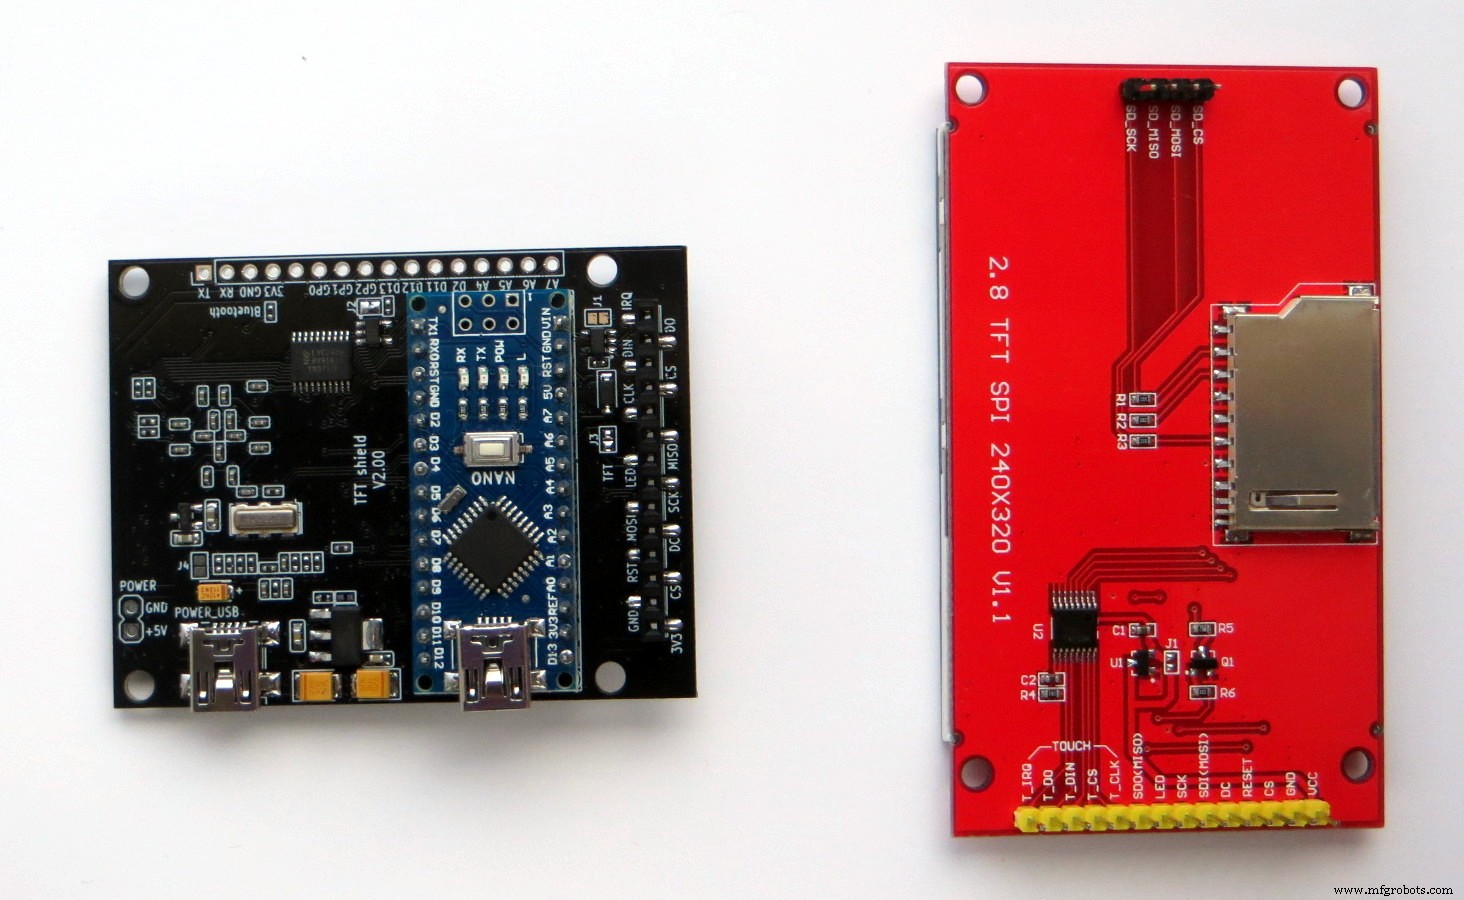
- Plaats de Arduino Nano zoals op de foto.
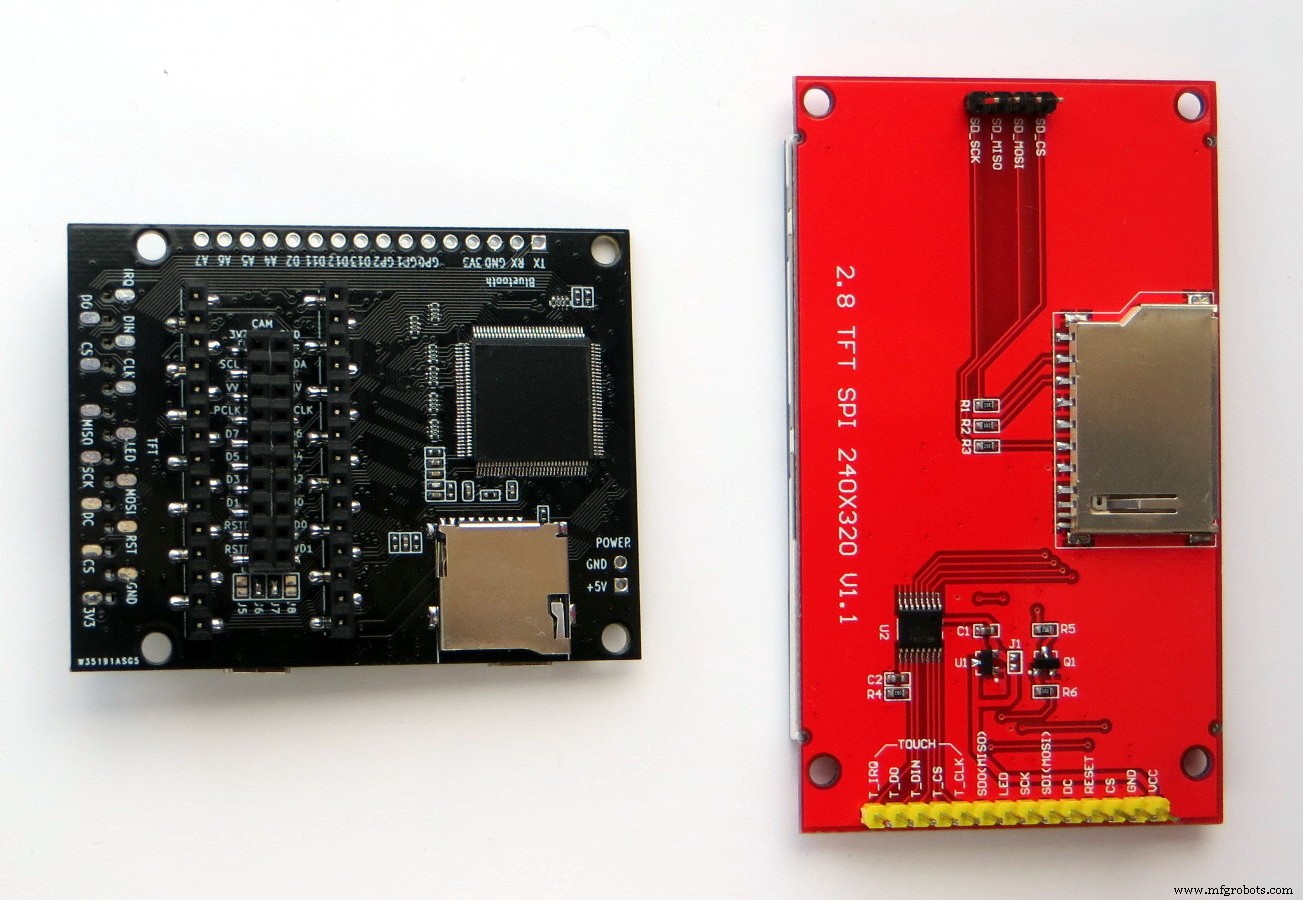
- Sluit het display aan – dit kan aan twee kanten van de print (Methode 1 of Methode 2).
- Voeding aansluiten via mini-USB.
Methode 1:
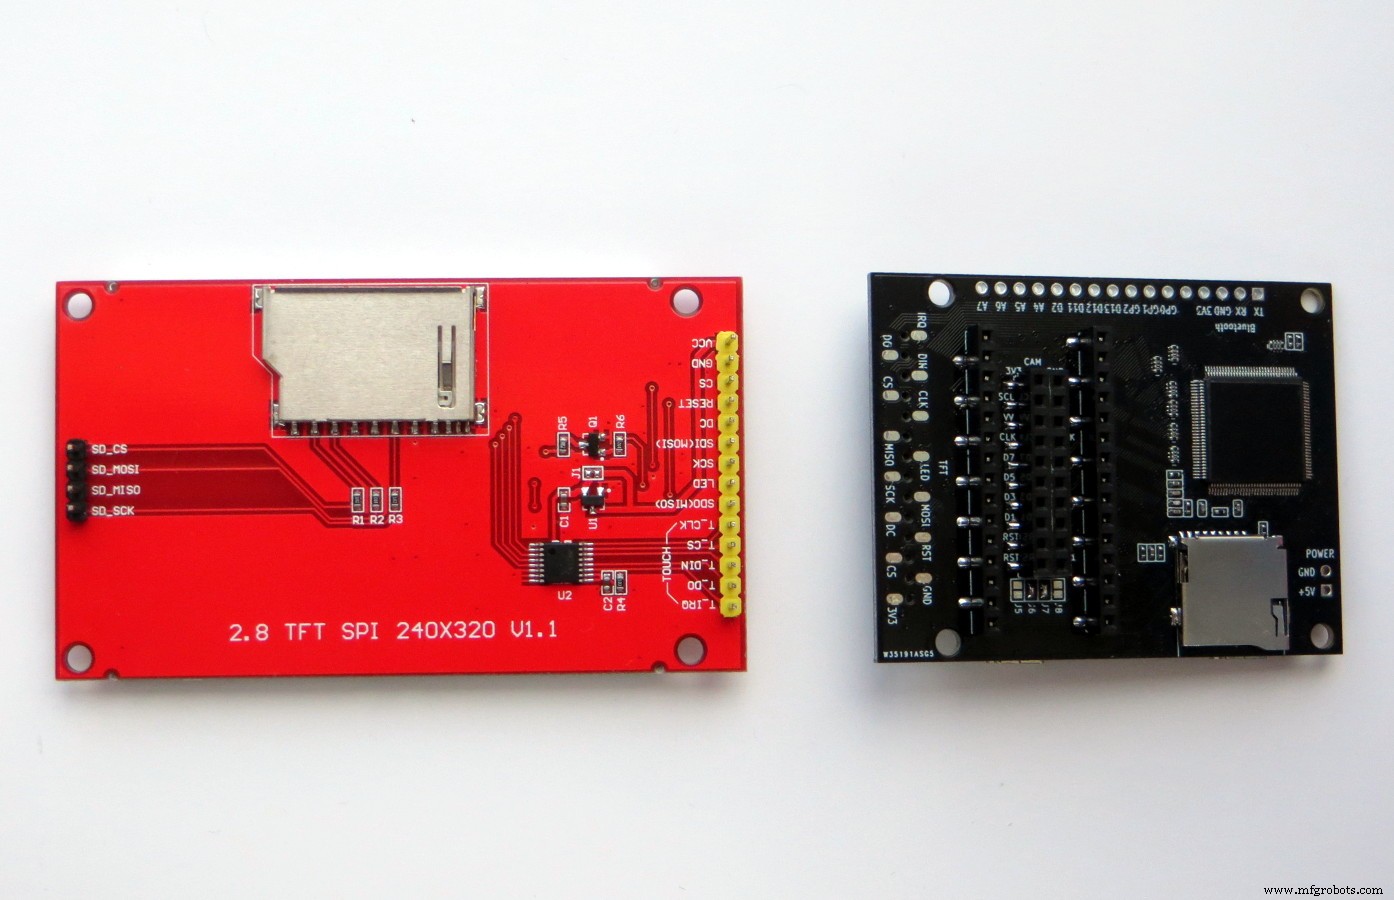
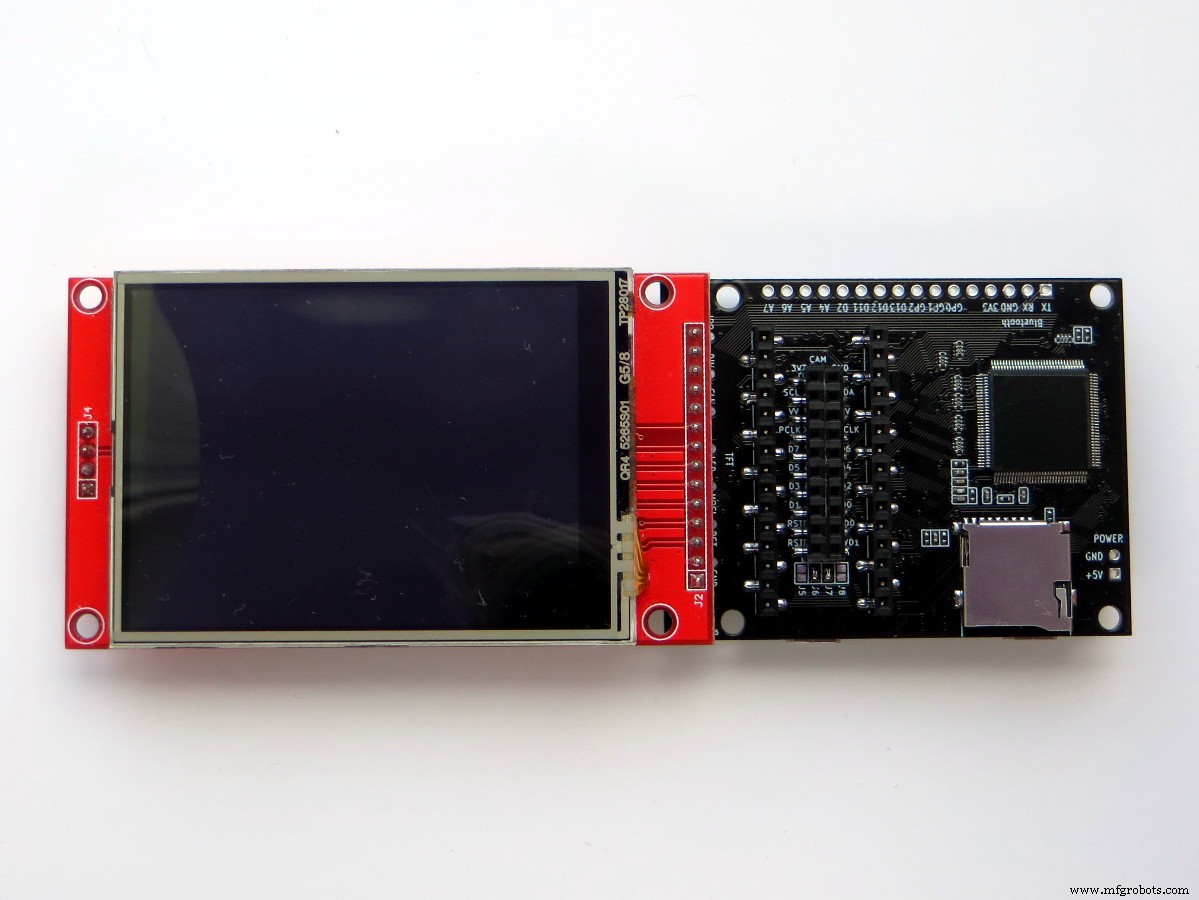
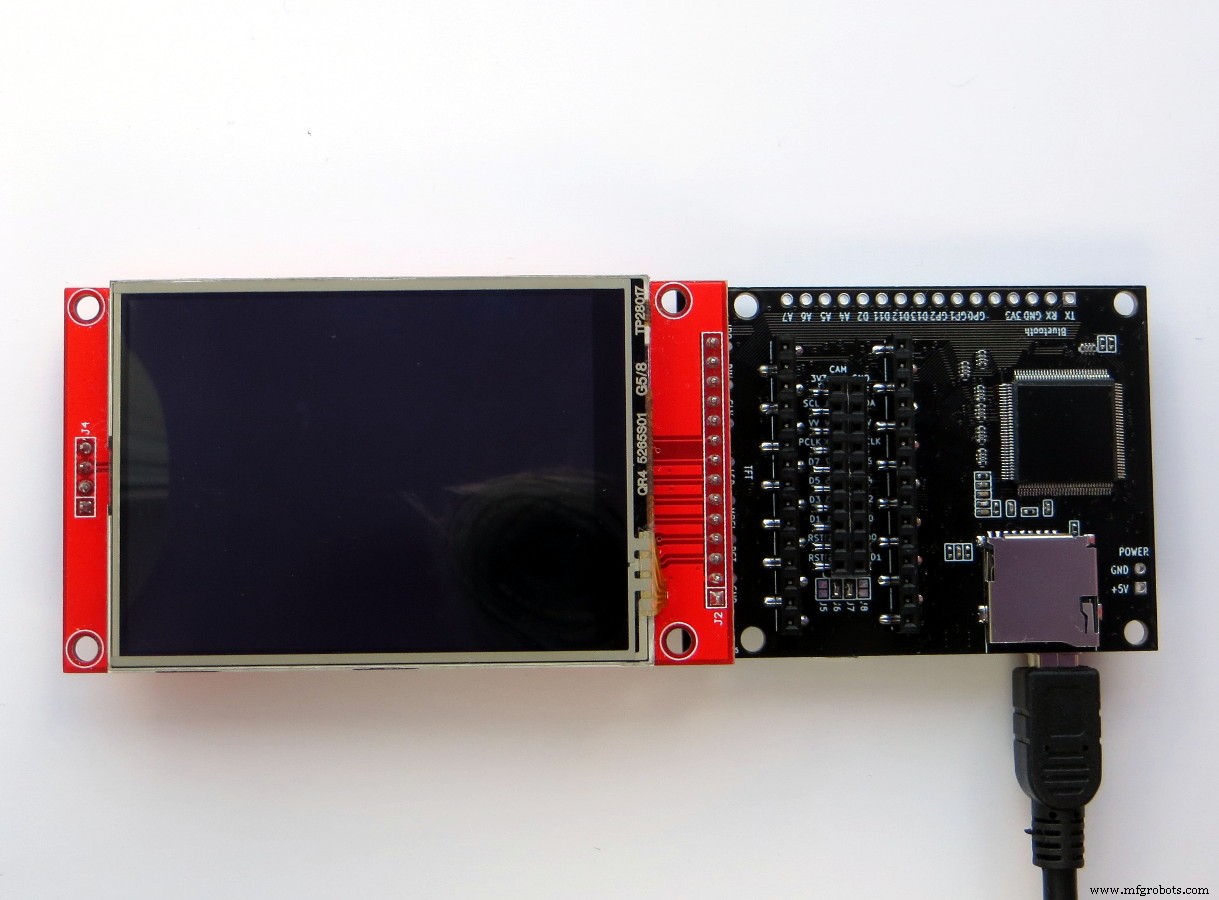
Methode 2:
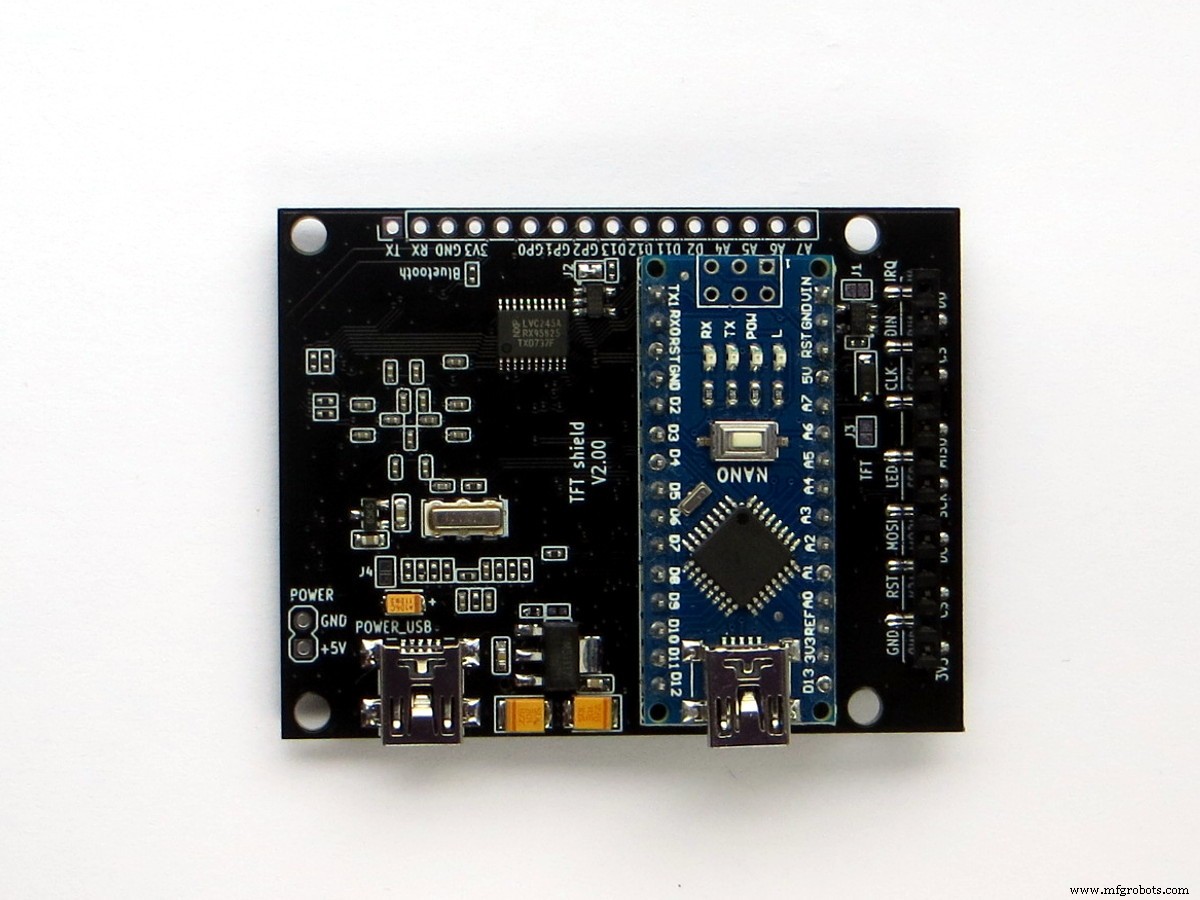
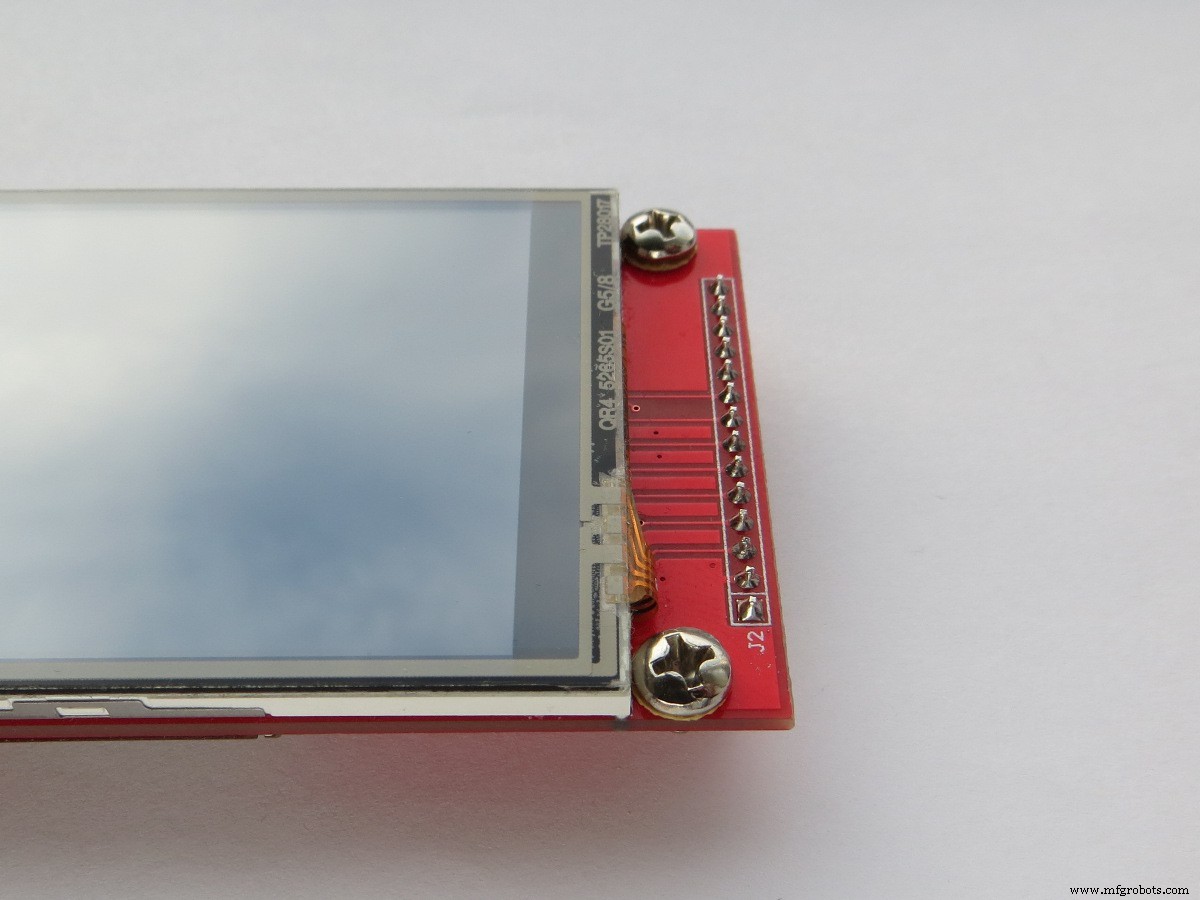
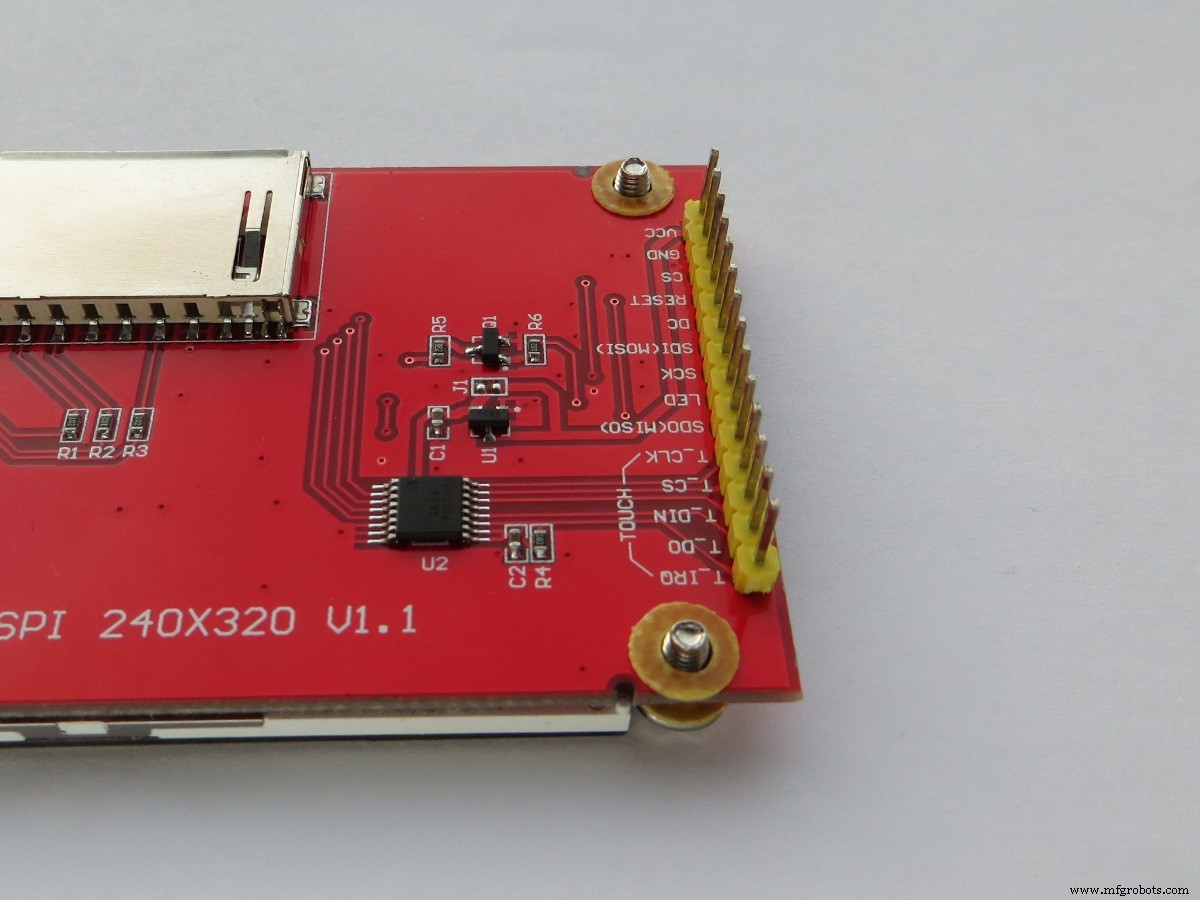
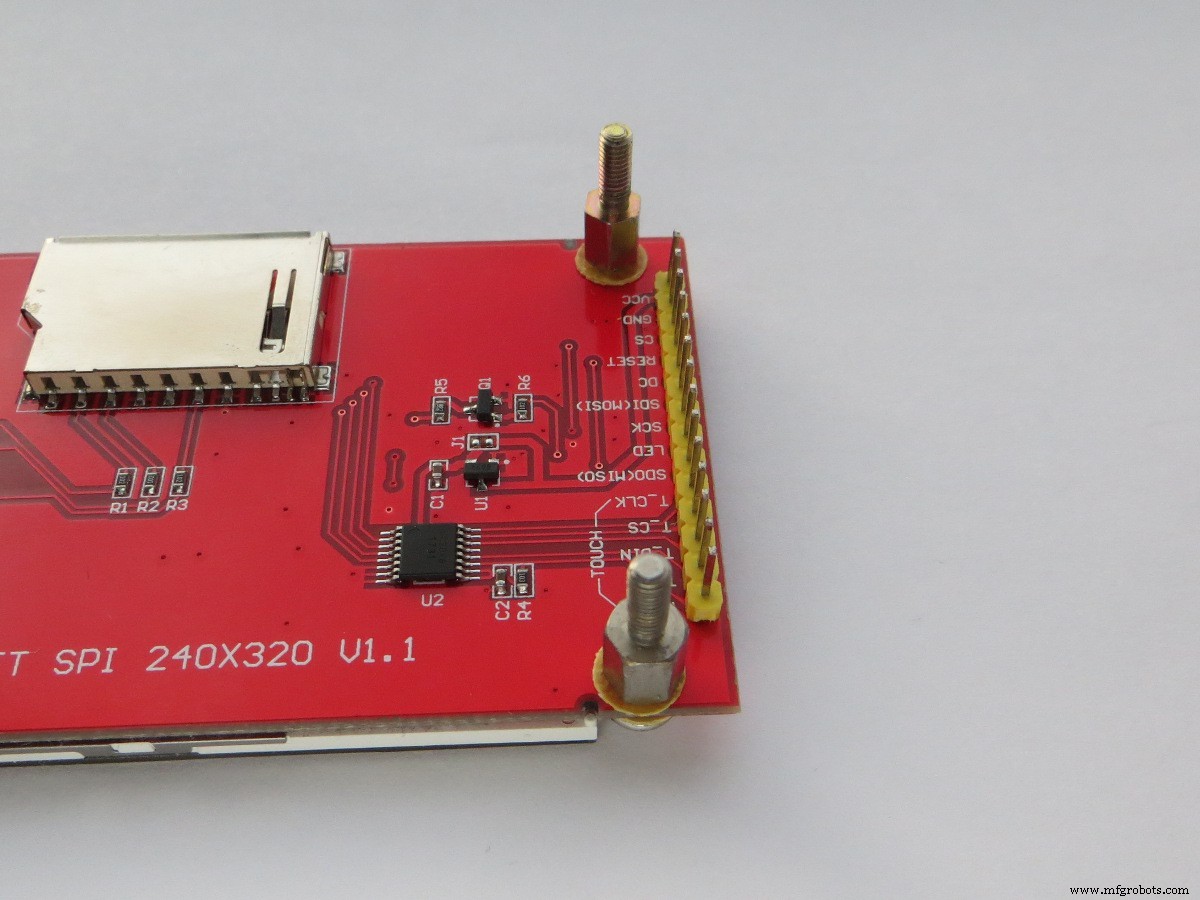
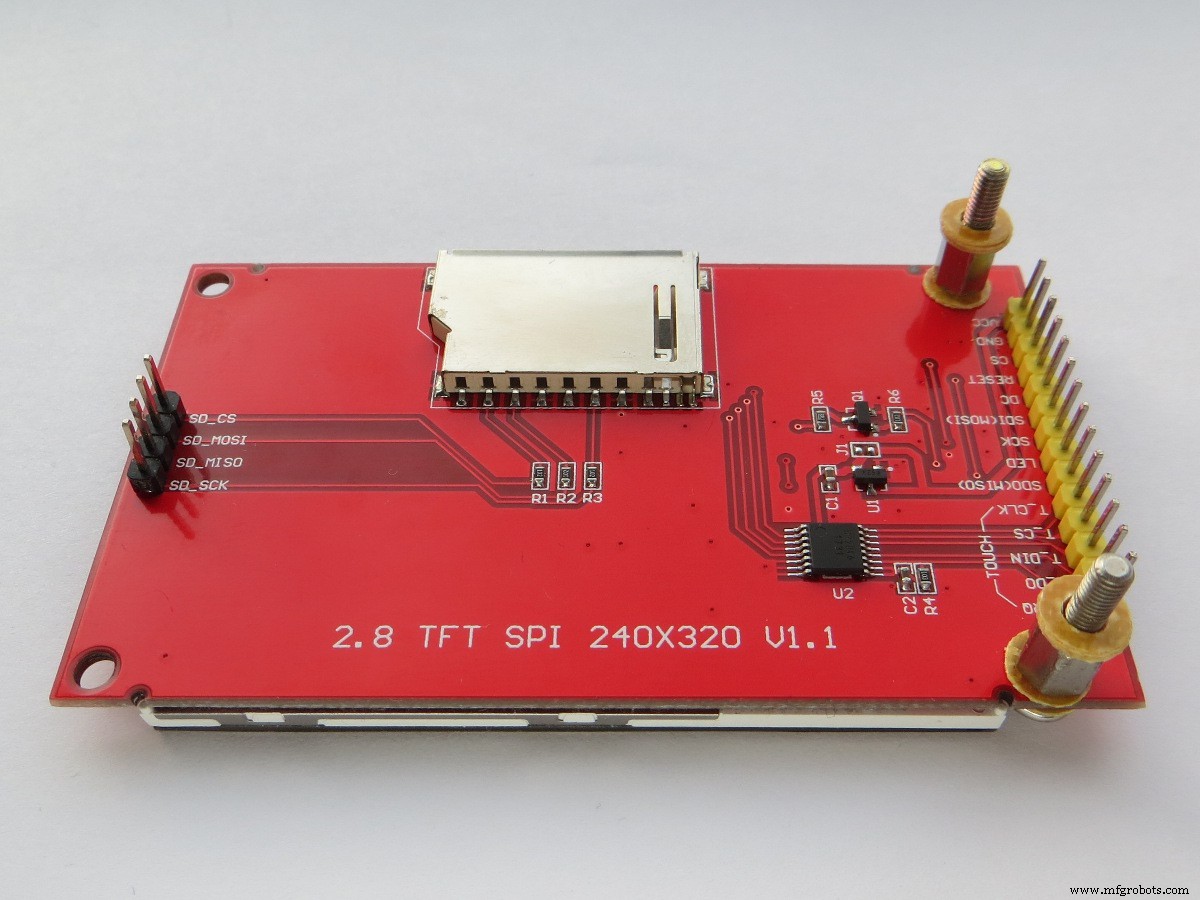
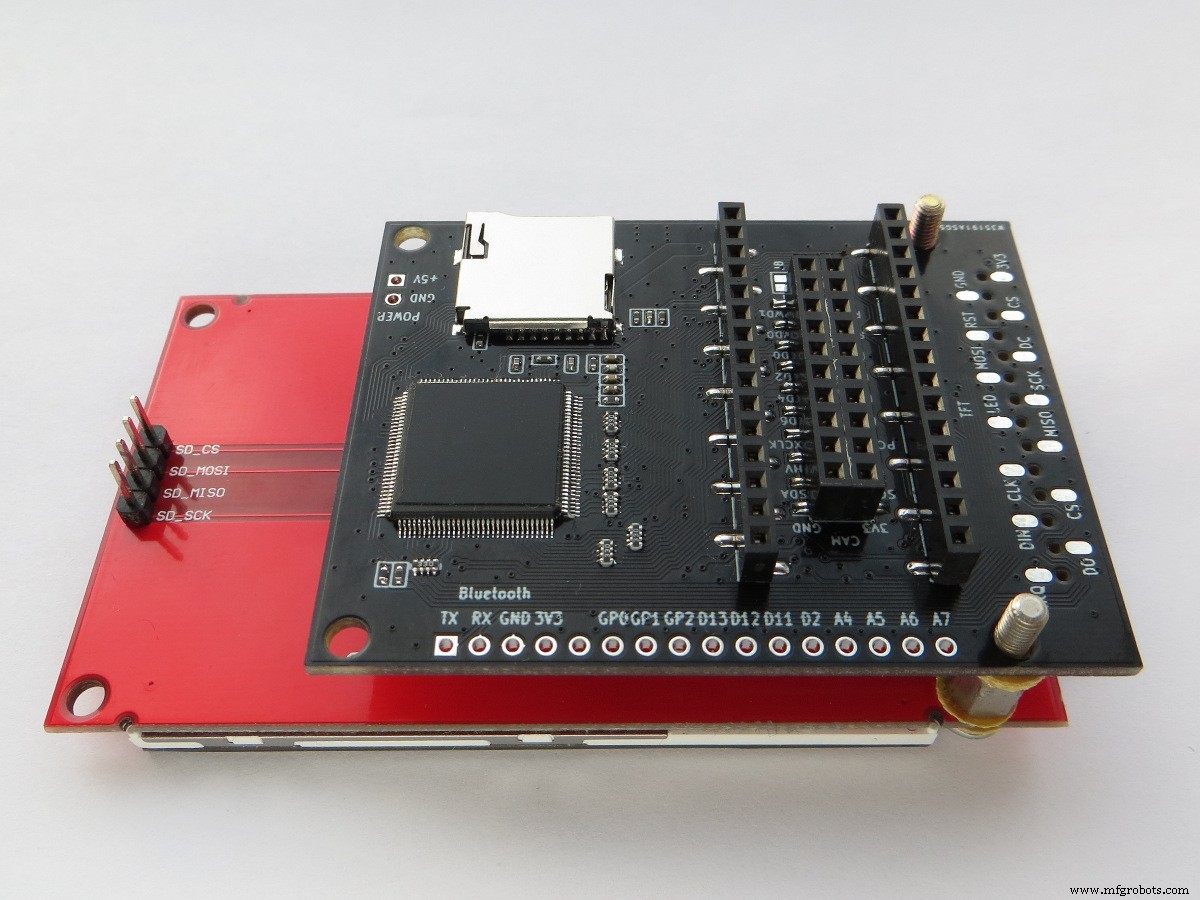
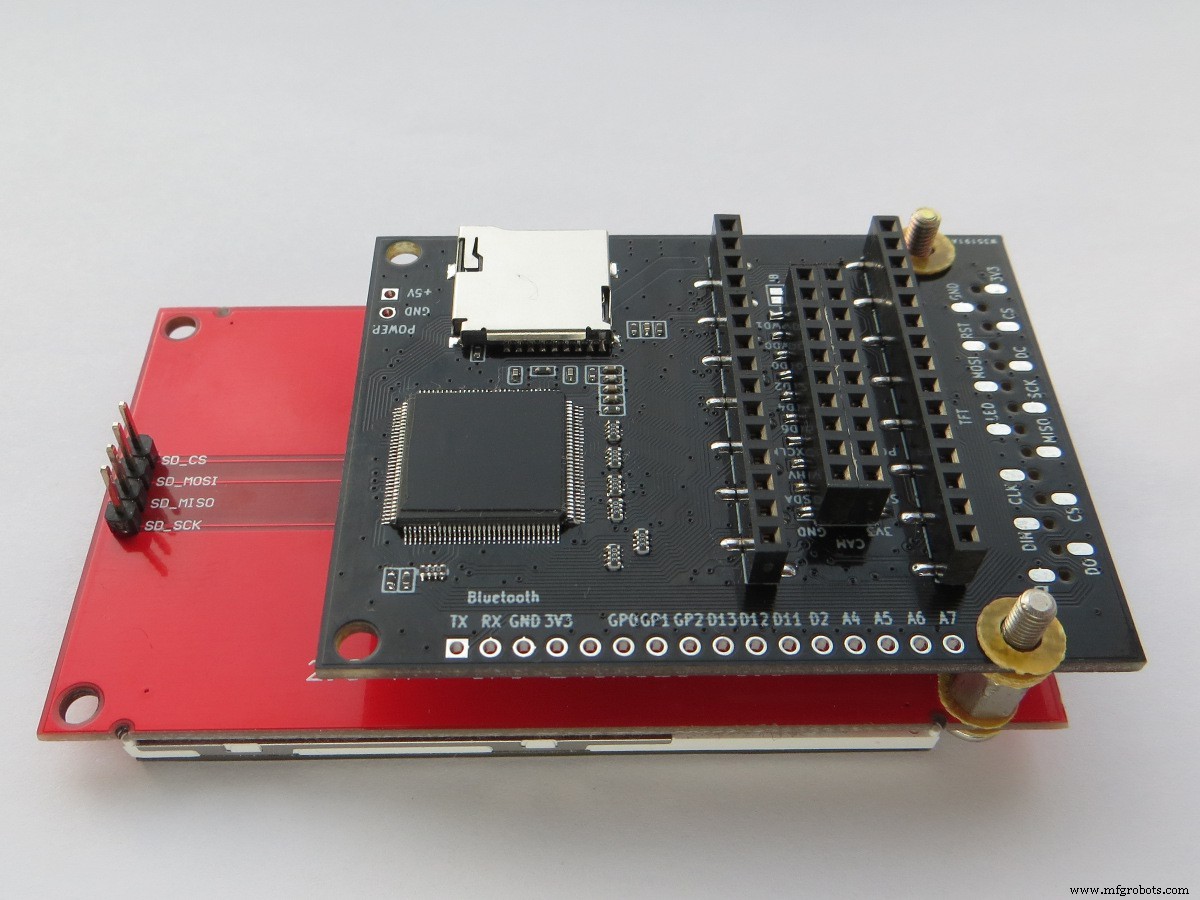
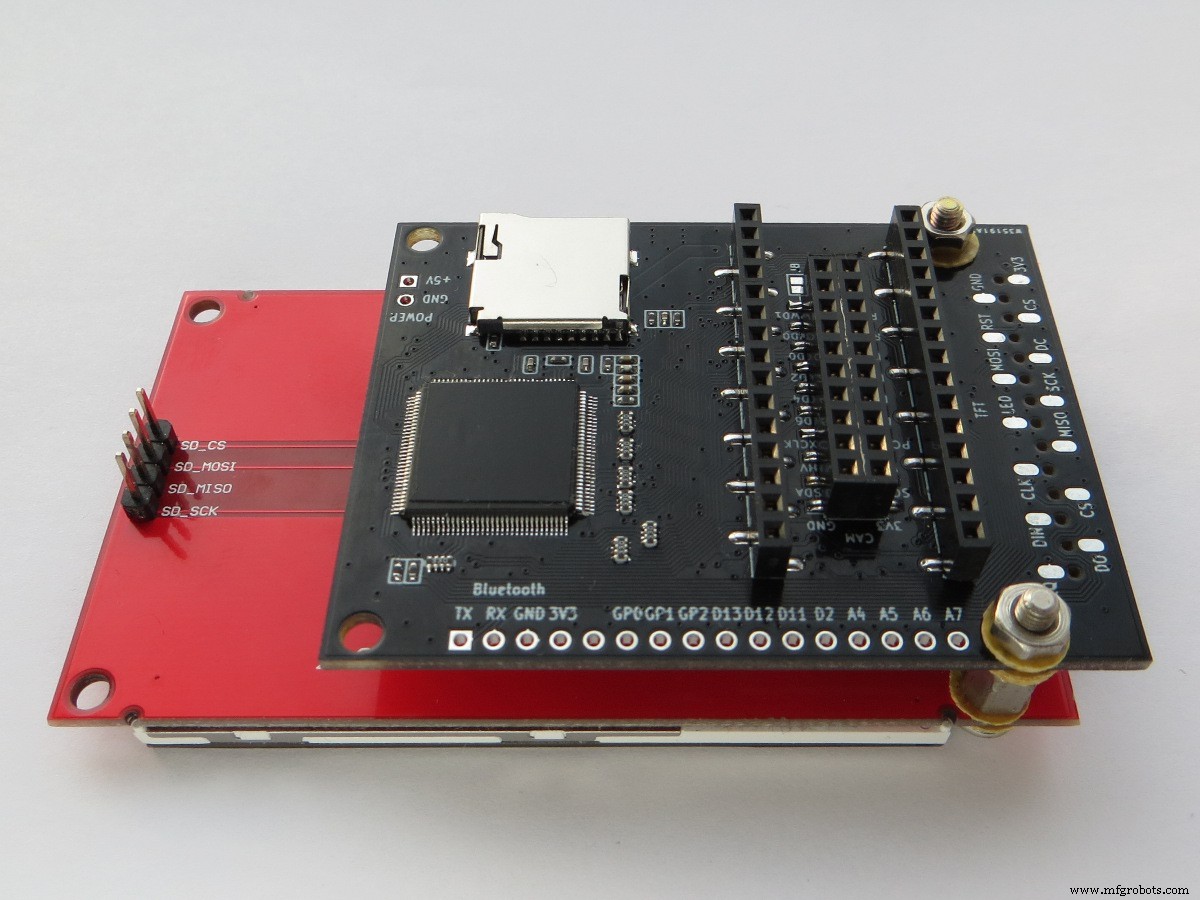
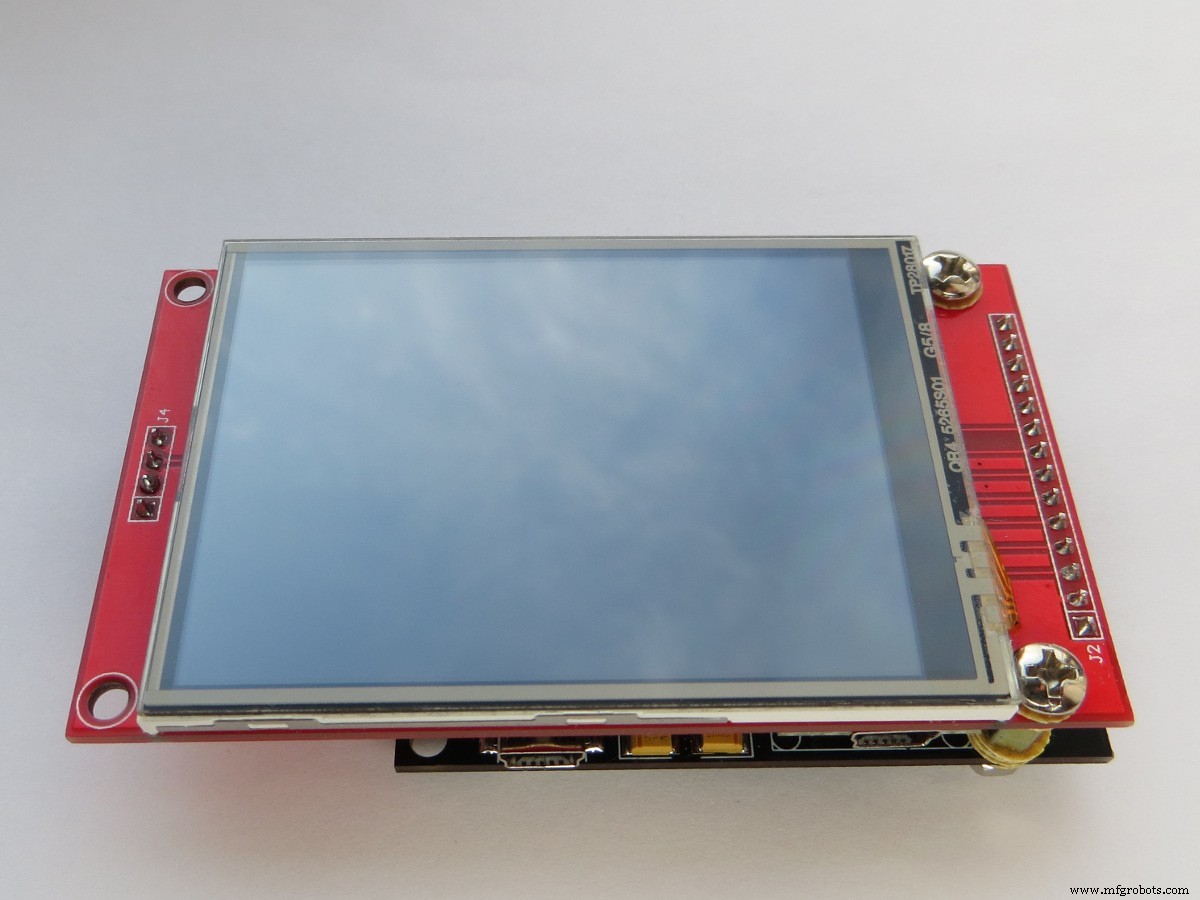
Na montage: installeer de benodigde bibliotheek voor de TFT shield: YATFT bibliotheek.
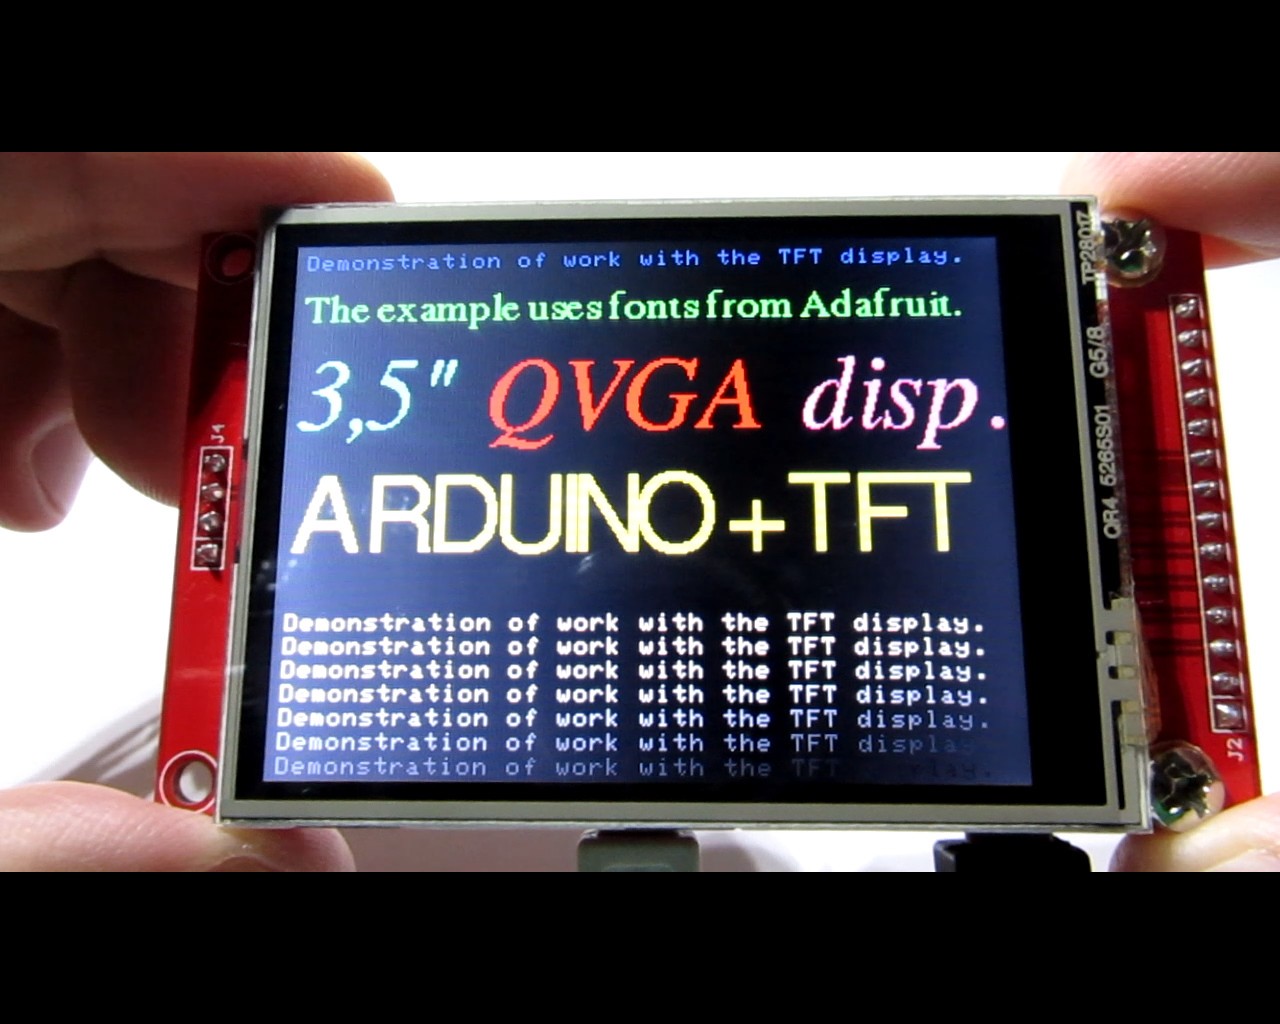
Demo 1: Grafiek en Tekst
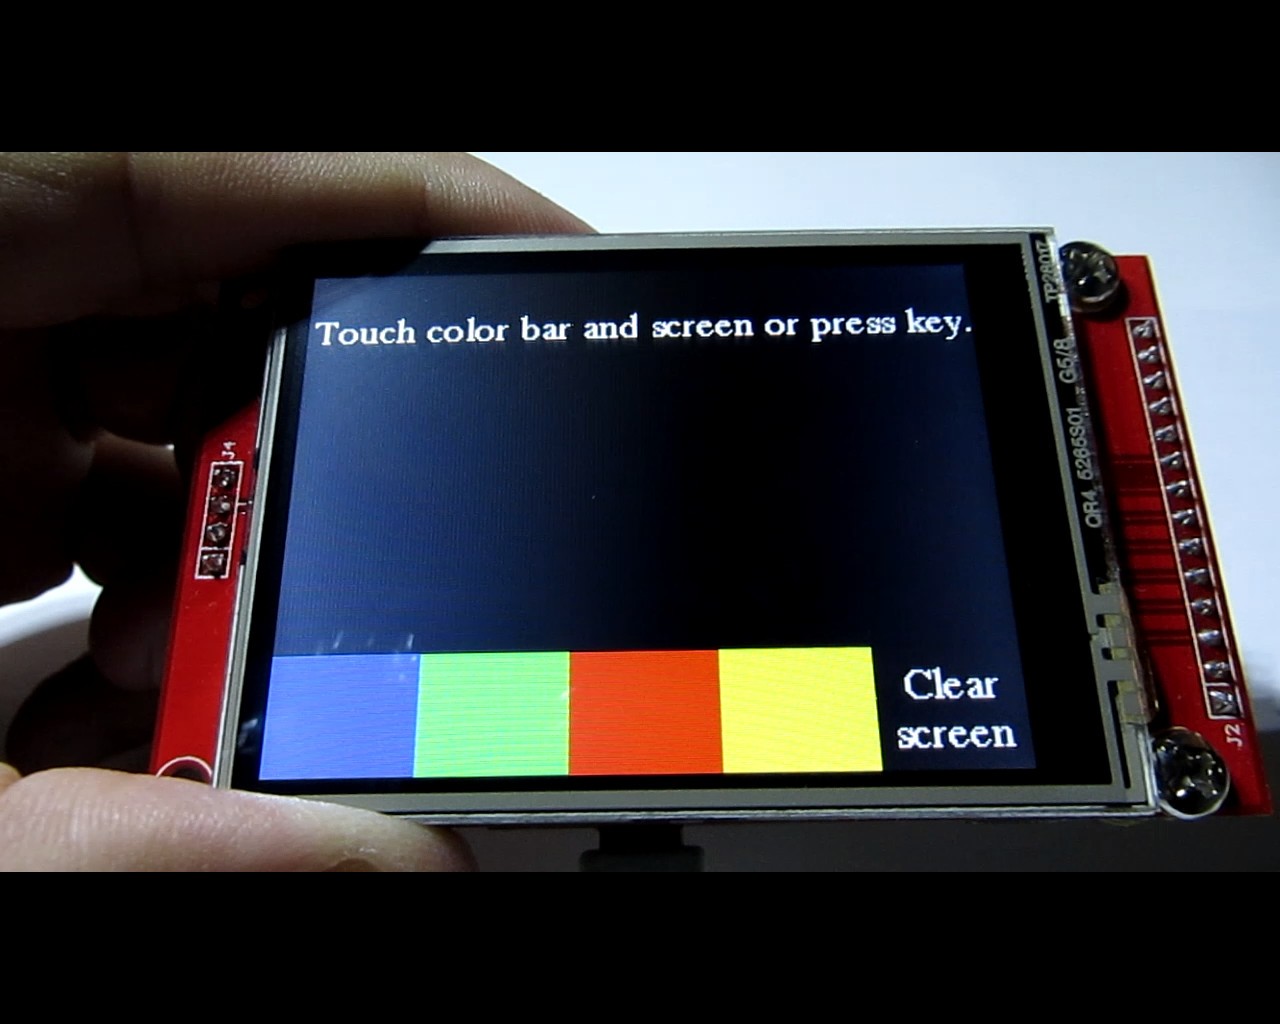
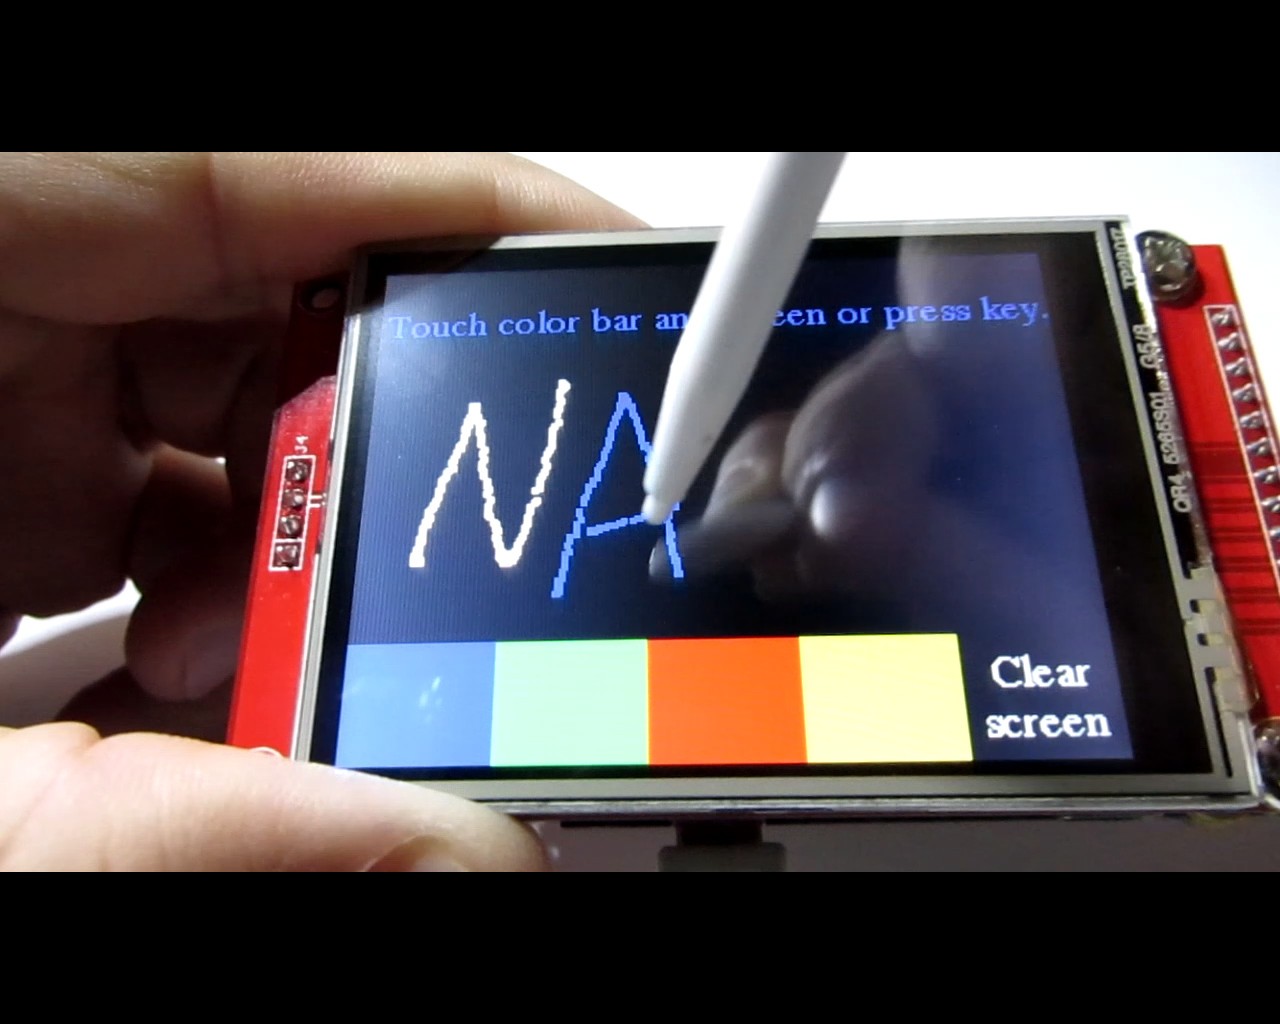
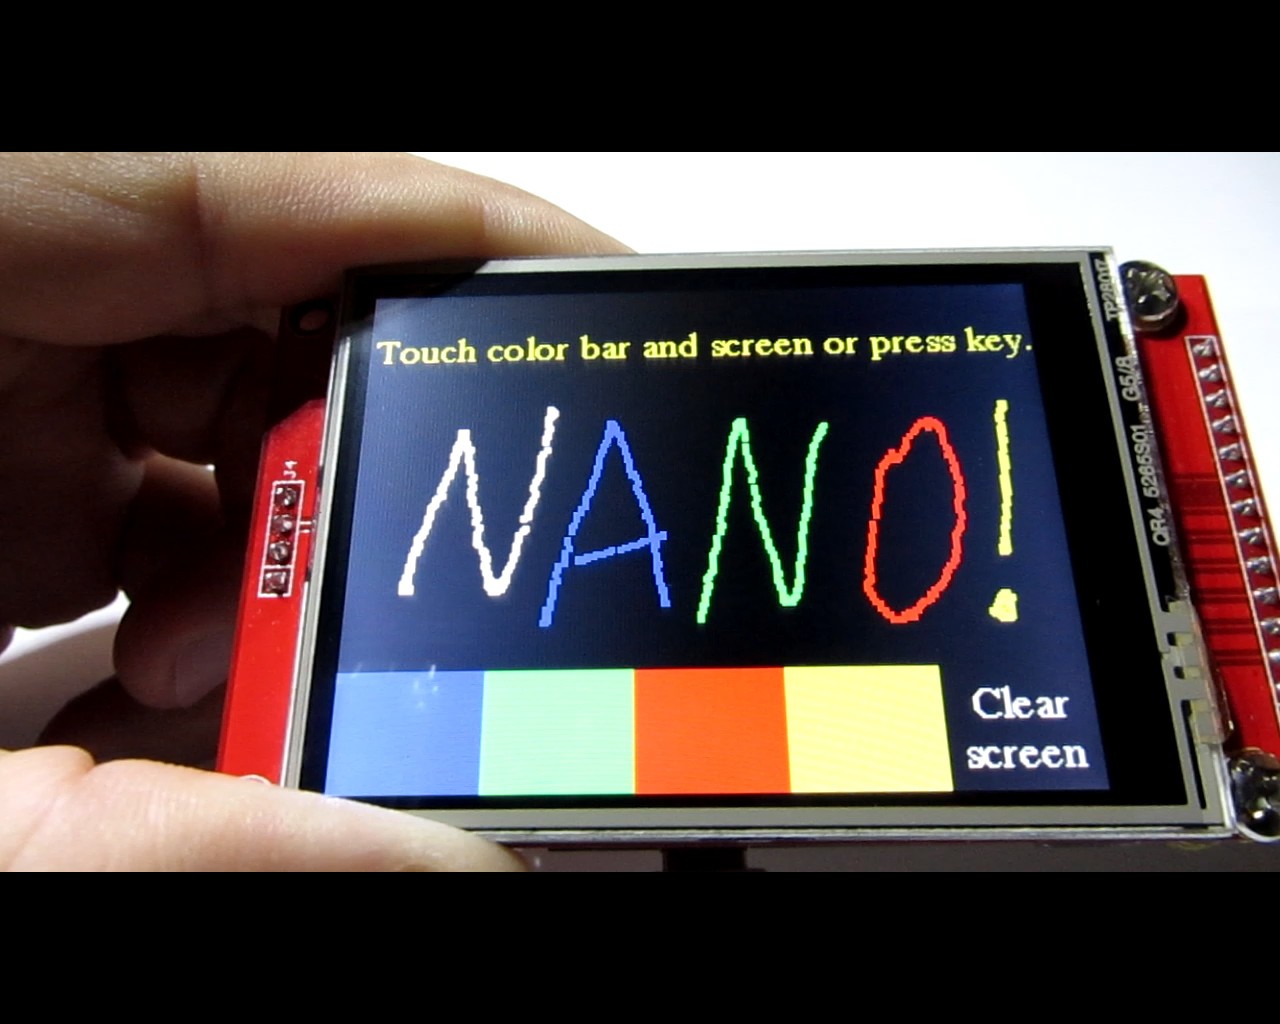
Voorbeeld van werken met tekst, grafieken en touchscreen. Eerst de Arduino Nano apart programmeren, daarna montieren (kan ook in gemonteerde staat).
Sketch voor tekst en grafieken:
/******************************************************************************/
#include <YATFT2.h>
#include <Adafruit_GFX.h>
#include <Fonts/FreeSerif9pt7b.h>
#include <Fonts/FreeSerifItalic24pt7b.h>
#include <Fonts/FreeSans24pt7b.h>

YATFT tft(0);
uint32_t total_time;
uint16_t Color[4] = {BRIGHTBLUE, BRIGHTGREEN, BRIGHTRED, BRIGHTYELLOW};
uint16_t Gray[7] = {GRAY0, GRAY1, GRAY2, GRAY3, GRAY4, GRAY5, GRAY6};

void ClearScreen(void) {
  tft.SetColor(BLACK);
  tft.ClearDevice();
}

void setup() {
  Serial.begin(115200);
  Serial.println("Arduino TFT_shield Example 1!");
  tft.begin();
}

void loop() {
  // Fonts demo
  ClearScreen();
  tft.SetColor(BRIGHTBLUE); tft.SetFont(NULL);
  tft.OutTextXY(5, 5, "Demonstration of work with the TFT display.");
  tft.SetColor(BRIGHTGREEN); tft.SetFont(&FreeSerif9pt7b);
  tft.OutTextXY(5, 20, "The example uses fonts from Adafruit.");
  tft.SetFont(&FreeSerifItalic24pt7b); tft.SetColor(BRIGHTCYAN);
  tft.OutTextXY(5, 45, "3,5''");
  tft.SetColor(BRIGHTRED); tft.OutTextXY(90, 45, "QVGA");
  tft.SetColor(BRIGHTMAGENTA); tft.OutTextXY(230, 45, "disp.");
  tft.SetColor(BRIGHTYELLOW); tft.SetFont(&FreeSans24pt7b);
  tft.OutTextXY(5, 100, "A R D U I N O + T F T");
  tft.SetFont(NULL);
  for (int i = 0; i < 7; i++) {
    tft.SetColor(Gray[i]);
    tft.OutTextXY(5, 170+10*i, "Demonstration of work with the TFT display.");
  }
  delay(3000);
  ClearScreen();
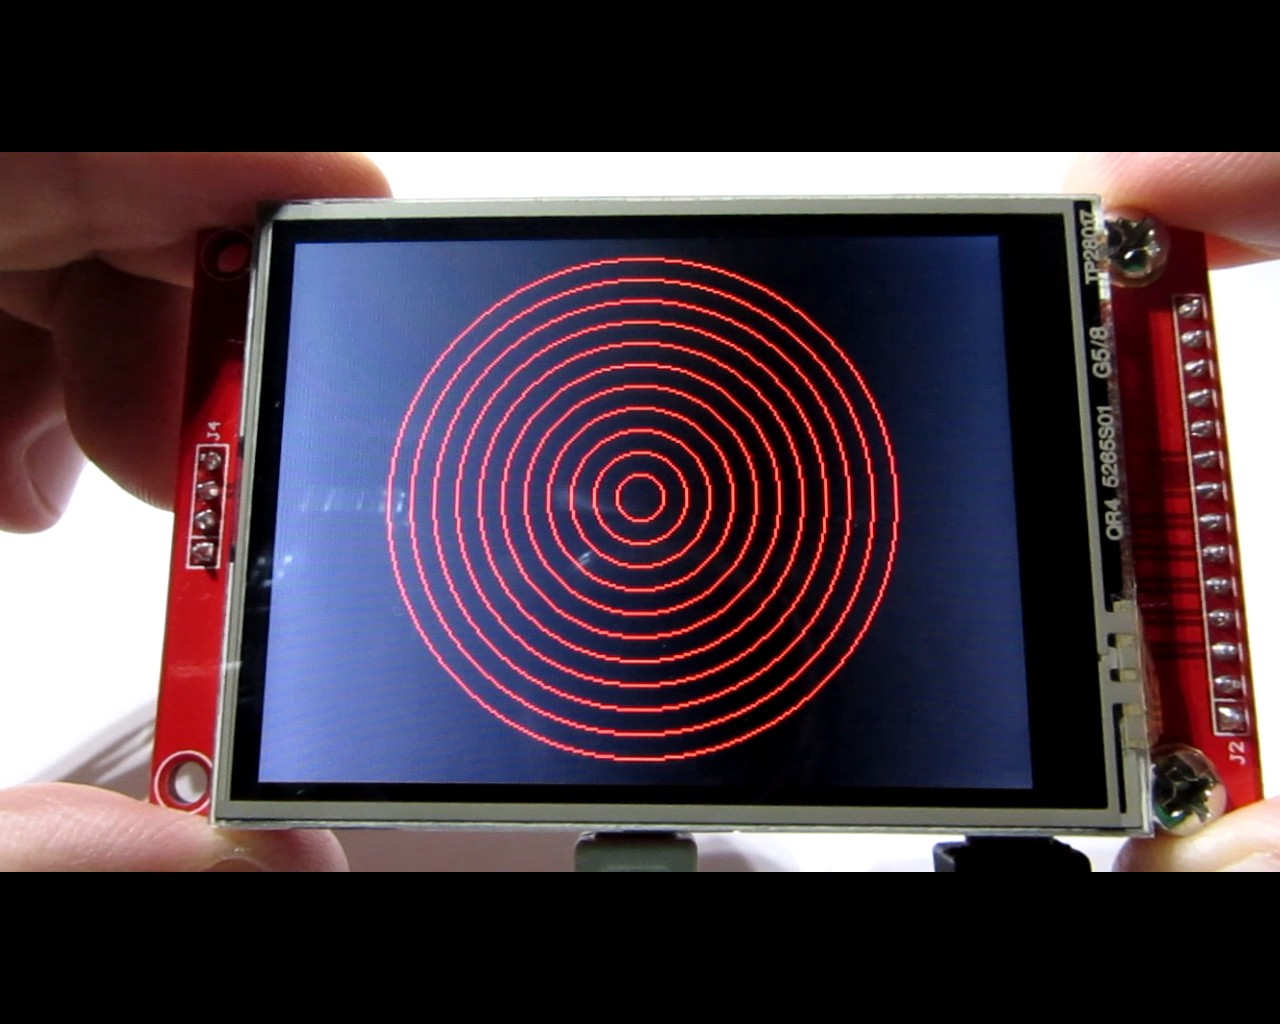
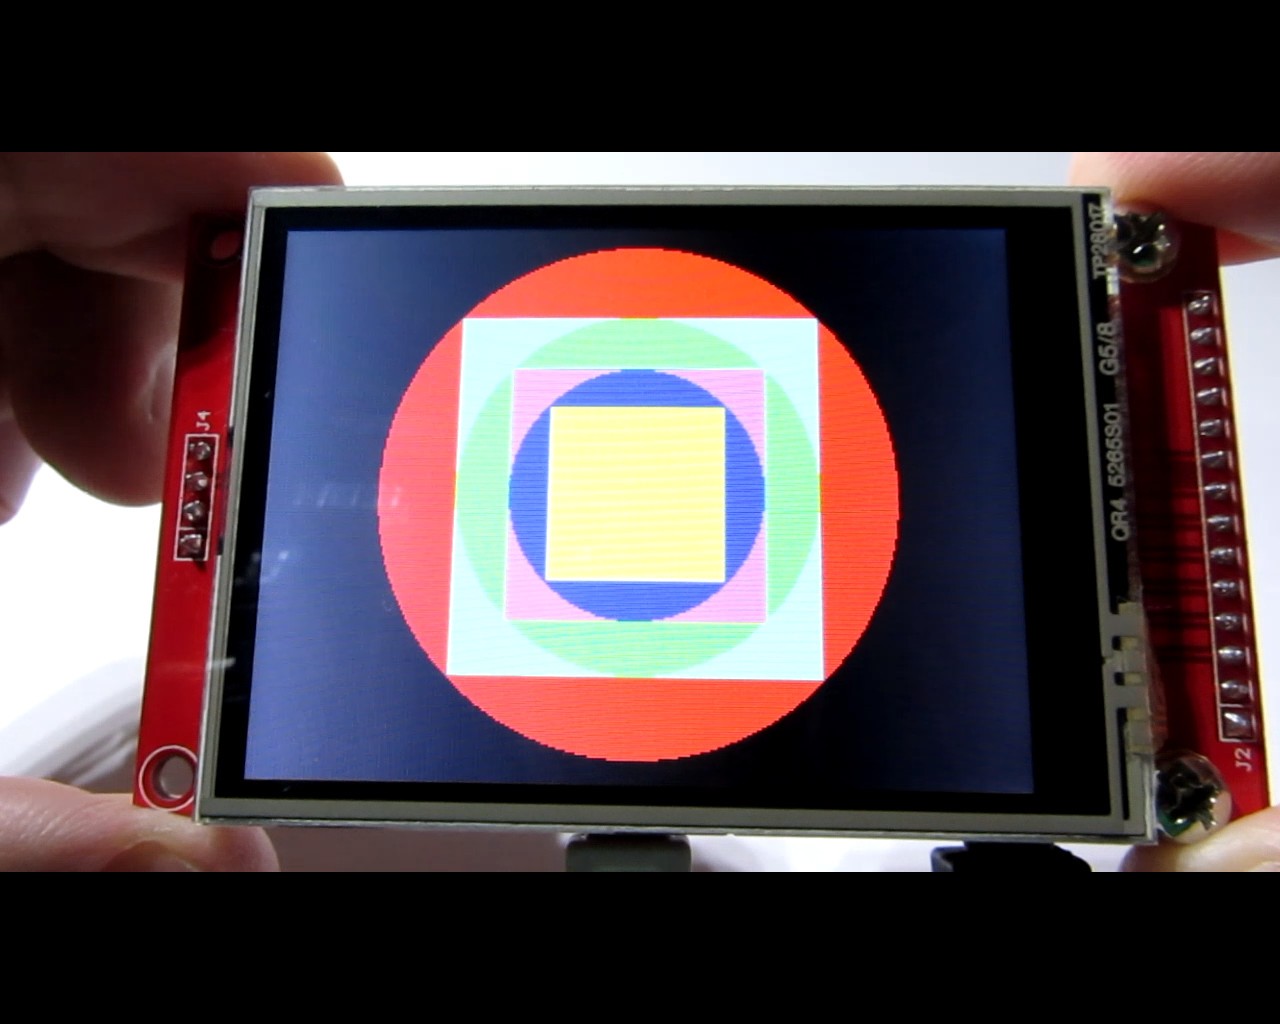
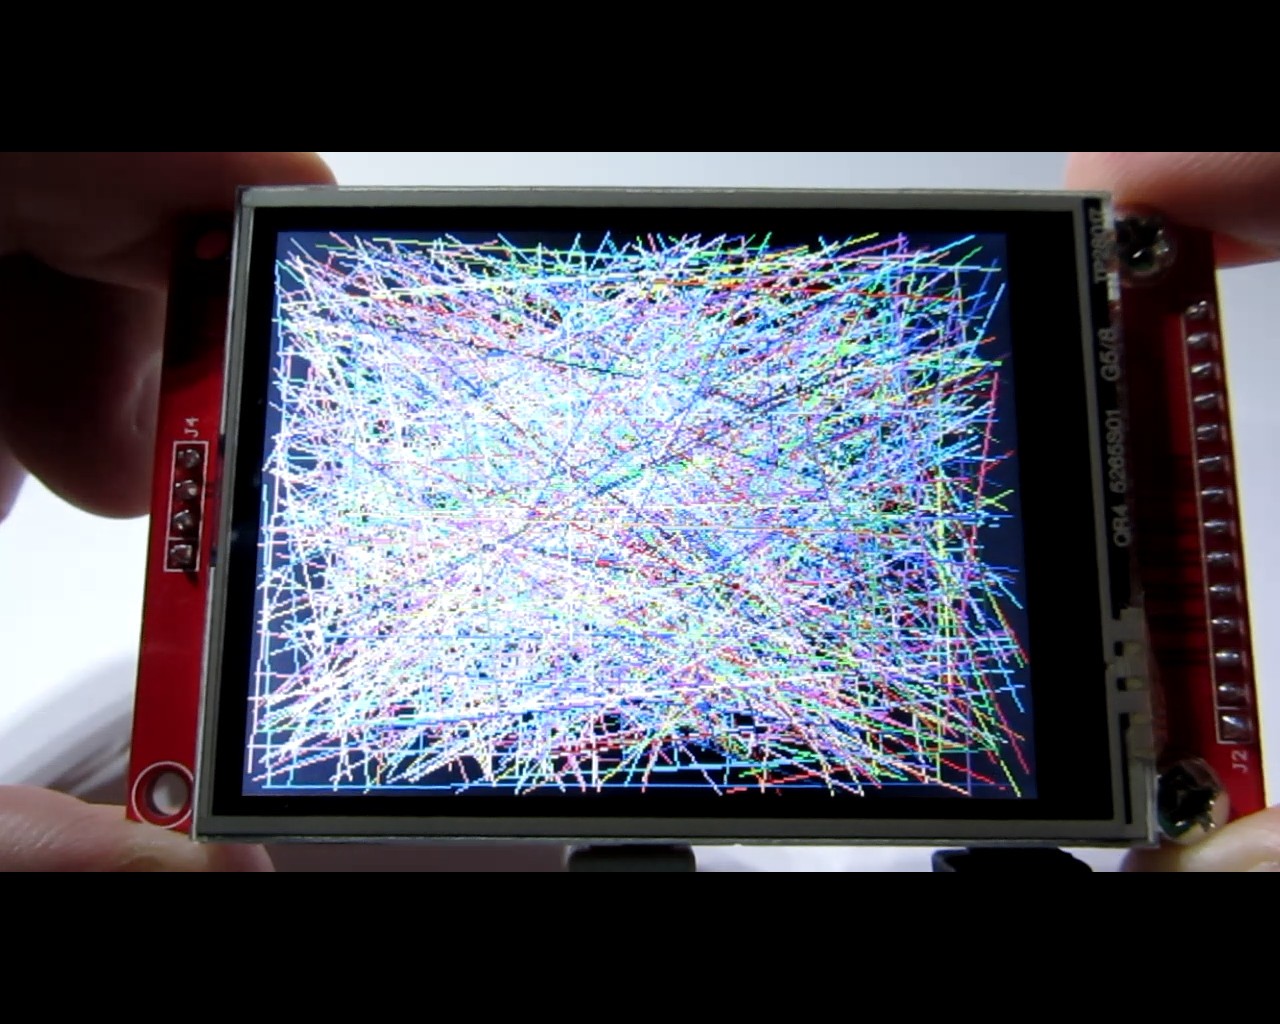
  // Cirkels, rechthoeken, bogen, random lijnen, scherm vullen...
  // (volledige code in origineel)
}
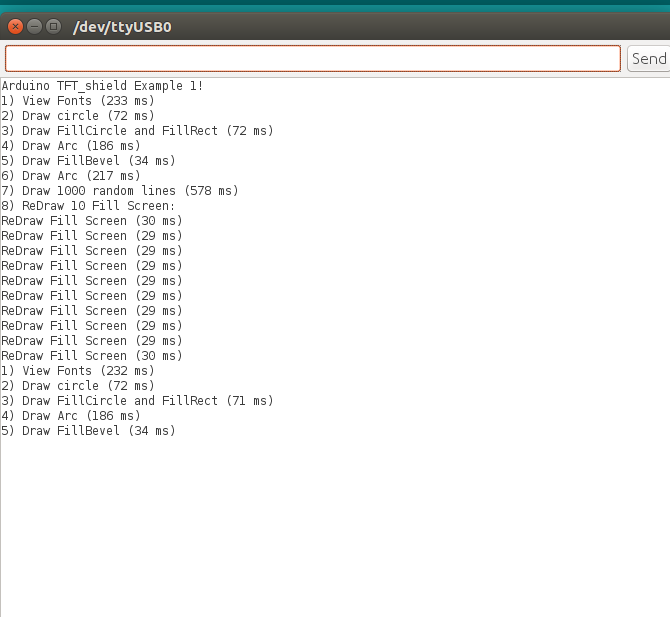
Screenshots:
Demo 2: Touchscreen
Voorbeeld met touchscreen-besturing (XPT2046 controller).
/******************************************************************************/
#include <YATFT2.h>
#include <SPI.h>
#include <XPT2046_Touchscreen.h>
#include <Adafruit_GFX.h>
#include <Fonts/FreeSerif9pt7b.h>
#include <Fonts/FreeSerifItalic24pt7b.h>
#include <Fonts/FreeSans24pt7b.h>

#define CS_PIN A0
XPT2046_Touchscreen ts(CS_PIN, 255);
YATFT tft(0);
// ... (volledige code in origineel)
Screenshots:
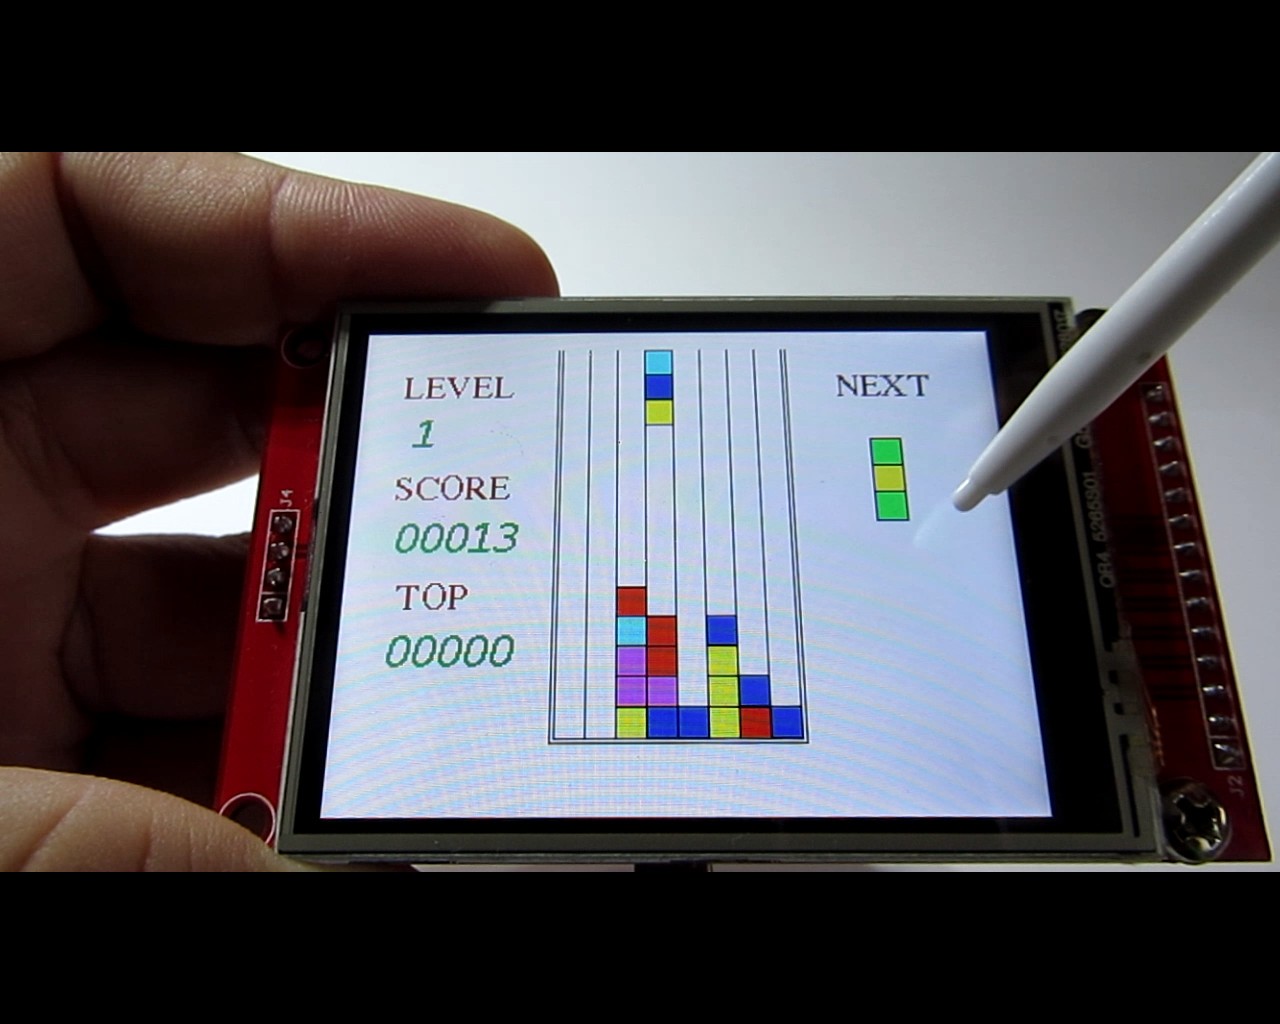
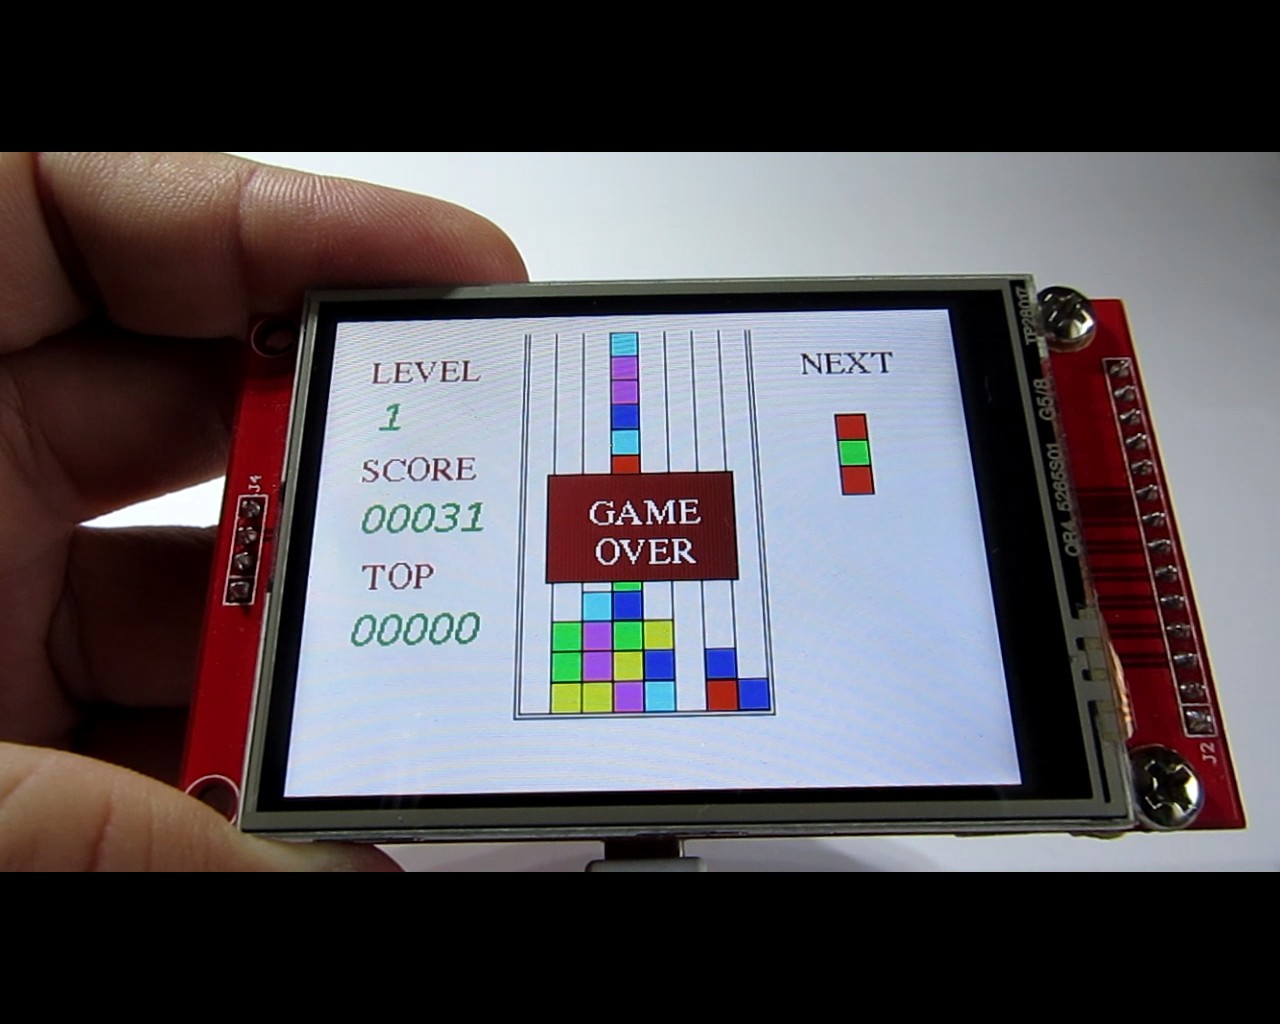
Demo 3: Logica-spel "Columns"
Een Tetris-achtig spelletje met touchscreen-besturing.
/******************************************************************************/
#include <YATFT2.h>
#include <XPT2046_Touchscreen.h>
#include <SPI.h>
#include <Adafruit_GFX.h>
#include <Fonts/FreeMonoBoldOblique12pt7b.h>
#include <Fonts/FreeSerif9pt7b.h>
// ... (volledige code in origineel)
Screenshots:
Demovideo
Opvolgartikelen:
- 1) Unique TFT Shield for Arduino Uno - Start
- 2) Unique TFT Shield for Arduino Uno - OV7670 Cam Live View
- 3) Unique TFT Shield for Arduino Uno - Arduino Bluetooth Camera (ABC)
- 4) Photos and RGB video on TFT SPI display (gepland)
Update 01-04-2021: Er is een bijgewerkte bibliotheek voor een serie schermen (2 shields, 2 breakout boards). De sketch compileert afhankelijk van geselecteerde versie (1–4) en microcontroller (MegaAVR of ESP32). Meer info: EkaTFT op GitHub.
Code
Bibliotheek
Productieproces
- Professionele gids voor bitmap-animatie op de ILI9341 2,4″ TFT Touchscreen Shield
- Web-gestuurd DMX-verlichtingssysteem – Arduino Master Controller
- Bluetooth-gecontroleerde Arduino Spybot bouwen
- Arduino Nano Bundle: CrazyCircuits, DFRobot Sensoren & Tools – Bouw Projecten met Vertrouwen
- Twee Stappenmotors Sturen met Arduino Nano & Joystick – Simpele Tutorial
- START: Zelfstandige Arduino Terminal met PS2 Toetsenbord, LCD, Ethernet en Remote Shell
- Bouw een handgehoude Geiger-teller met Arduino Nano
- Slim Temperatuurmonitoring Systeem voor Scholen: Nauwkeurig, Real-time en Beveiligd
- Efficiënte 8-bit IO-poort bibliotheek voor Arduino – Uitbreiding digitale controle
- Draadloze Arduino Programmeer Shield met HC-05 Bluetooth – Geen USB Nodig
- Arduino 64-toets Prototoetsenbord Matrix – Bouw een Aangepast Toetsenbord met Shift Registers